Easy Wet-felted Easter eggs tutorial for beginners
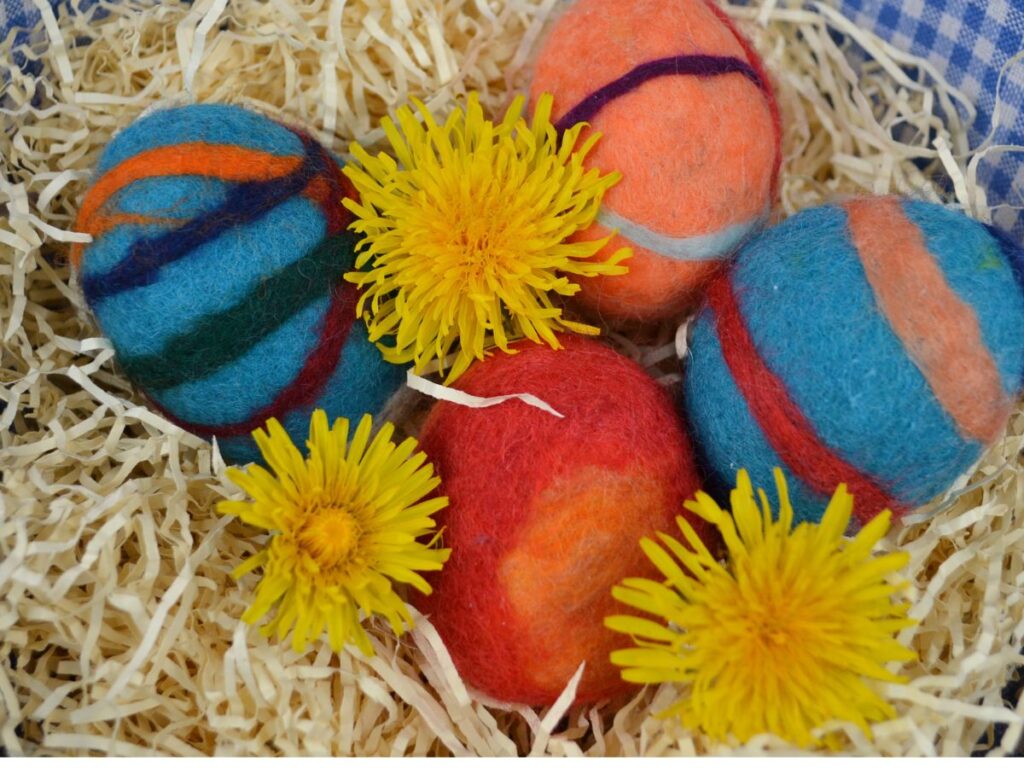
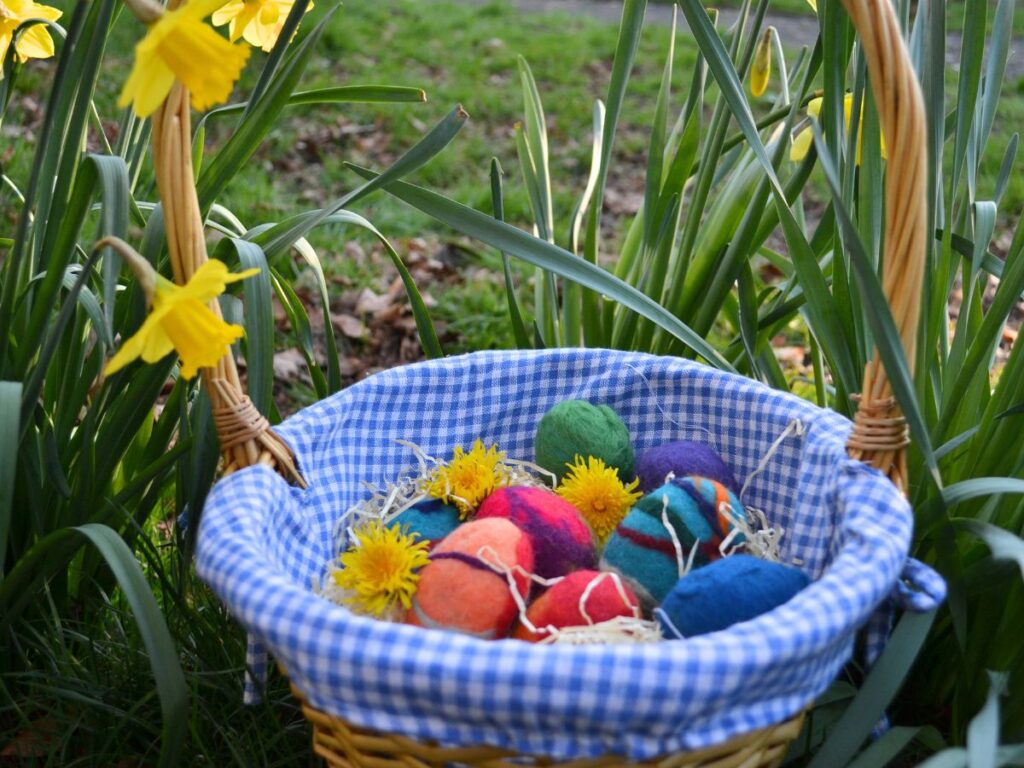
Creating handmade decorations is a lovely way to welcome spring, and these easy wet-felted Easter eggs are a perfect project for beginners. The art of wet felting is a simple and relaxing craft that uses just wool, warm soapy water, and soap to transform soft fibres into beautiful felt. In this tutorial, you’ll learn step by step how to make colourful felt Easter eggs that are perfect for seasonal decorations, Easter baskets, Easter egg hunts, or a fun craft activity with children.
Easter 🐣
Easter is a very exciting time of year, with the arrival of spring, and, of course, the chocolate Easter eggs are what most children wait for. Making crafts like these Easter wet-felted eggs and other beautiful crafts is a lovely way to help bring children to a more meaningful Easter than just an excess of chocolate
Wool 🐑
Not all fibres felt. Wool works because the tiny scales on wool fibres open with warm water and soap, allowing them to lock together and create felt.
Merino wool – Very soft, fine fibers that felt quickly and smoothly. Great for beginners and for making neat, colorful Easter eggs.
Corriedale wool – Slightly coarser than merino but very easy to felt and holds its shape well. A good choice for sturdy felted eggs.
Bergschaf wool – A thicker, more rustic wool often used in traditional wet felting. Perfect if you want firm eggs that felt quickly.
I am using Corriedale wool roving because that is what I have but any of these wools will work for these easter eggs.
Materials:
You can make these wet-felted Easter eggs entirely from wool, but if you use a plastic Easter egg or similar, you will save wool, and they will be easier to make. So this is what I am using for this post.
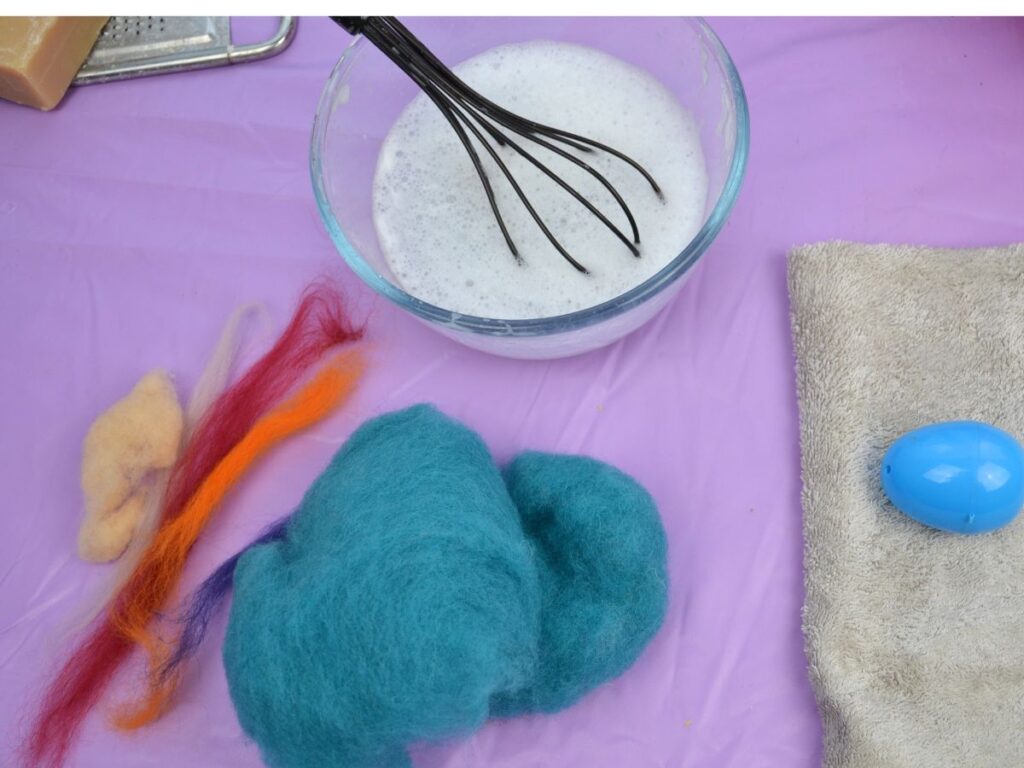
- Roving wool diferent colours
- Plastic easter eggs or similar
- Bowl of soapy water ( You can use dish soap, but I always use a bar of soap grated)
- A bowl of cold water and a bowl of hot water.
How to make the wet-felted egg:
If working inside, cover your work surface with a PVC tablecloth (or similar) or a towel to protect your table.
You can make single-coloured eggs and then decorate, or mix coloured eggs, wrapping the egg with one colour and then adding a thin second layer of wool of a different colour.
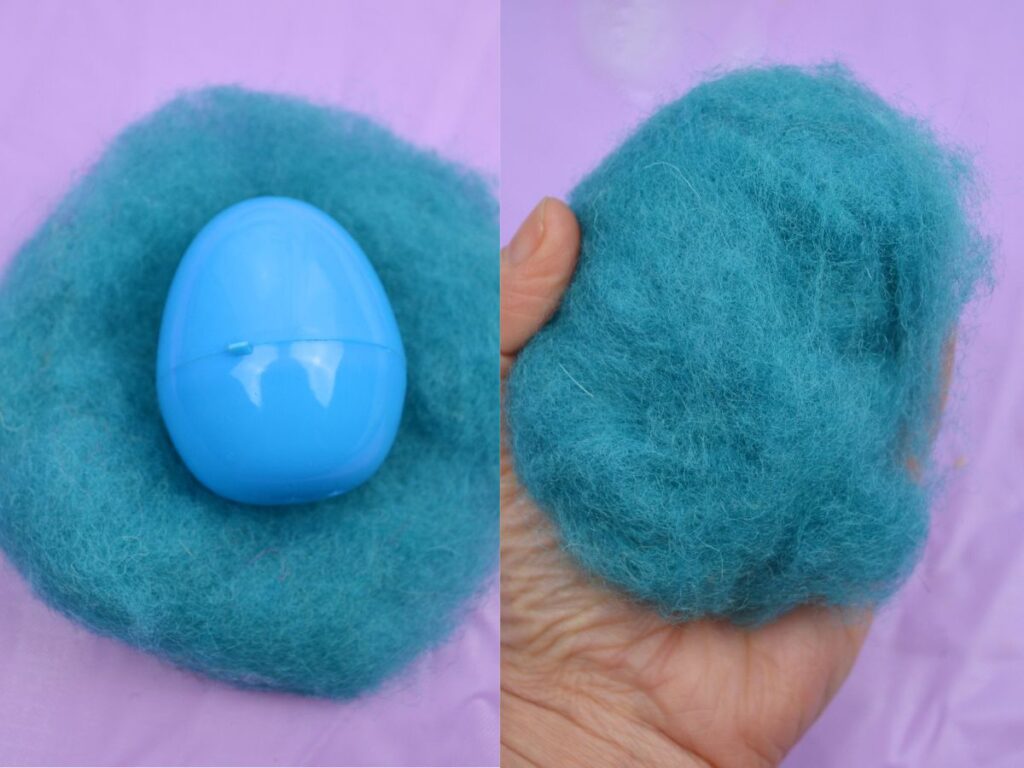
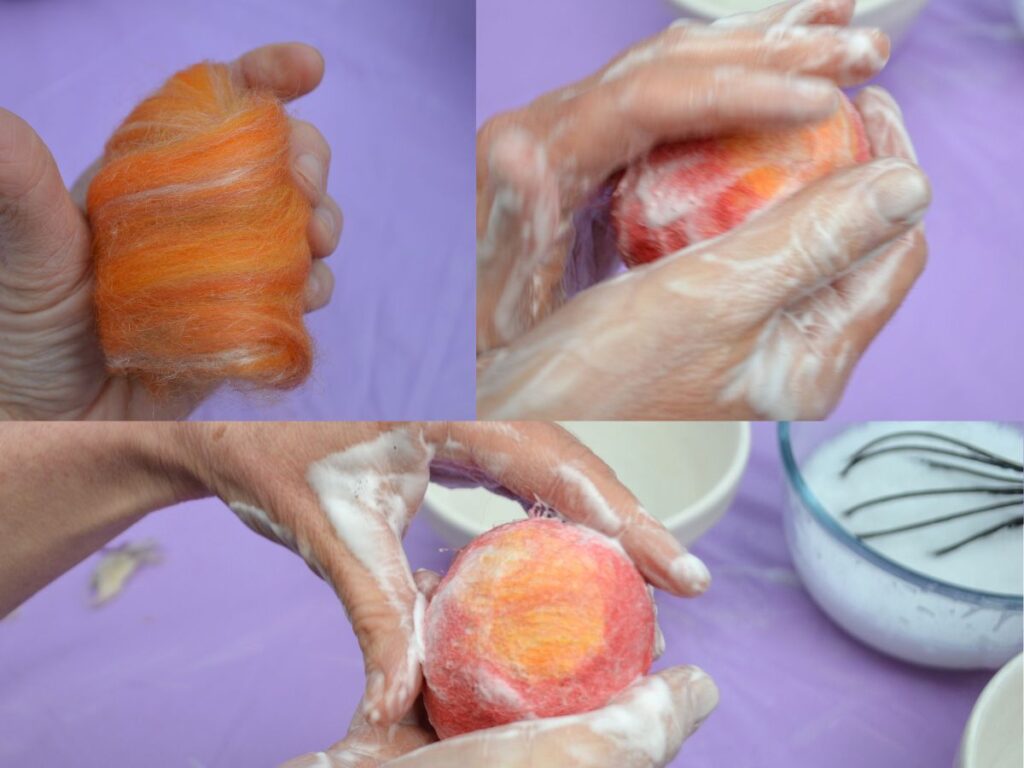
Wrap the plastic egg with a nice amount of wool.
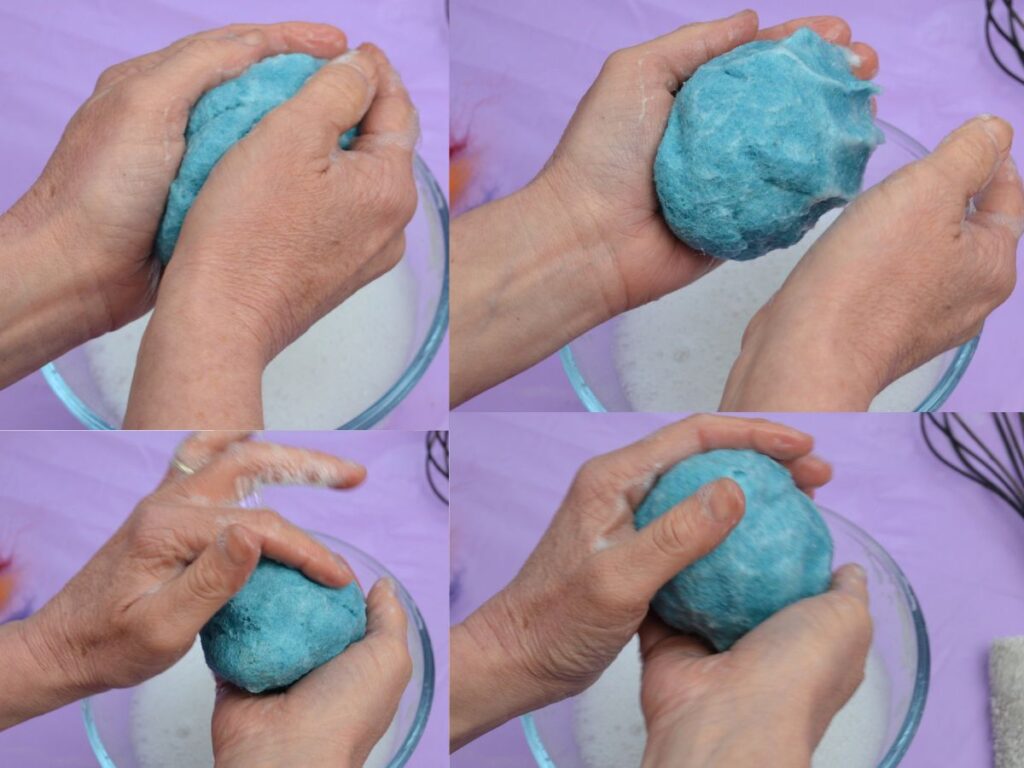
Once it is nicely covered with the wool, start the felting process.
Grab some soap suds from the prepared warm water and soap, and wet the wool. Press gently around the egg.
With a light hand, apply slight pressure at first, rubbing gently up and down and in circular motions.
Use your fingers to smooth the areas where the wool joins, folds, and has any cracks.
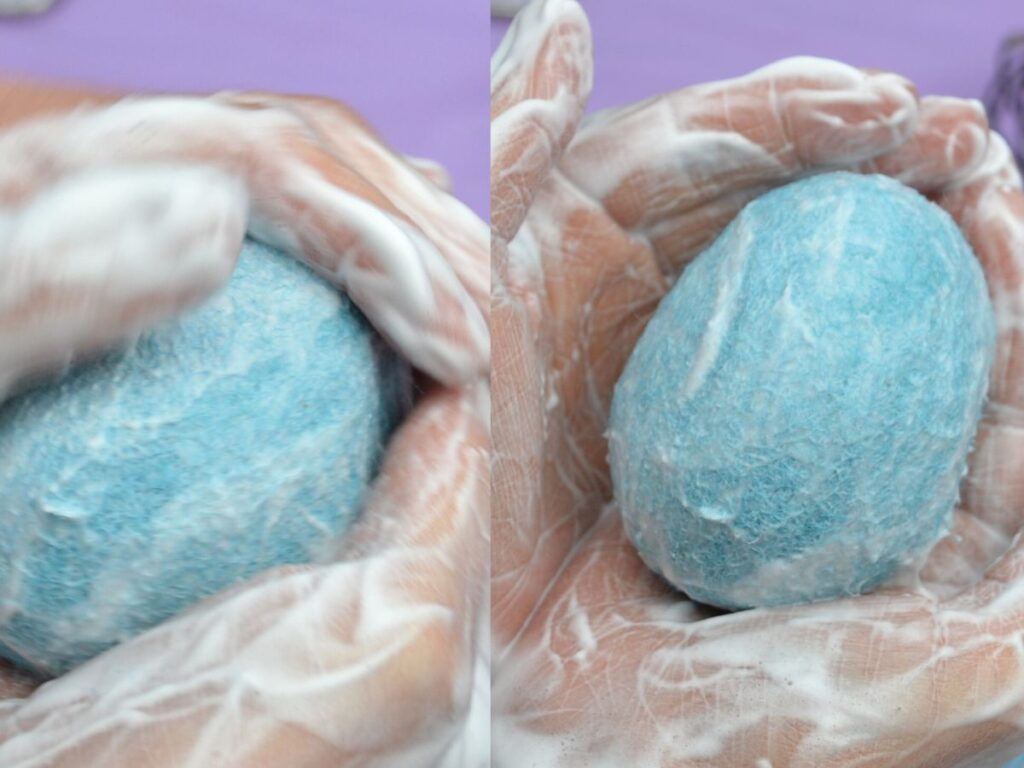
Soon, you will feel the loose wool fibres tighten up, and it will look more like a wool egg shape.
As it starts to get firmer, you can apply more pressure and rapid movements.
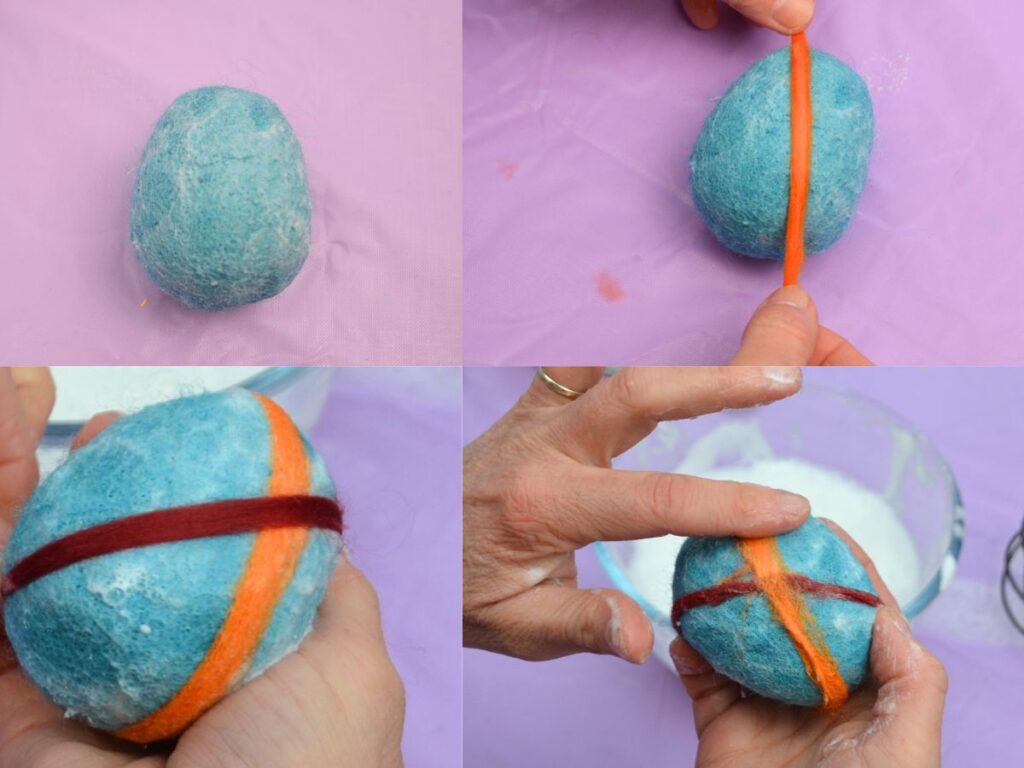
At this point, you add decorations using thin pieces of wool roving of different colours.
Gently tap and rub the pieces with your fingers to attach them to the egg and keep them in place.
Repeat with more single-coloured pieces of wool.
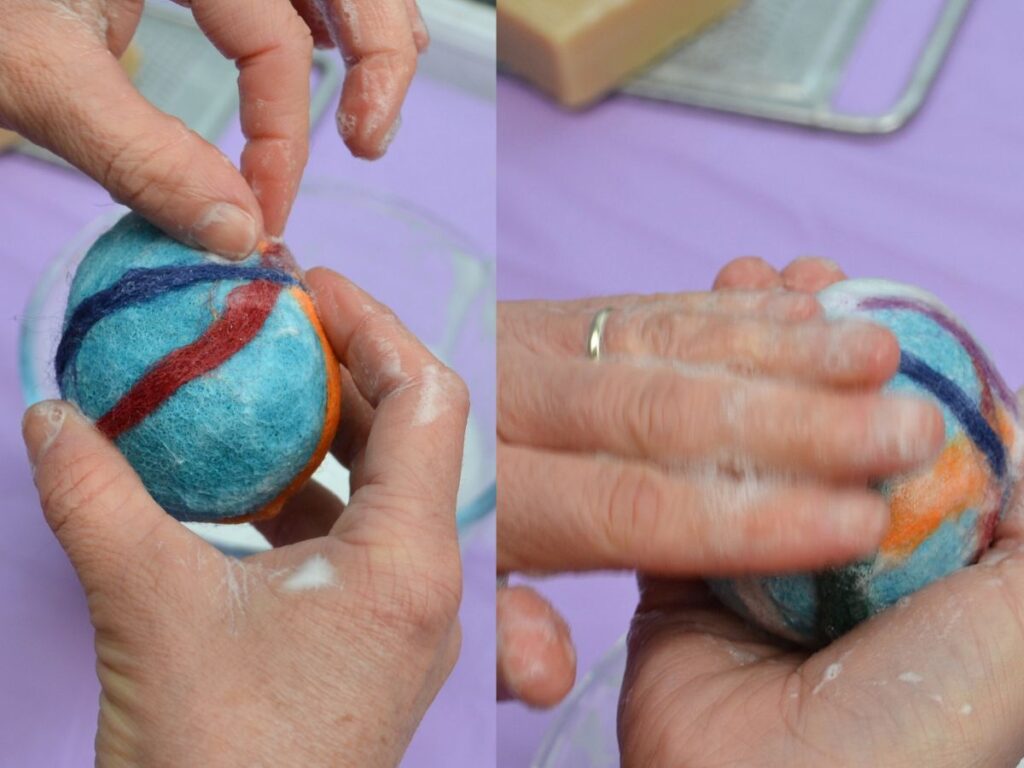
When the strips feel attached, you can apply more rapid movements.
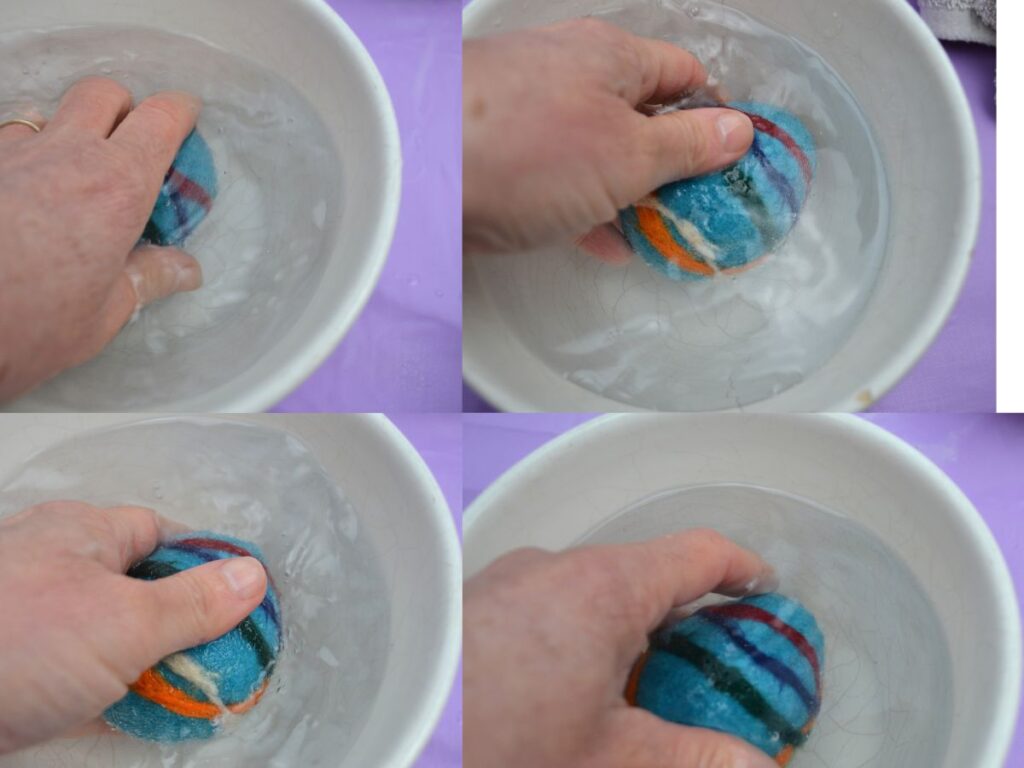
The final step is optional but helps the felting process and rinses the soap off, soaking the egg in alternating hot water and very cold water.
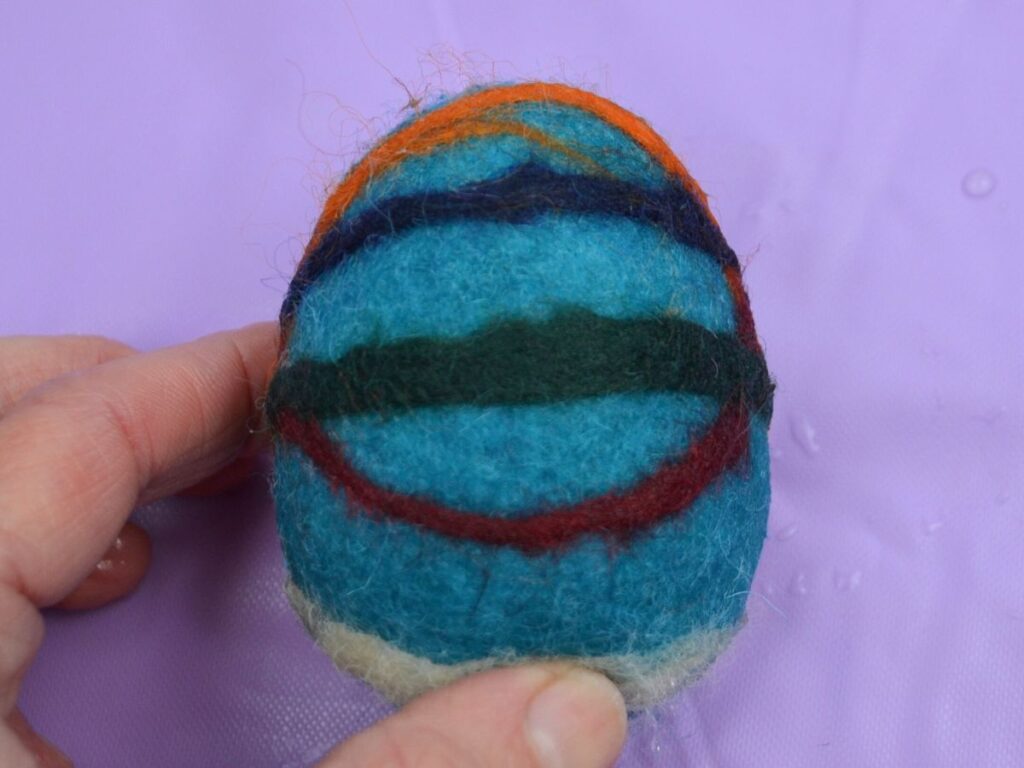
Finish wet-felted easter egg.
You can roll the felted egg on a towel to get rid off the excess water
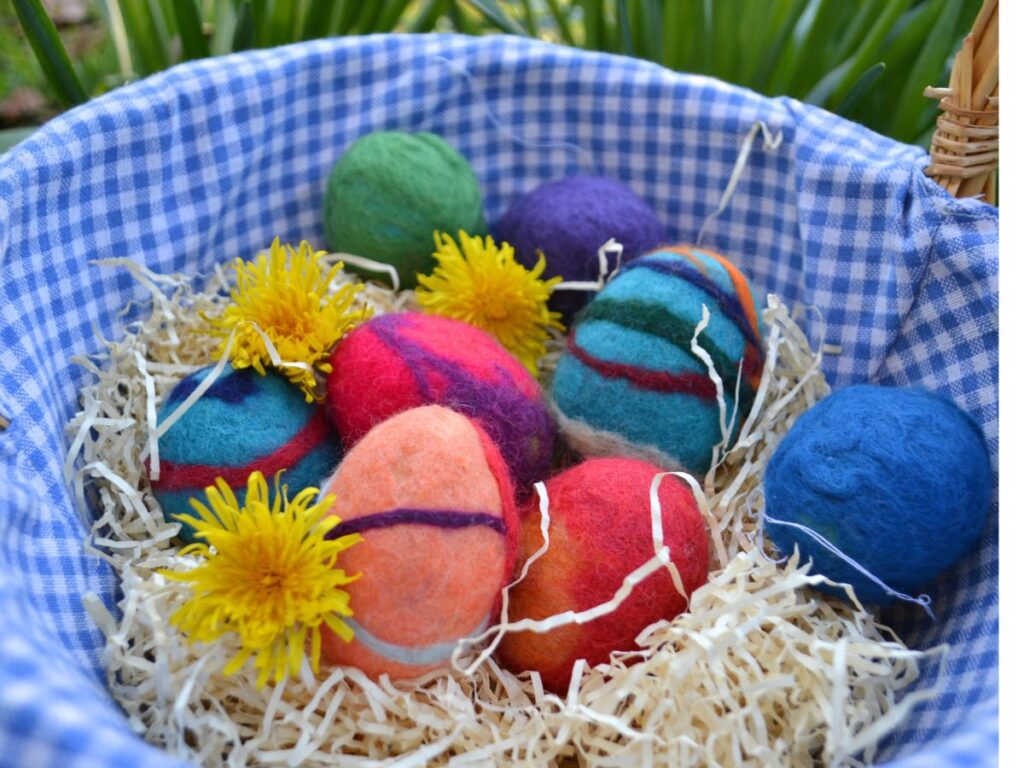
You can create eggs of different colours using the previous steps.
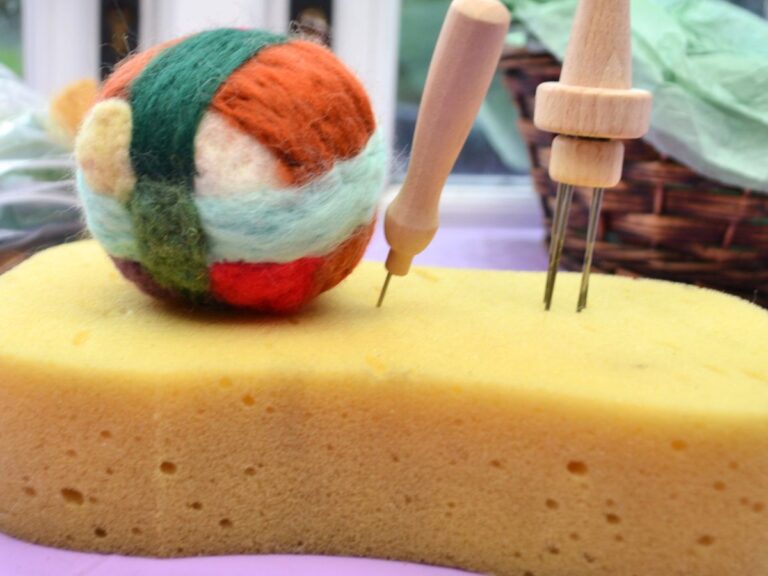
Other felting projects:


happy easter