How to make Christmas wool angels, easy, step by step

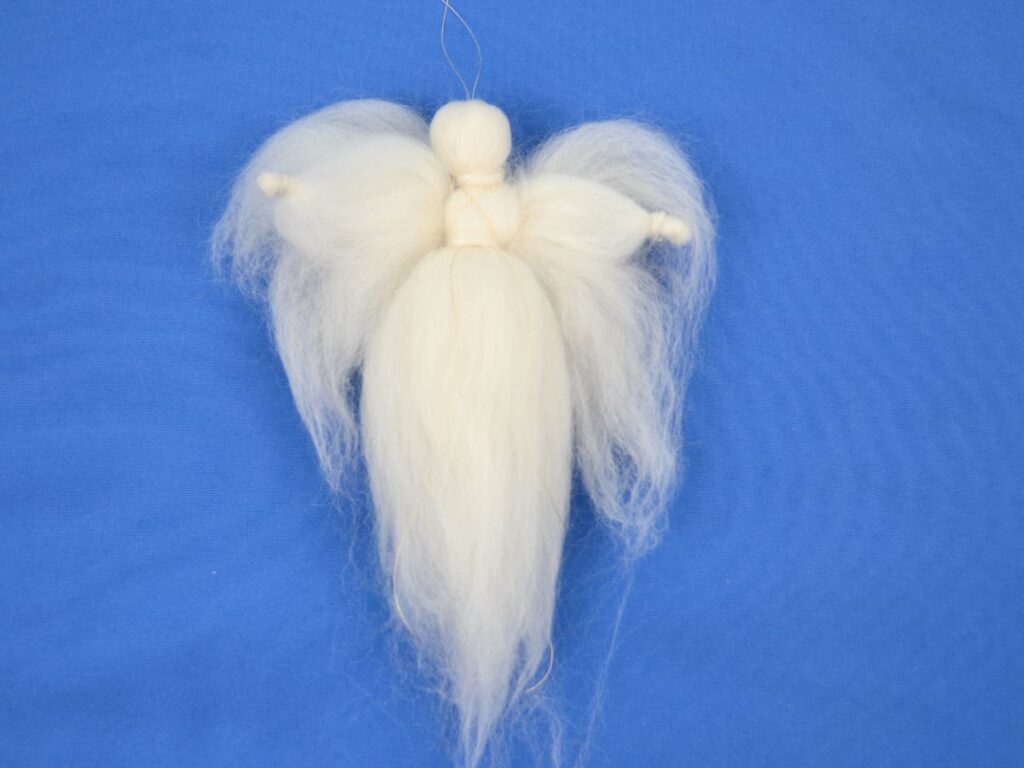
An easy step-by-step wool angel tutorial, on how to make a simple wool angel, perfect for the Christmas holiday season, to decorate your home, and can be a lovely angel ornament to hang in your Christmas tree or to give as a present.
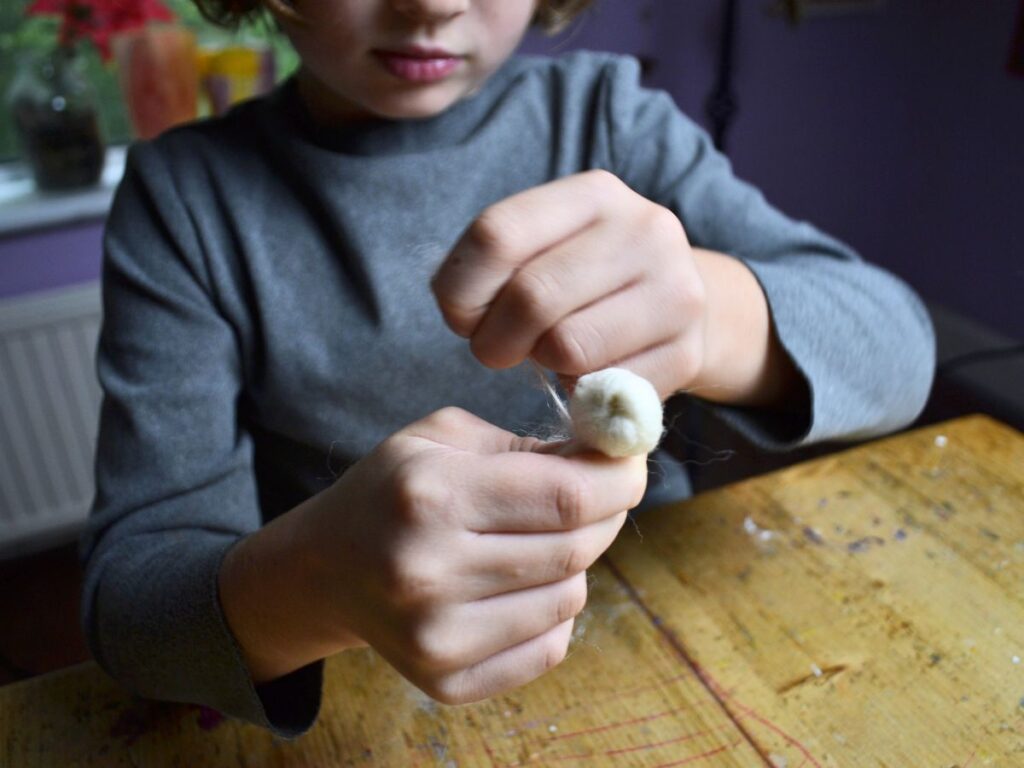
It is a very nice activity to do with children, but younger children might need your help making their little angel.
Make this simple wool angel on your own or with children; the point of making art and crafts is to enjoy the process of creating something beautiful with your hands. If you have never worked with wool before, this step-by-step tutorial is the perfect place to start
Working with wool:
Wool is a beautiful, delicate, natural material to work with. For this angel, you need carded wool, which is basically ‘clean and brushed raw wool’. I am using white merino wool, and you can also use or combine different colours of wool to make other colour angles. I buy wool here.
You never cut the carded wool with scissors! To separate the wool, gently pull and split the fleece lengthwise with gentle pressure. If you put too much pressure, it will tighten and not cut.
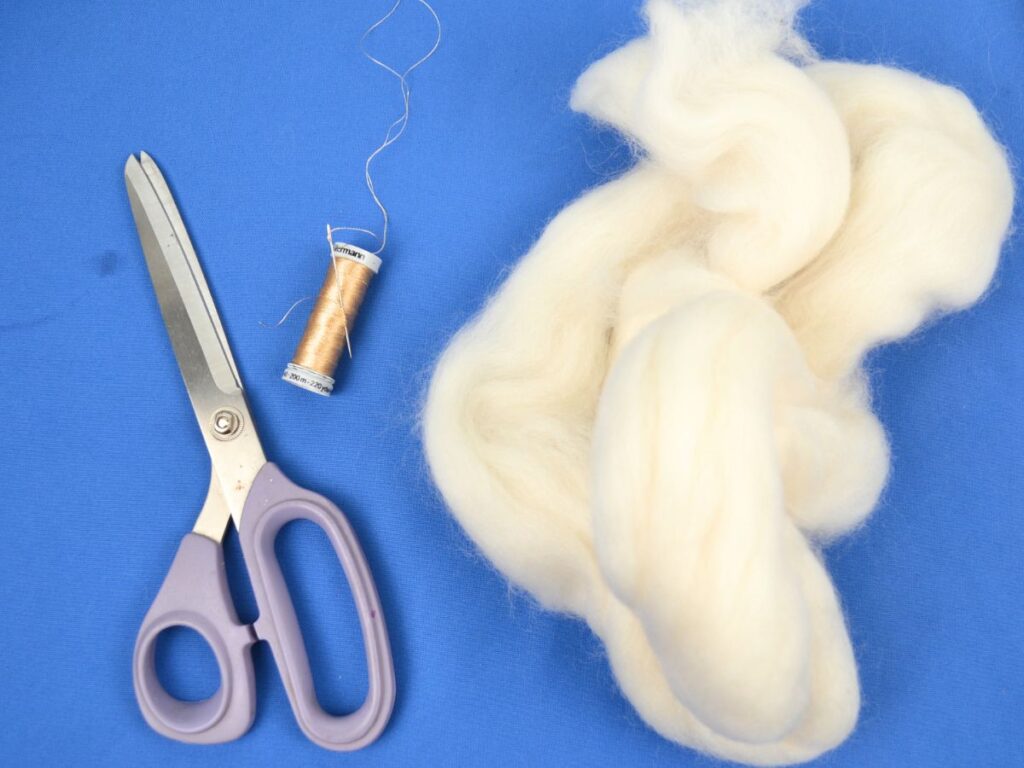
What you need:
- Carded Wool
- Needle and thread
- scissors
How to make it:
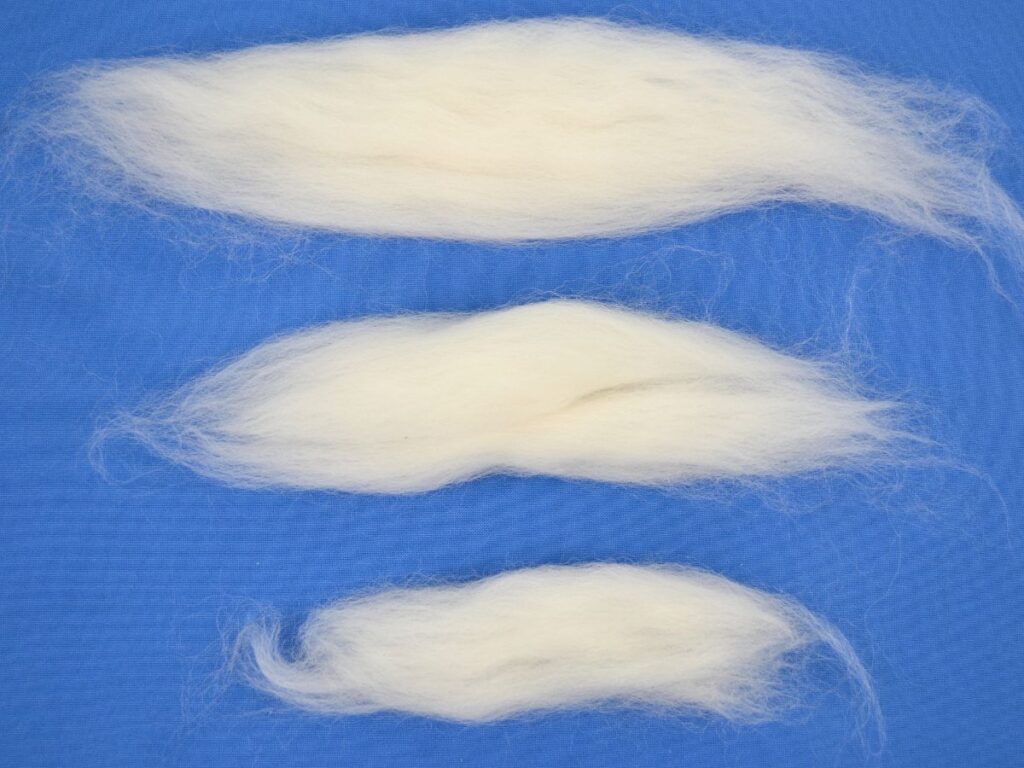
You will need one longer piece of wool for the body; how long depends on how big you want the angel. This angel I’m making is about 20cm long
This one I will be showing you now is made with a piece of wool approximately 25cm long.
A second piece for the wings. (approximately22cm)
and a small piece (about 15 cm) for the hands.
Bend the body piece in half and make a knot.
And pull it gently to make it tight.
This is going to be the angel’s head.
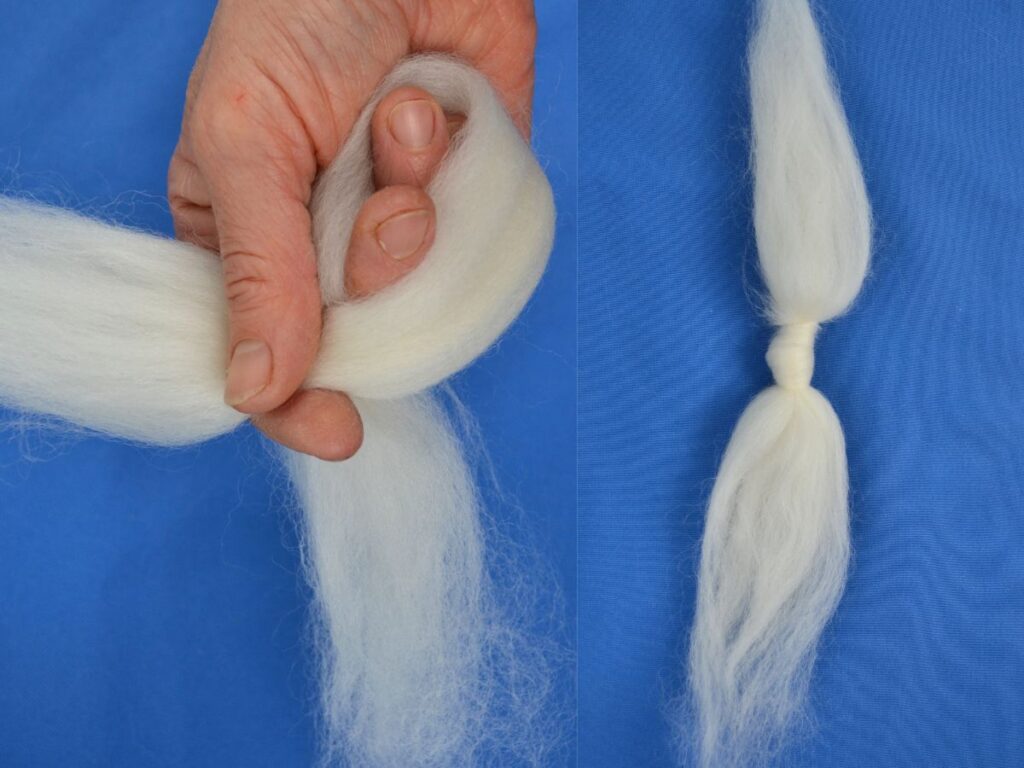
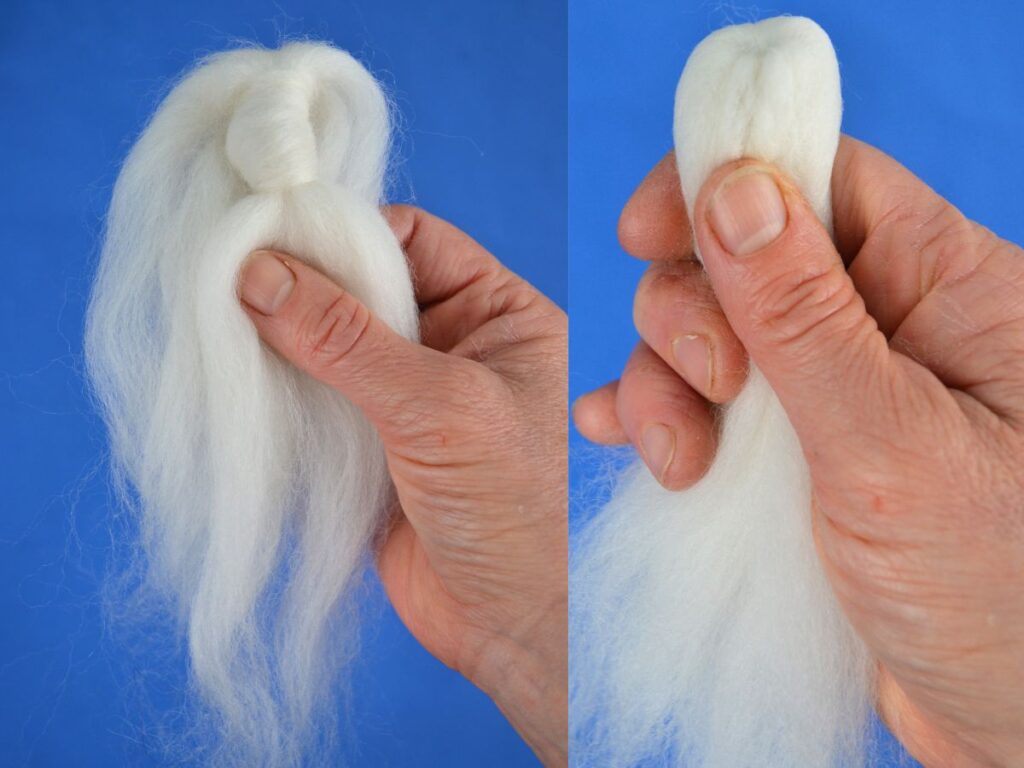
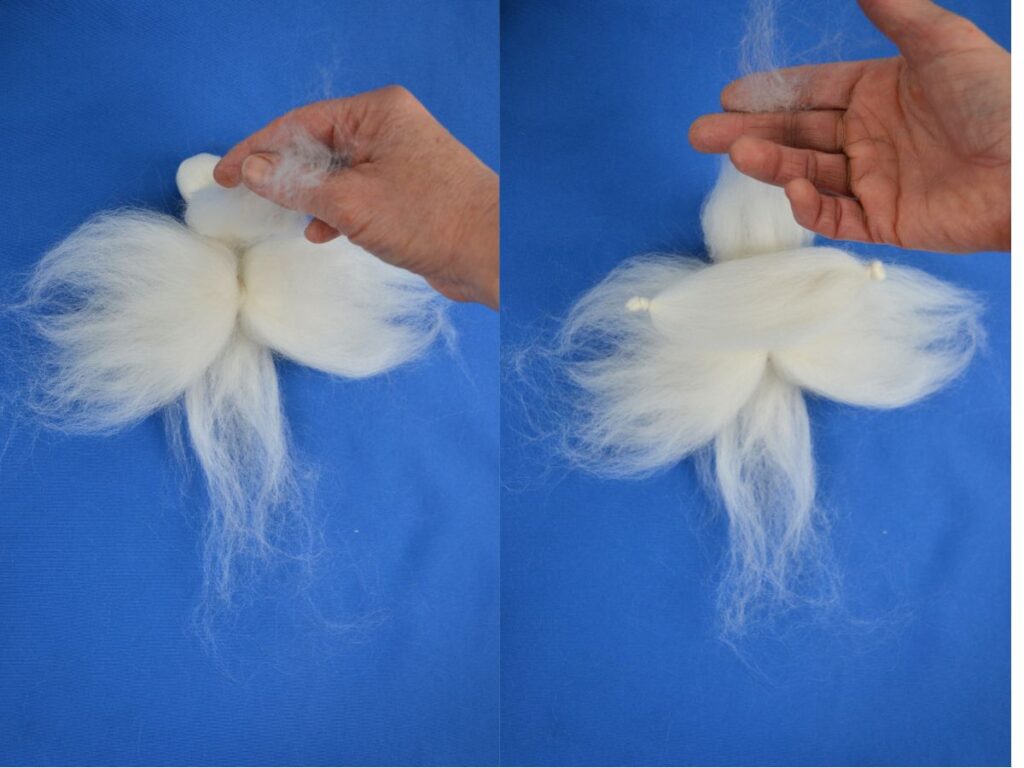
Fold it in half and turn it to the other side, as shown in the pictures. Then, spread the wool evenly around the knot to make the head.
Pull a tiny piece of wool and tie it around the neck to form the angel’s body.
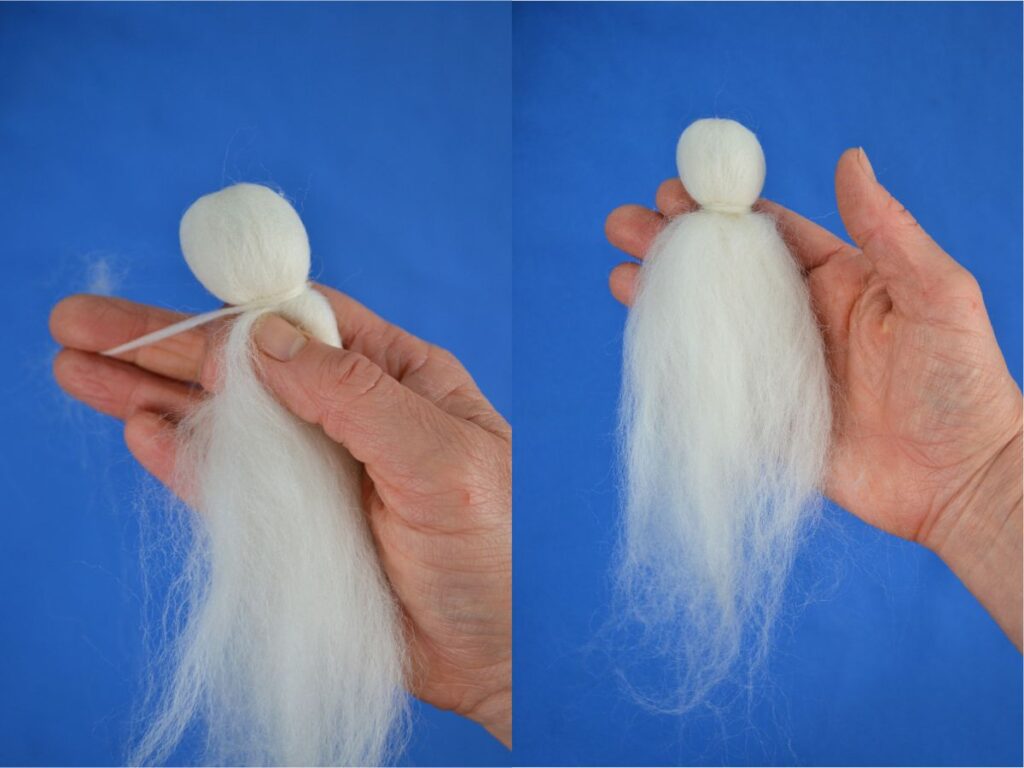
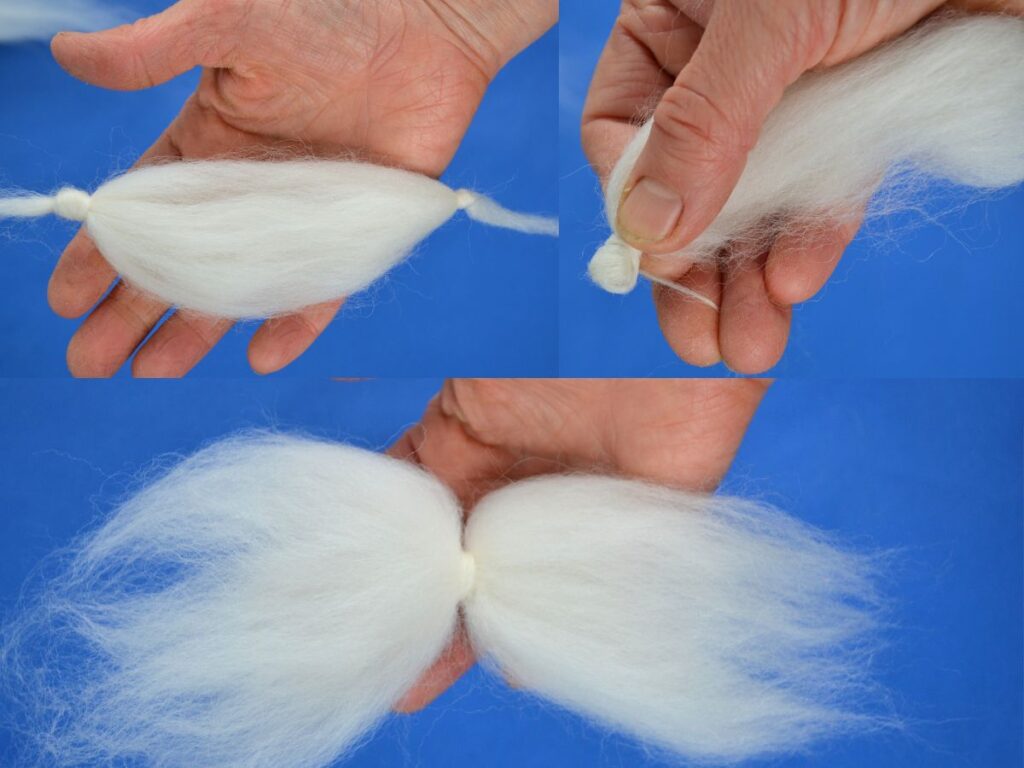
To form the hands, tie a knot on each side at the end. Then, roll the leftover pieces to form the hands.
For the wings, use the piece of wool you set aside for the wings and pull another small piece of wool (as you did for the neck), and tie it in the middle.
Separate the body in half and set the wings, then the arms on top.
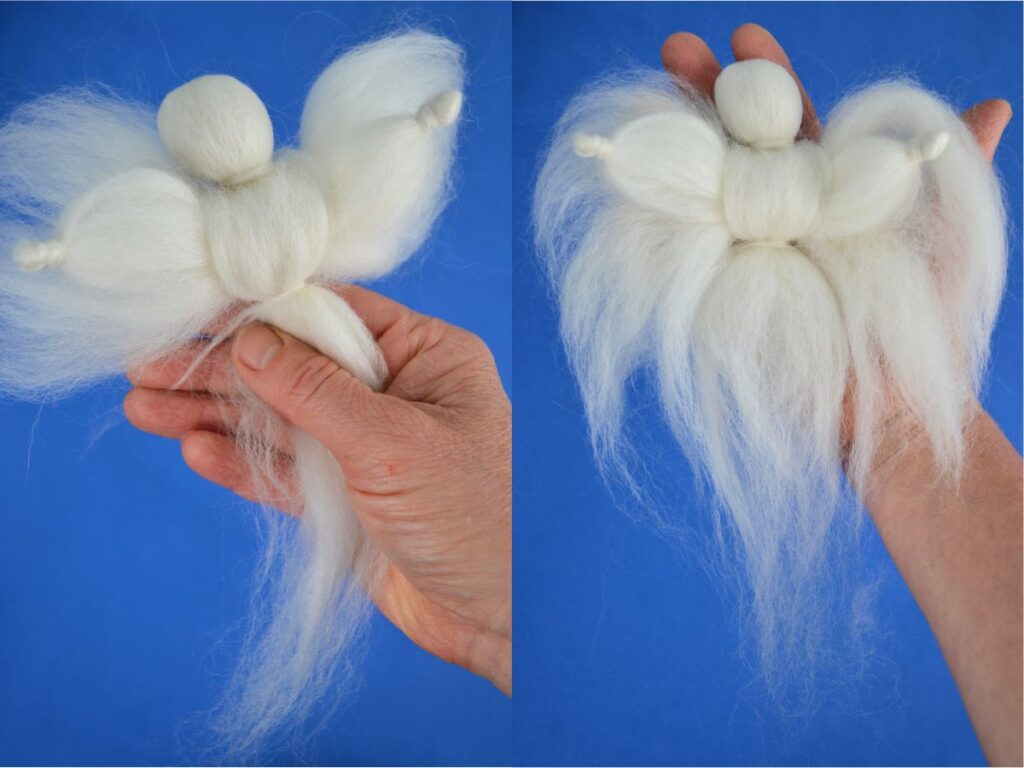
Then, cover the arms and wings and tie a small piece of wool around the waist.
With a golden thread, you can decorate the angel’s dress to make it a bit more festive.
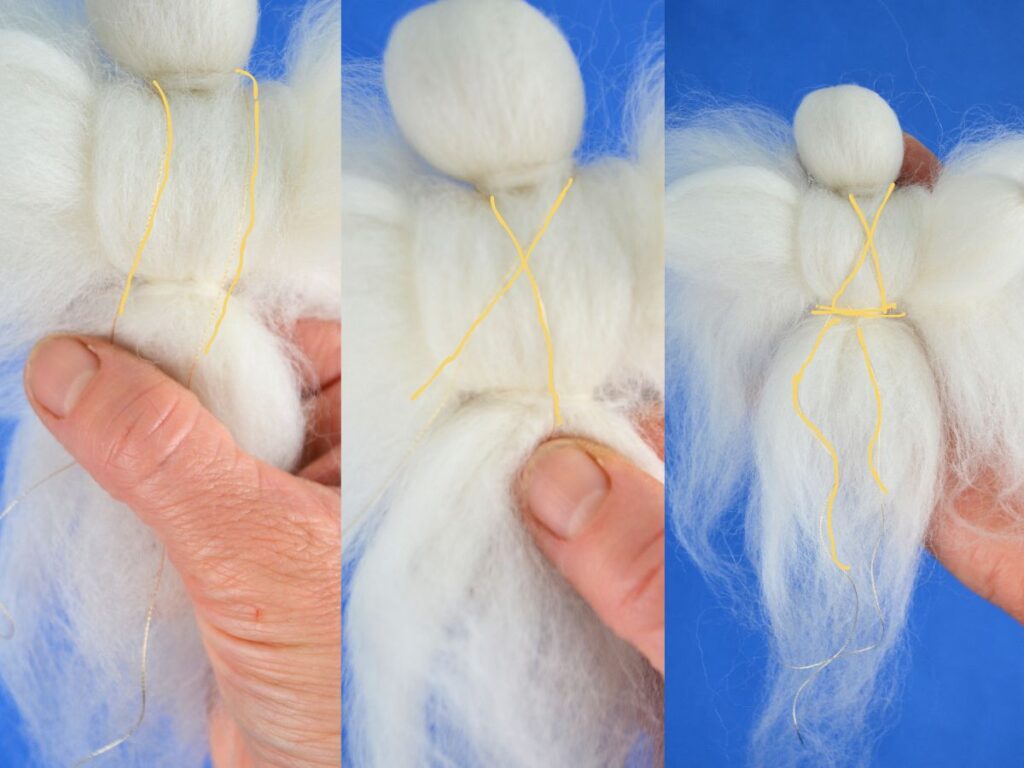
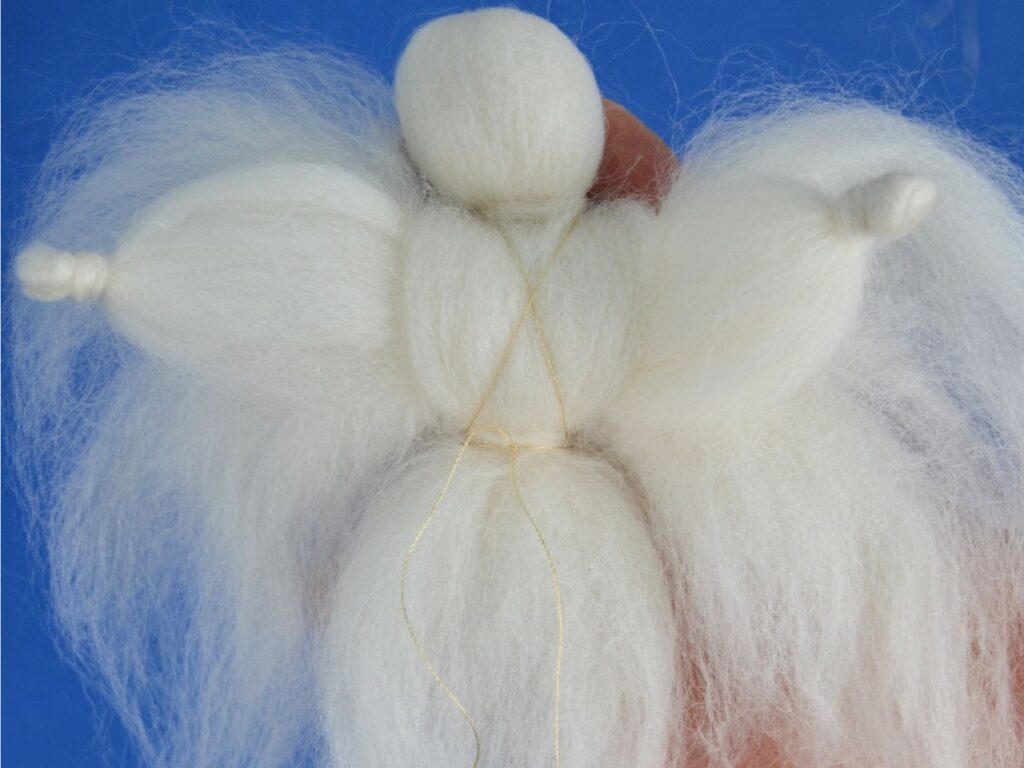
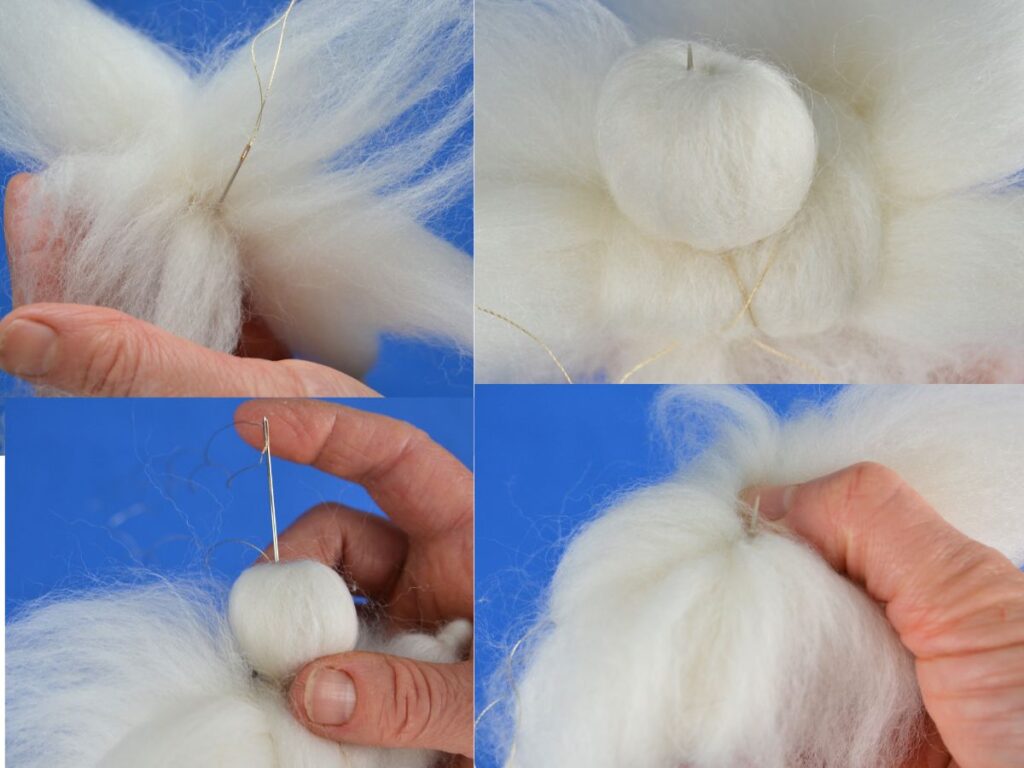
Now you need your needle and thread.
Lift the angel’s dress and thread the needle in until you come to the middle of the head.
Then go back through the same point at the top of the head, where you came out, and go back under the dress.
Leave as much thread as you want for hanging, and do a little knot.
You can brush the dress and wings with your hands to help shape the body and wings.
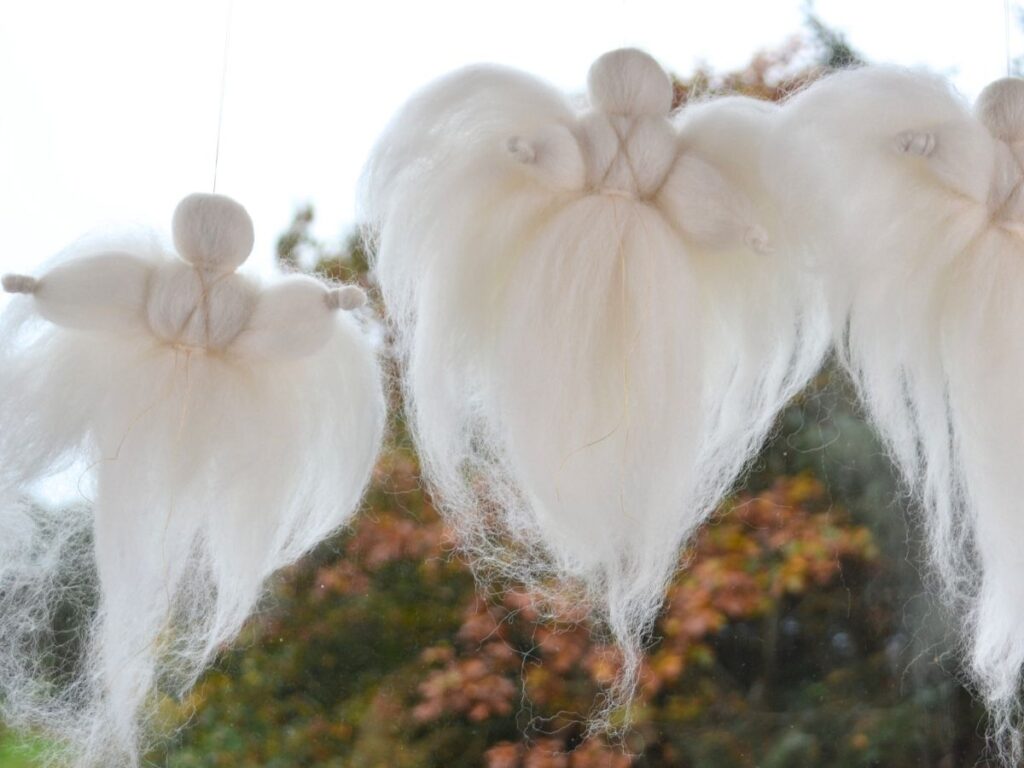
The good side of working with wool is that if the angel does not come out perfect, they are still all beautiful!l