How to make an Easy Felt Bunny tutorial free pattern

If you’re looking for a gentle, nature-inspired craft, this felt bunny tutorial with a free pattern is a beautiful Waldorf-style project to make by hand.
This simple felt bunny features soft textures, natural materials, and minimal facial details to encourage imaginative play. In this step-by-step guide, you’ll find a free printable pattern and easy instructions to create a handmade felt bunny that’s perfect for seasonal tables, Easter celebrations, or a child’s nature-based toy collection. Whether you’re a Waldorf parent, homeschooler, or mindful maker, this beginner-friendly felt bunny pattern brings warmth, simplicity, and handcrafted charm to your home.
Easter
Easter is an important time of year; it’s a nice idea to share it with your child in a way that’s child-friendly and meaningful. Some ways to do this include making crafts, reading stories, and making handmade decorations.
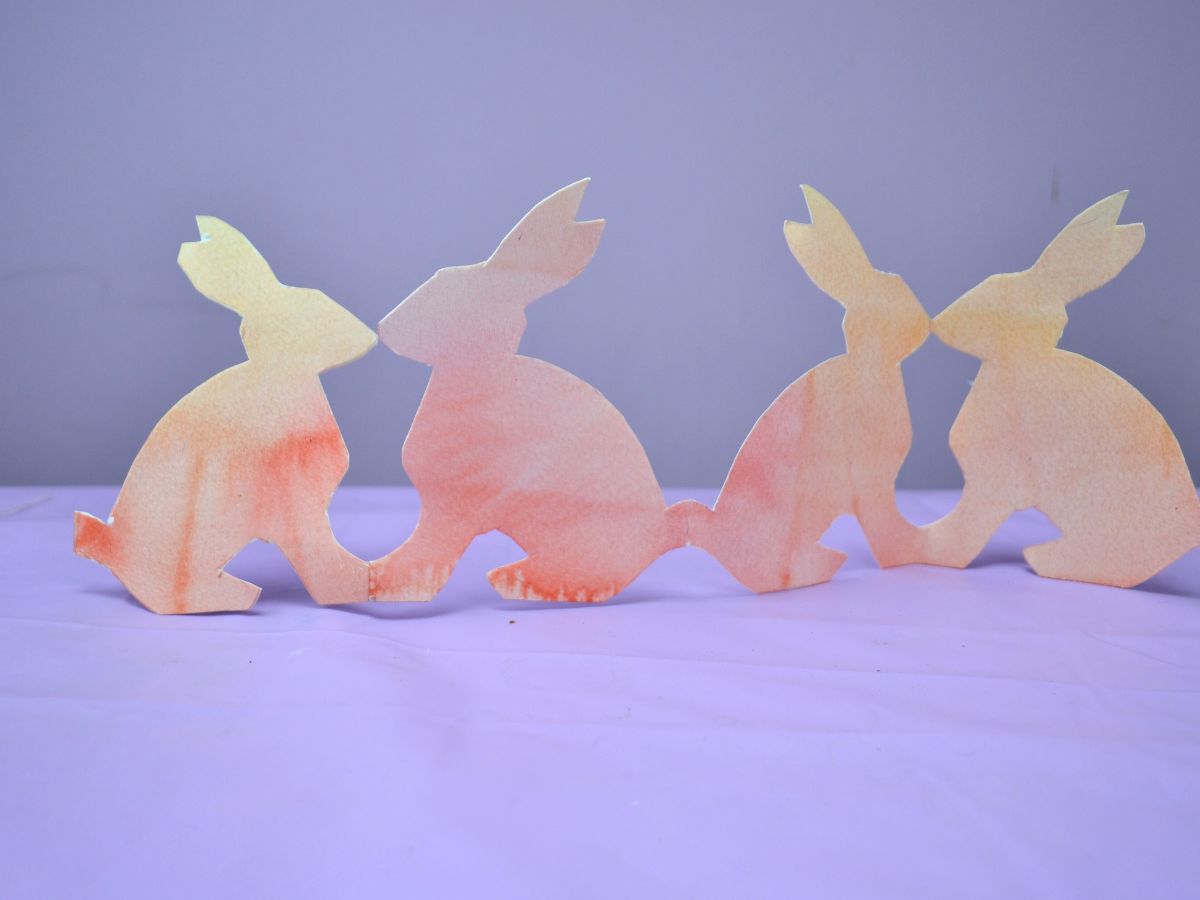
Felt bunnies are easy to make and a lovely addition to an easter tree or easter basket, or a handmade bunny ornament. Young children love playing with felt toys.
Felt:
The best felt you can get is 100% wool. It is slightly more expensive but much nicer and easier to work with, and the finished product will last much longer.
If you are very new to sewing by hand, you can buy cheaper felt to practise with, made from rayon, acrylic, and wool.
Or you can also get felt made of Wool + Viscose – a higher quality than Synthetic felts, more widely available.
Synthetic felt is not recommended for making felt toys.
Stuffing Wool:
For stuffing the Felt Bunny, Combed Carded wool, undyed. You will need no more than 15 grams of wool for stuffing this bunny.
You can buy it in the world of wool.
Stiches:
Most of the sewing will be done with the blanket stitch
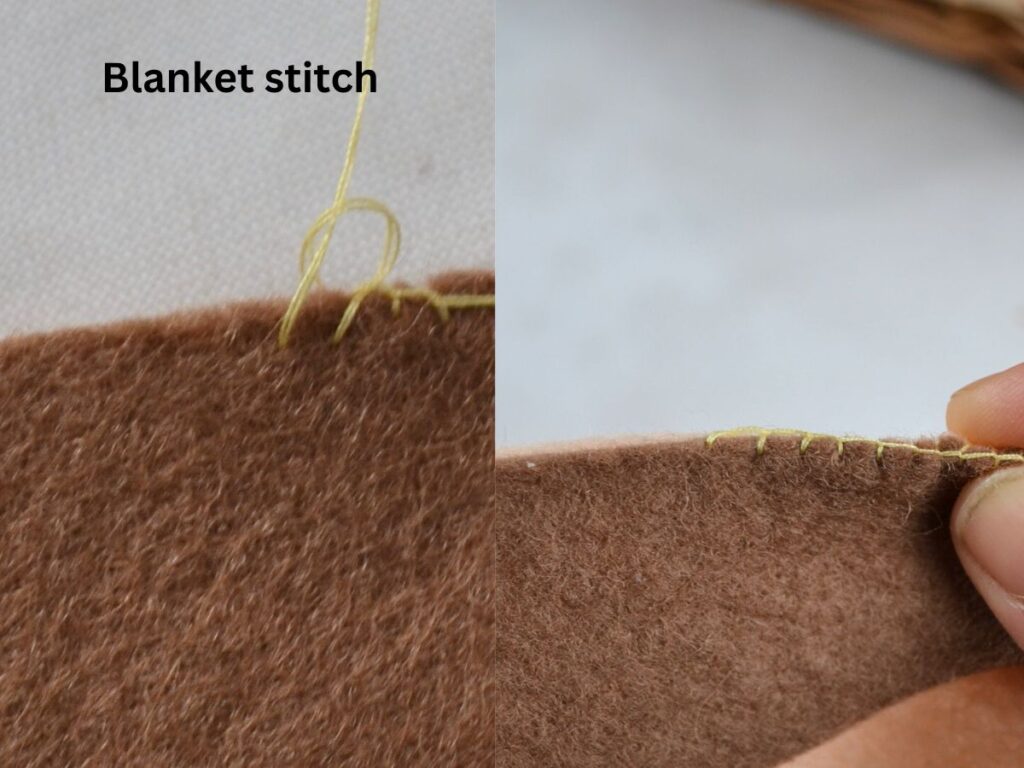
How to do a blanket stitch:
Insert your needle from the underside of the fabric to the front. Then push it down through the fabric a short distance away, leaving a loose loop on the surface. Bring the needle back up through the centre of the loop, catching the thread to create a vertical stitch. Continue working these diagonal stitches along the edge, always keeping the working thread beneath the needle before tightening each stitch. Complete the row with a small securing stitch to anchor your work.
Materials:

- You will need wool felt (you can make your own felt using the wet felting method)
- One colour for the bunny body shape and back of ears, and a different colour for the under body and inner ears.
- Pattern pieces
- Stuffing wool
- Needle and thread
- Crochet needle (optional)
- Scissors
How to make this felt Bunny:

Cut the paper patter an pin it to the felt.
You can fold the felt and cut two pieces at a time, or cut one piece first and use it to cut the second.

Cut the 4 felt pieces for the years and one piece for the under body.

To join the body pieces, the best way is to pin them together before you start sawing.

And using a blanket stitch start sawing the body.
Start your stitch from the inside of the felt so as to keep your knot inside the bunny.
I like to start from the head down to the legs and leave the back open for stuffing with wool.

After you sawn the head, legs and reach the back of the bunny, you can start stuffing the bunny with the wool.
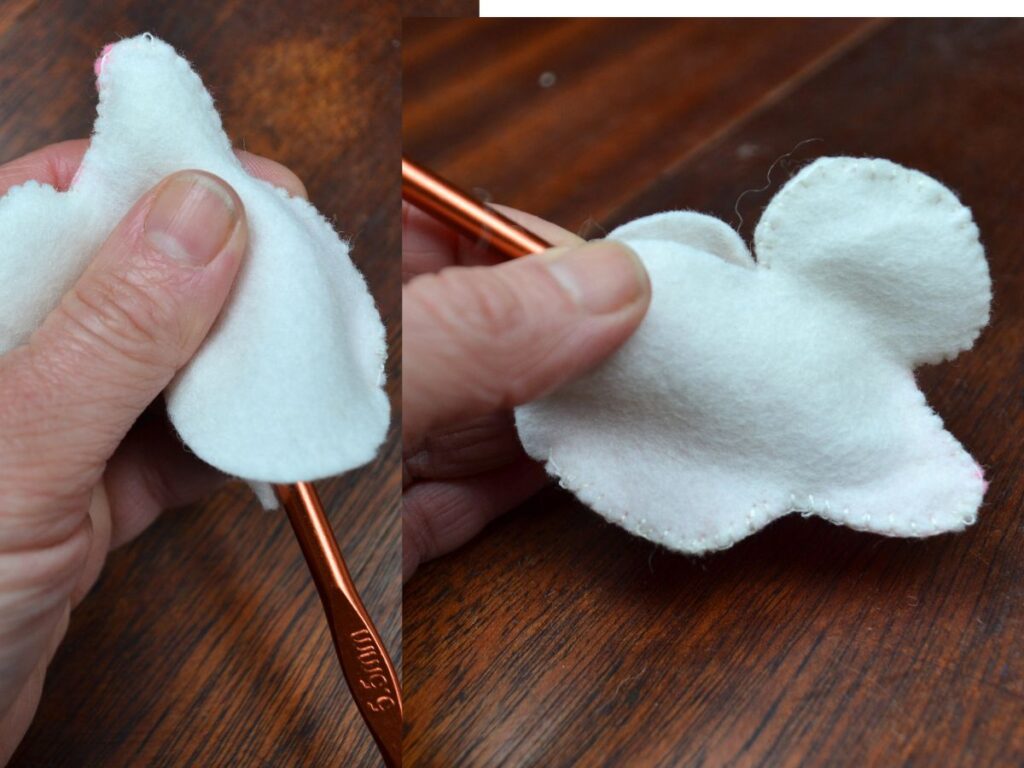
Start with the front legs. Make small ball of wool and with the help of a crochet needle, or your finger, push the wool to each leg.
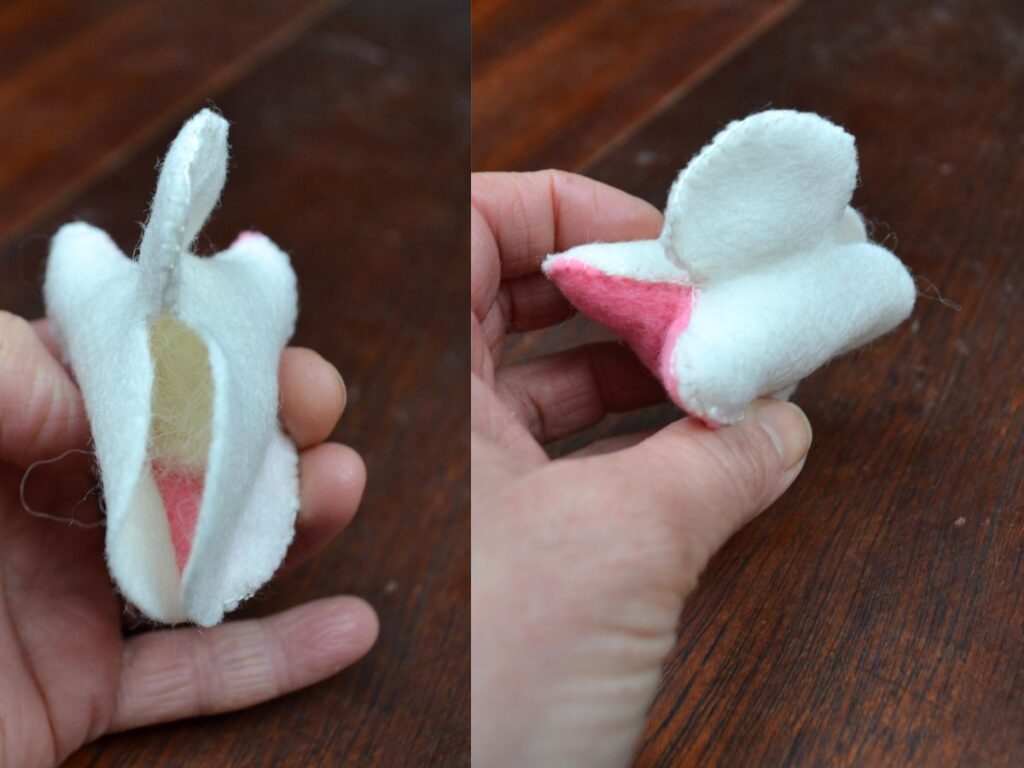
Once the legs are hard with wool, stuff the head and the rest of the bunny.


When you have the bunny full, start sawing from the neck to the back.

Before you finish closing the bunny, add more wool if you need to.

Saw the years together and then saw them to the head.

To make the tail, make a little ball of the stuffing wool and sew it to the bunny.
Shape it with the stitches.

If you want eyes, you can make them with needle felting, or you can use embroidery thread with a French knot.


You might also like:


,