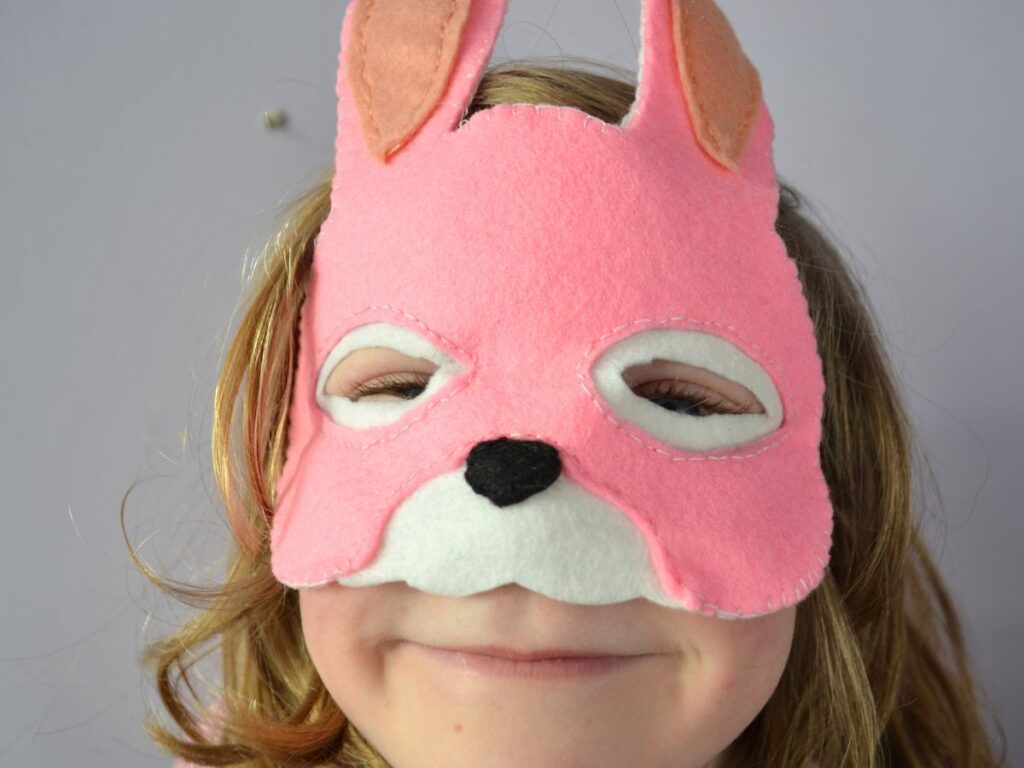
Easy Handmade Felt Bunny Mask with free pattern
There’s something so nice about handmade dress-up pieces, especially when they spark imaginative play. Its a wonderful gift for a child to observe you creating something special for them.
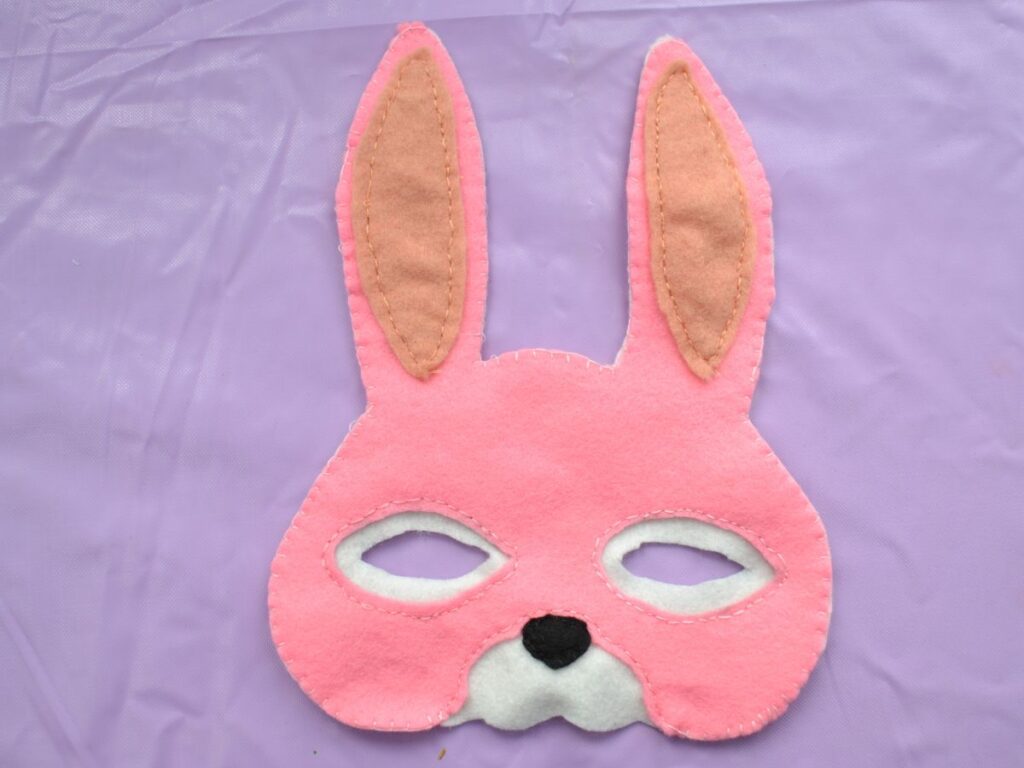
I’m sharing this Easy Handmade Felt Bunny Mask, a simple sewing project that’s perfect for spring celebrations, Easter baskets, or everyday make-believe. It’s beginner-friendly, quick to stitch, and uses just a few materials (felt thread and a piece of elastic). I’ve included a free pattern so you can make your own bunny mask at home.

What you need to make the Mask:
Materials:
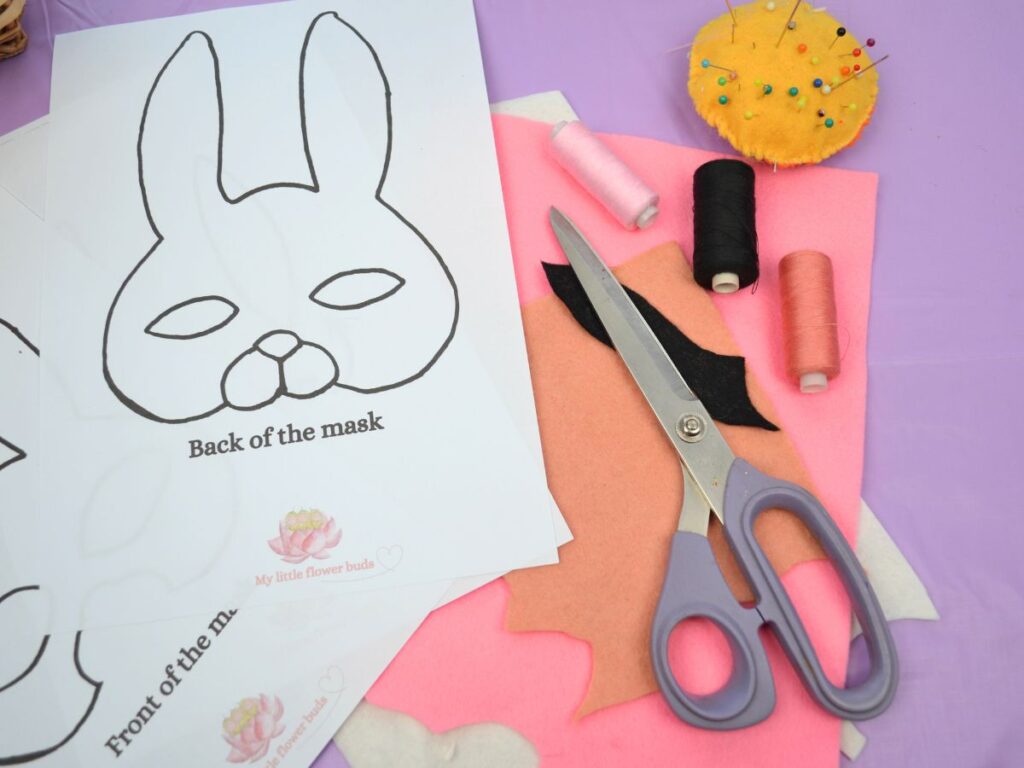
- Felt, colours of your choice
- thread, pins and needle
- Scissors
- Elastic
- Pattern
Felt:
The best felt you can get is 100% wool. It is slightly more expensive but much nicer and easier to work with, and the finished product will last much longer.
Stiches:
For this mask, I use a blanket stitch and a back stitch.
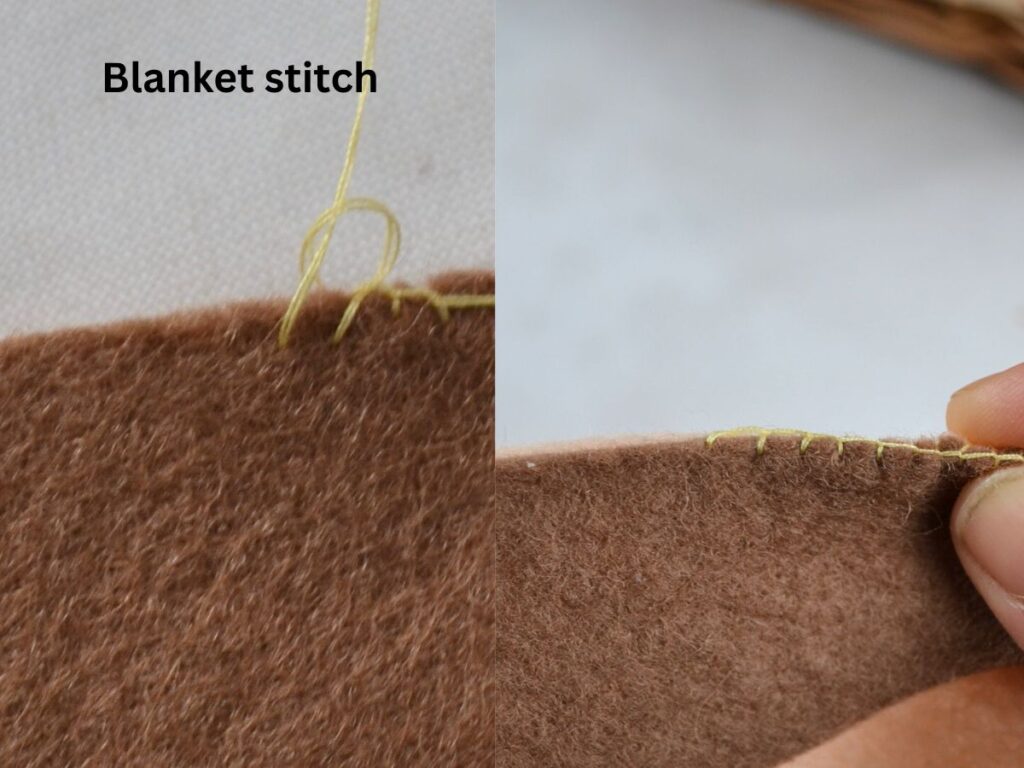
How to do a blanket stitch:
Insert your needle from the underside of the fabric to the front. Then push it down through the fabric a short distance away, leaving a loose loop on the surface. Bring the needle back up through the centre of the loop, catching the thread to create a vertical stitch. Continue working these diagonal stitches along the edge, always keeping the working thread beneath the needle before tightening each stitch. Complete the row with a small securing stitch to anchor your work.
To sew the inside of the years and the nose the back stich:
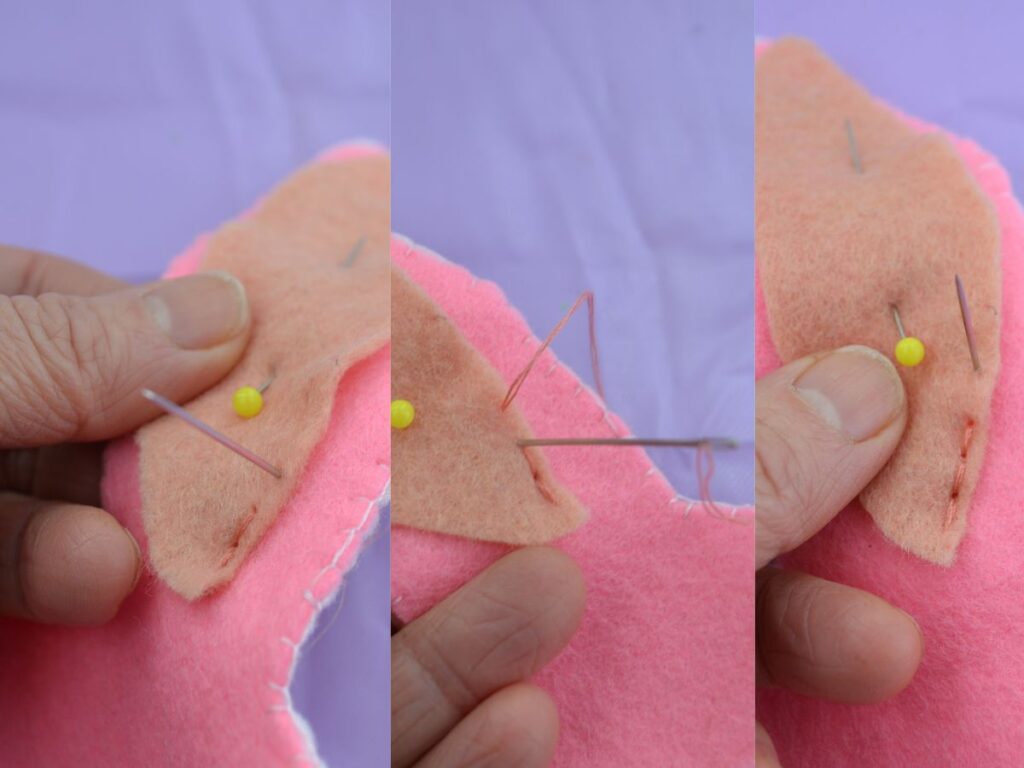
How to Sew a Back Stitch
- Bring your needle up through the fabric at your starting point.
- Insert the needle back into the fabric a short distance behind where the thread came out (this is what makes it a “back” stitch).
- Bring the needle up again a short distance ahead of the first stitch.
- Repeat the process — always stitching backward into the end of the previous stitch, then coming up ahead.
Each new stitch connects to the last one, forming a neat, unbroken line
How to sew the Bunny mask:
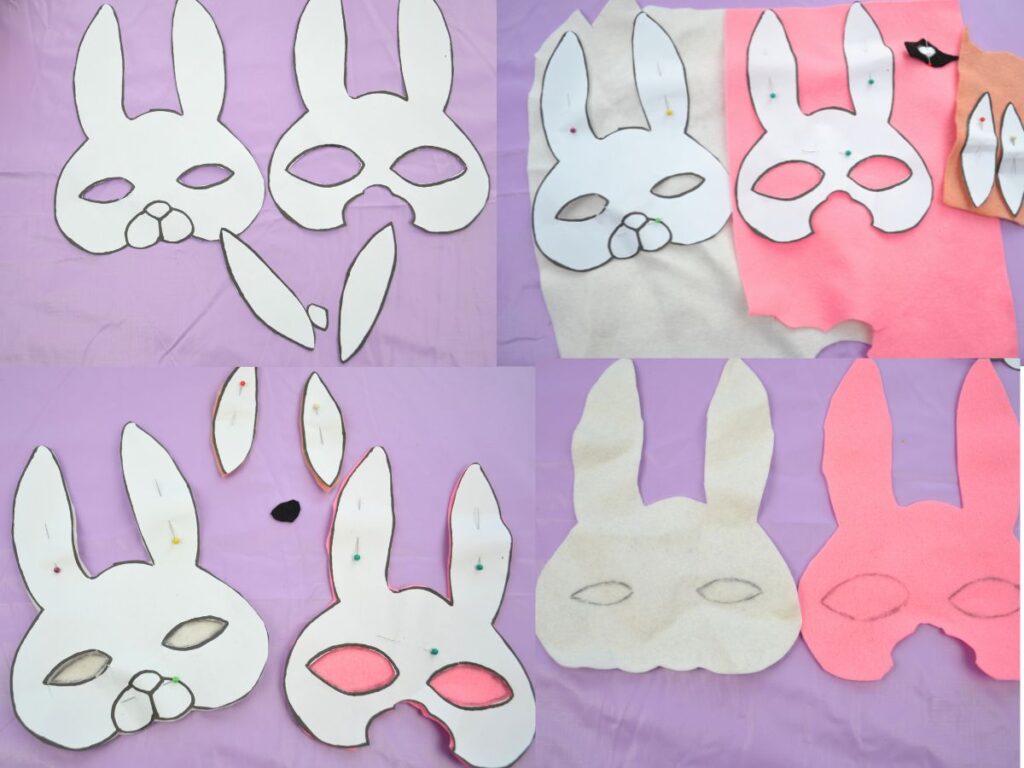
Start by cutting the paper pattern. Then pin all the pattern pieces to the felt. Cut around them carefully.
Then mark the eye holes.
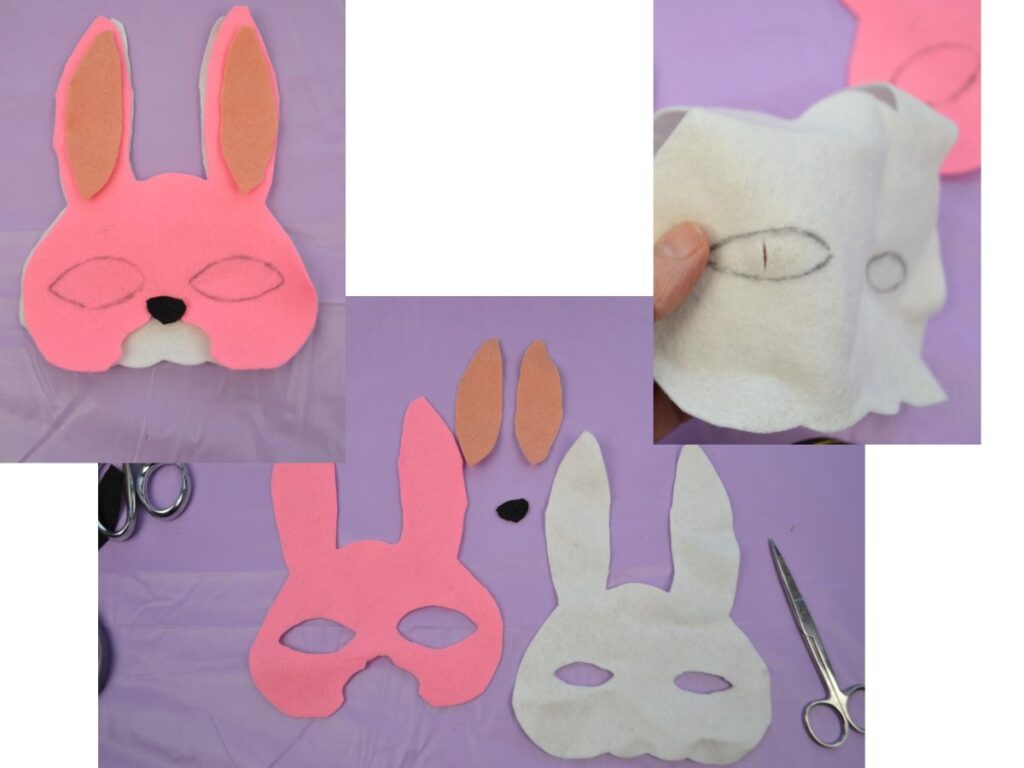
Cut the inside of the eyes. This is the hardest part.
I fold the felt, cut a small piece, then cut around the eyes through that cut. If you have a small, sharp, and pointy pair of scissors, it will make your job much easier!
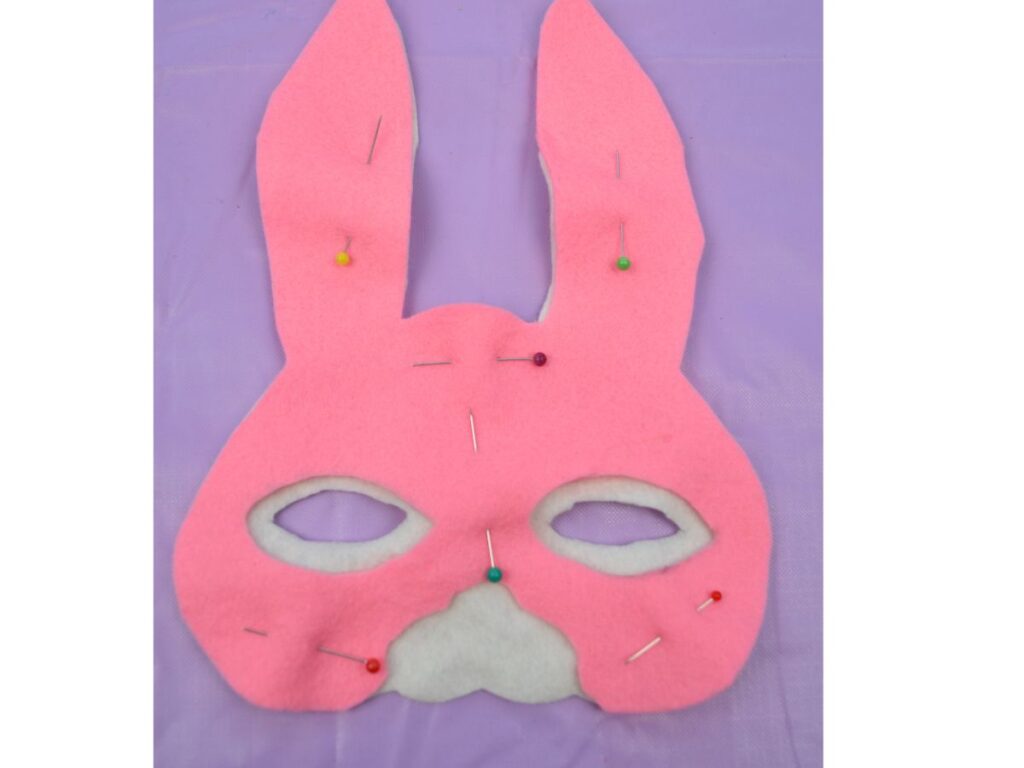
Pin the two face pieces.
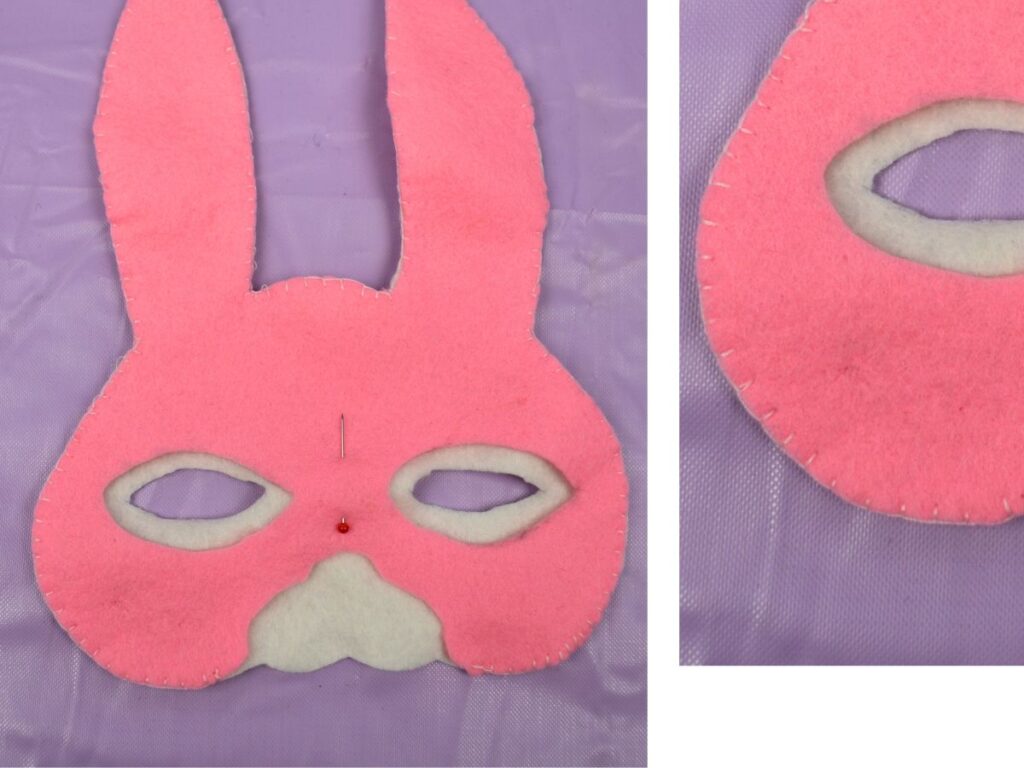
Sew the pieces using a blanket stitch.
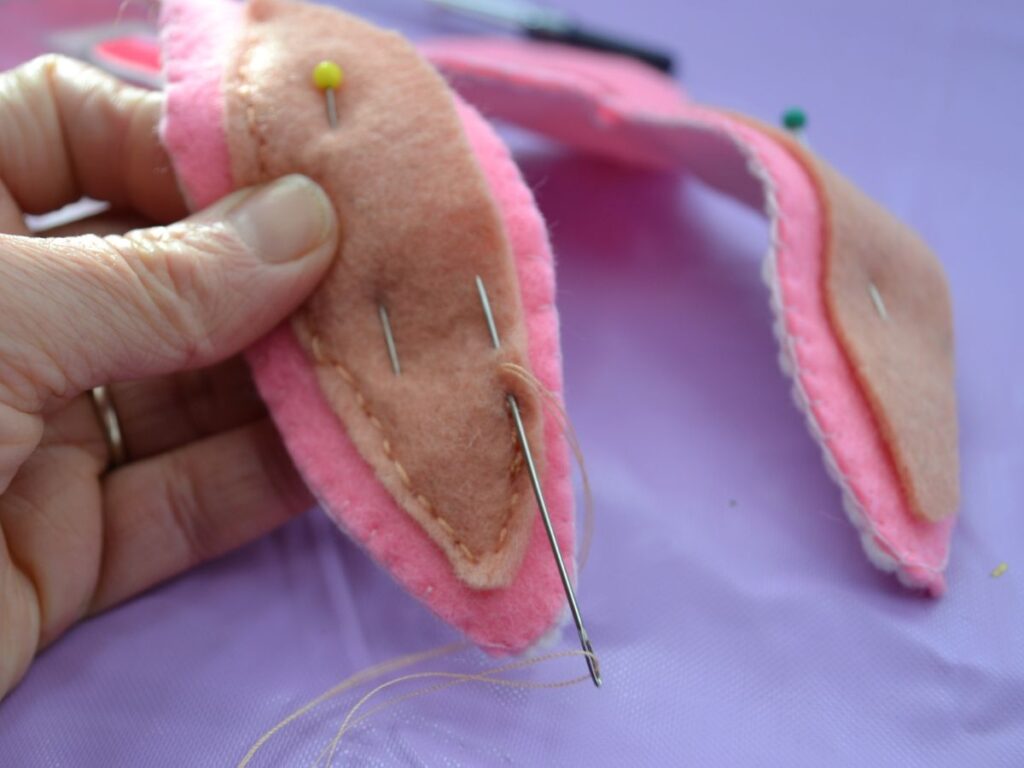
Use a back stitch to sew the inside of the ears.
Then sew around the eyes, mouth, and nose using a back stitch.
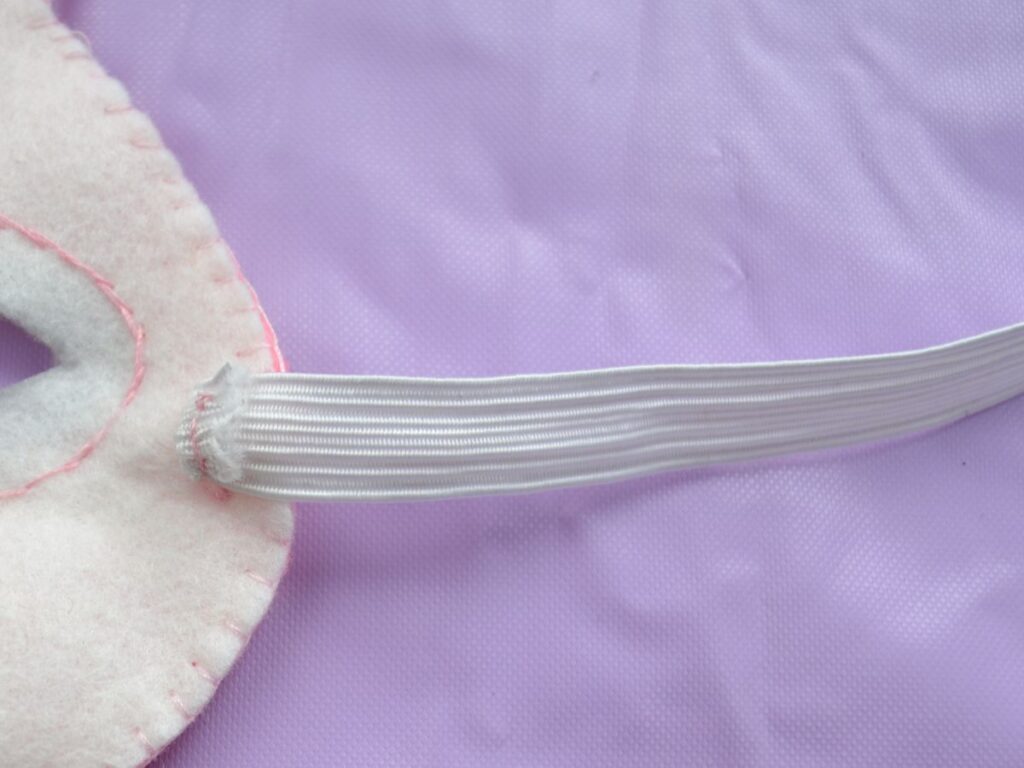
Measure the elastic, I use about 25-30 cm. Sew it with a back stitch.

And there you have the finished mask!

💛 💚 💛