How to make a Felt Pegasus and PDF pattern
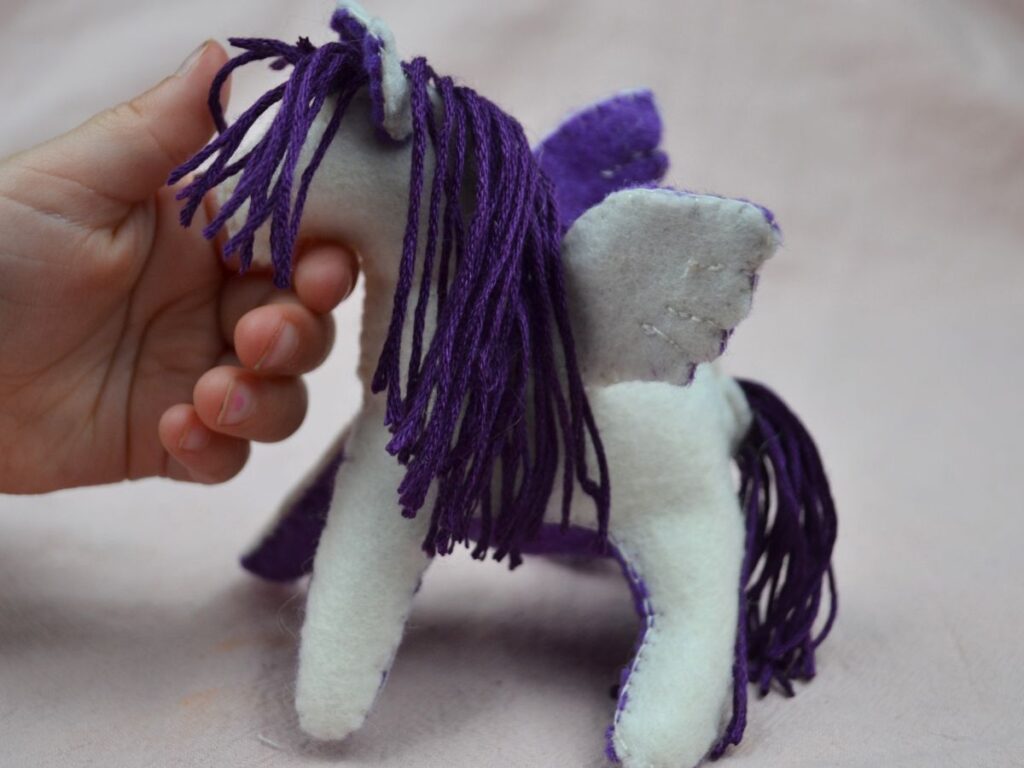
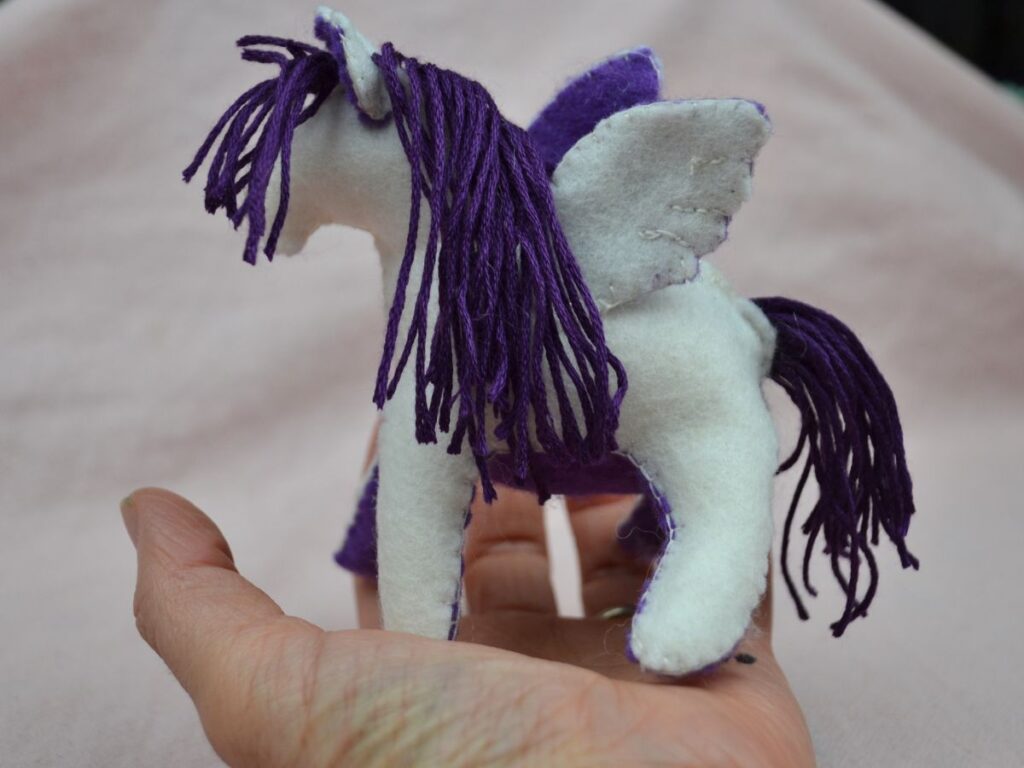
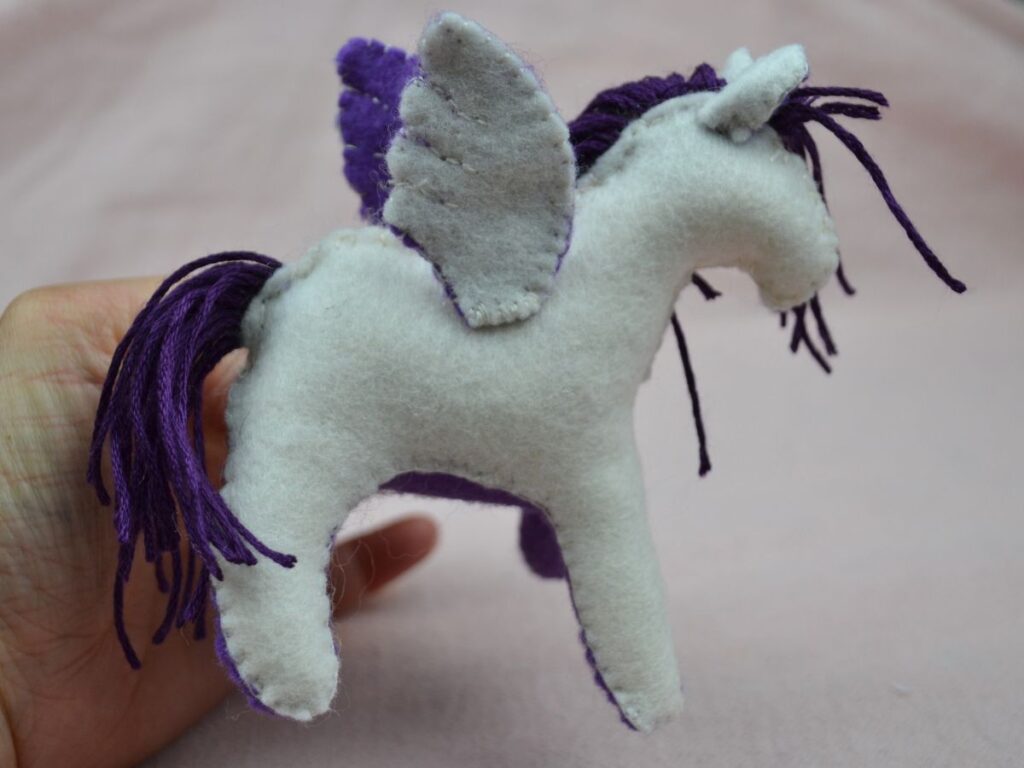
There’s something truly magical about creating your own handmade felt pegasus. With its soft wings, delicate details, and whimsical charm, this beginner-friendly felt craft is perfect for anyone who loves fantasy-inspired sewing projects and cosy handmade decor. In this tutorial, you’ll learn step-by-step how to make a cute felt pegasus using simple materials, along with a printable PDF pattern to help you cut and assemble each piece with ease. Whether you’re crafting a special gift, nursery decoration, or adding to your handmade plush collection, this felt pegasus project is a fun and creative sewing adventure.
Stiches you will use:
- Blanket stitch.
- Running stitch
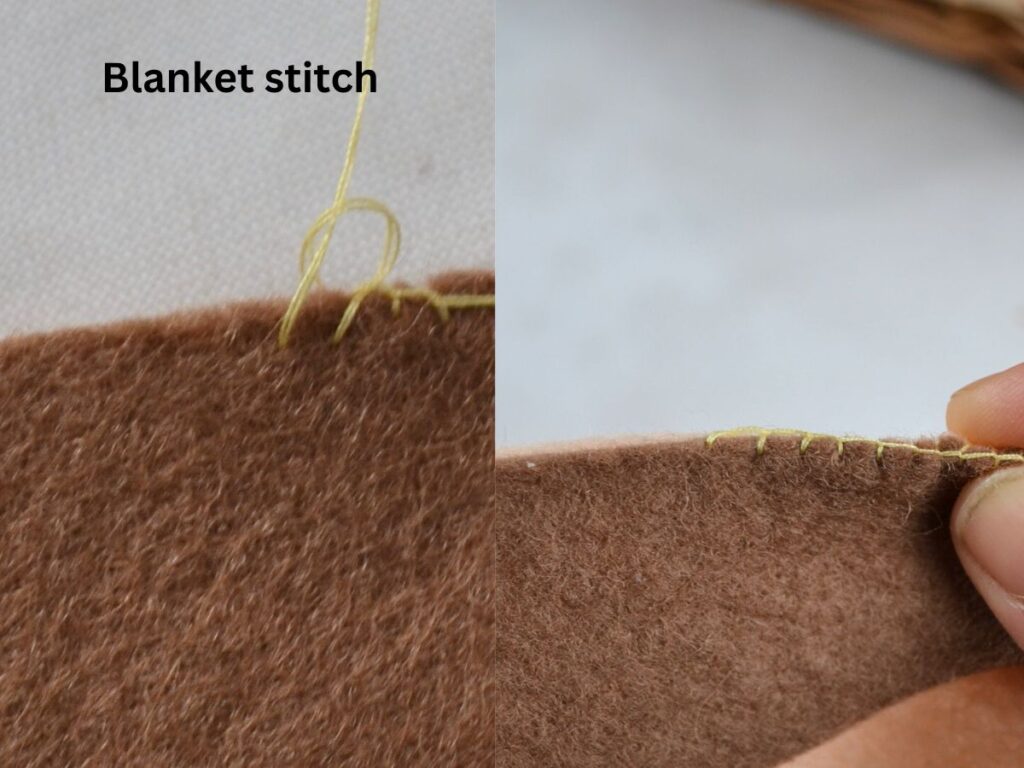
How to do a blanket stitch:
Insert your needle from the underside of the fabric to the front, then push it down through the fabric a short distance away, leaving a loose loop on the surface. Bring the needle back up through the centre of the loop, catching the thread to create a vertical stitch. Continue working these diagonal stitches along the edge, always keeping the working thread beneath the needle before tightening each stitch. Complete the row with a small securing stitch to anchor your work.
Running stitch: For the tail and the Maine.
Go in with the needle through the two pieces of felt and come out the other side. Then go in through the felt from the same side you just came out from

Materials for felt pegasus:
- A pegasus pattern
- Wool felt (is best if it is 100% wool), 2 colours.
- Stuffing wool
- Neddle pins and thread
- wool or embroidered thread for the mane and tail.
- Scissors
- crochet needle or pencil.
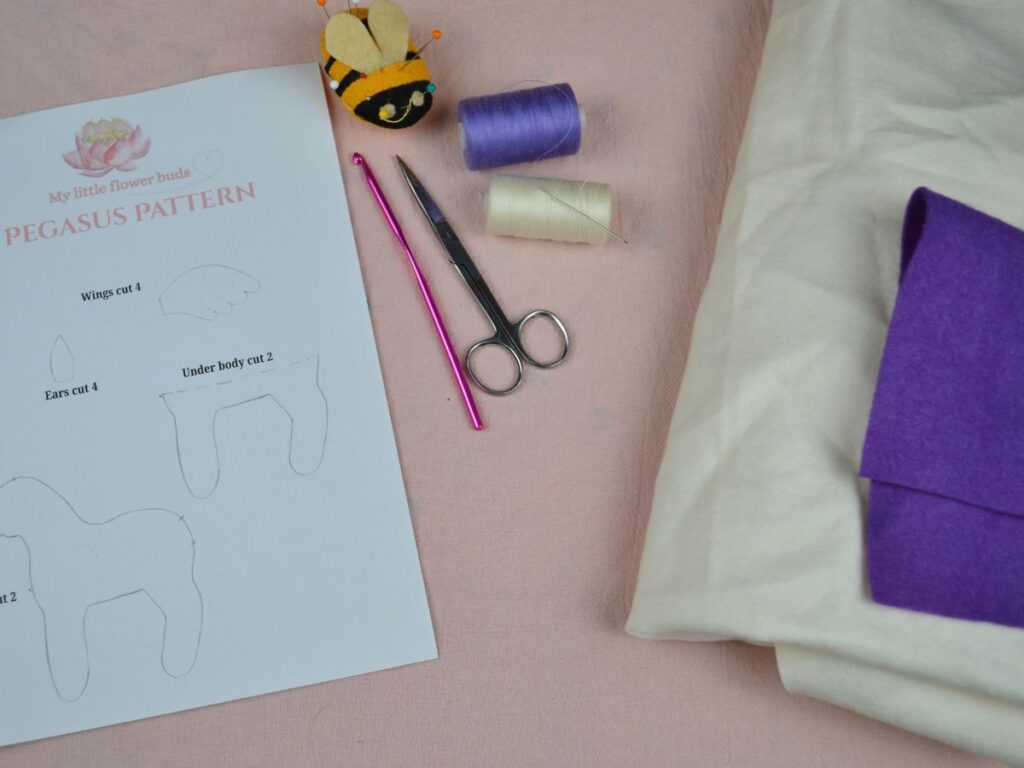
How to sew the pegasus:
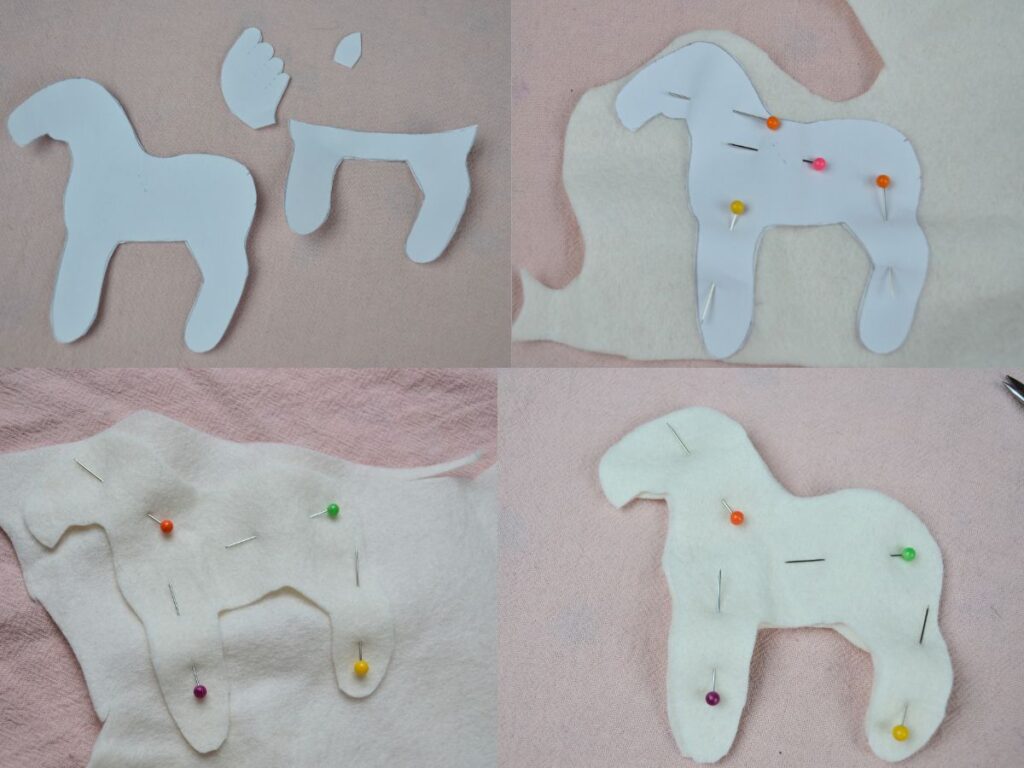
Start by cutting the pegasus pattern pieces.
Then pin the body to the felt, and cut it out. You can fold the felt and cut the two pieces at once, or use that piece to mark the second body piece.
Pin the two pieces together.
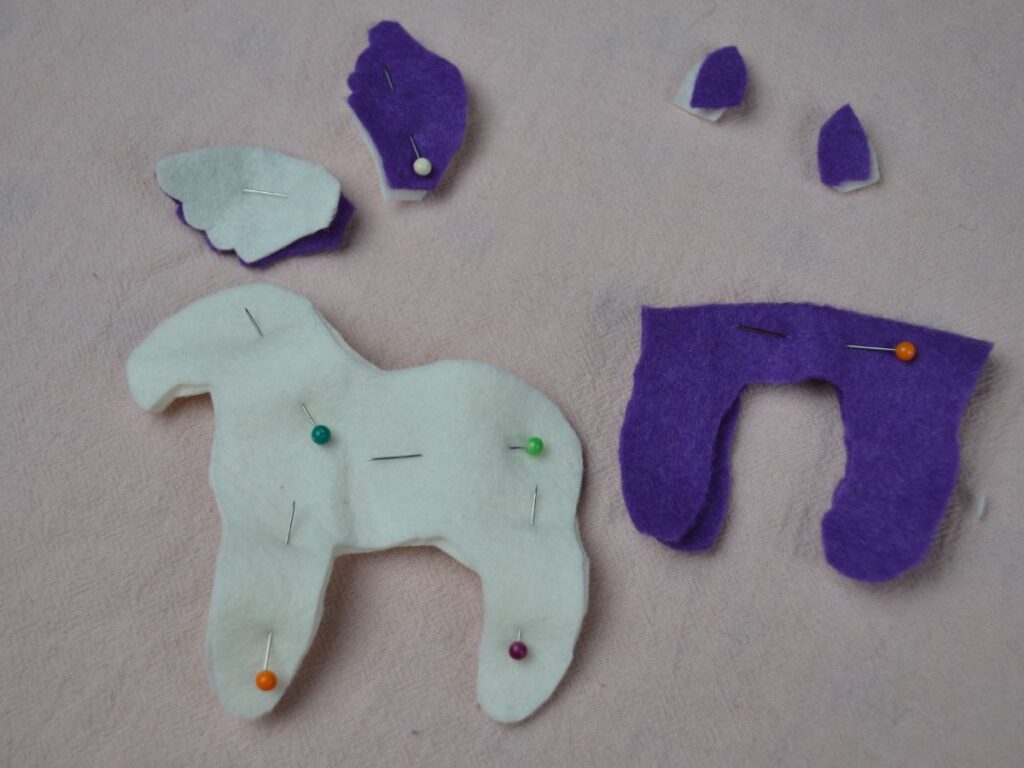
Cut all the other felt pieces, underbody, ears and wings.
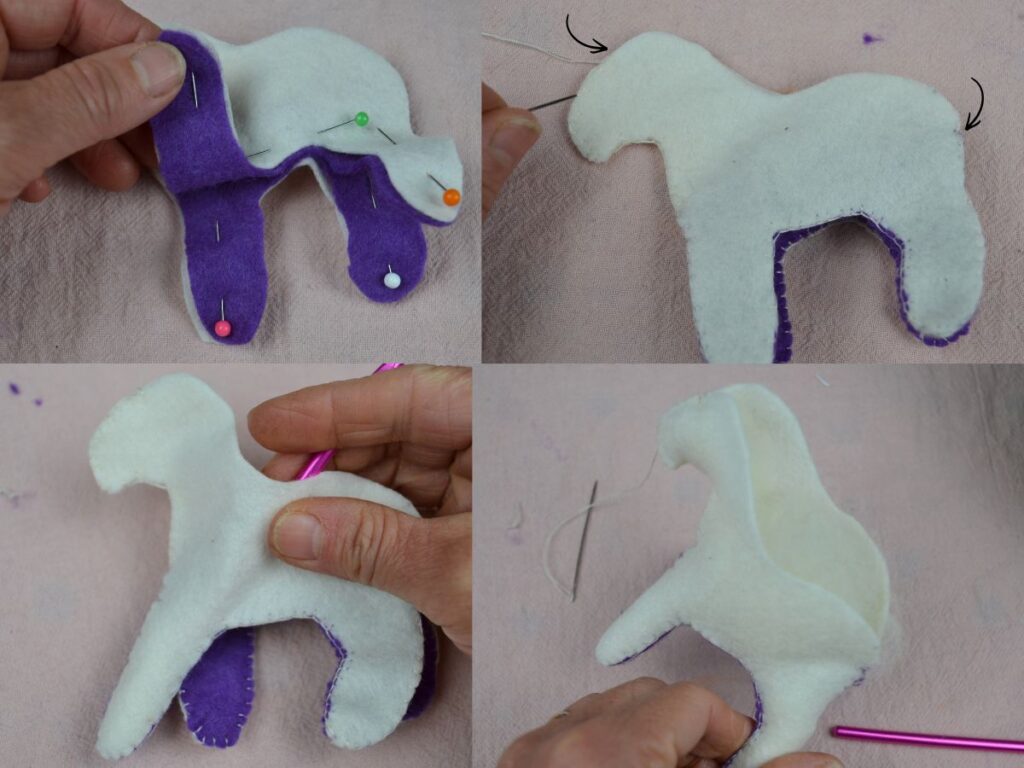
Pin the underbody to the pegasus body, and using a blanket stitch, start sewing from just under the tail to the top of the head (as shown with arrows in the picture).
Use a crochet needle or the back of a pencil to push small pieces of stuffing wool into the pegasus’s body, starting with the legs, then the head, and then the body. Leave the back open for now.
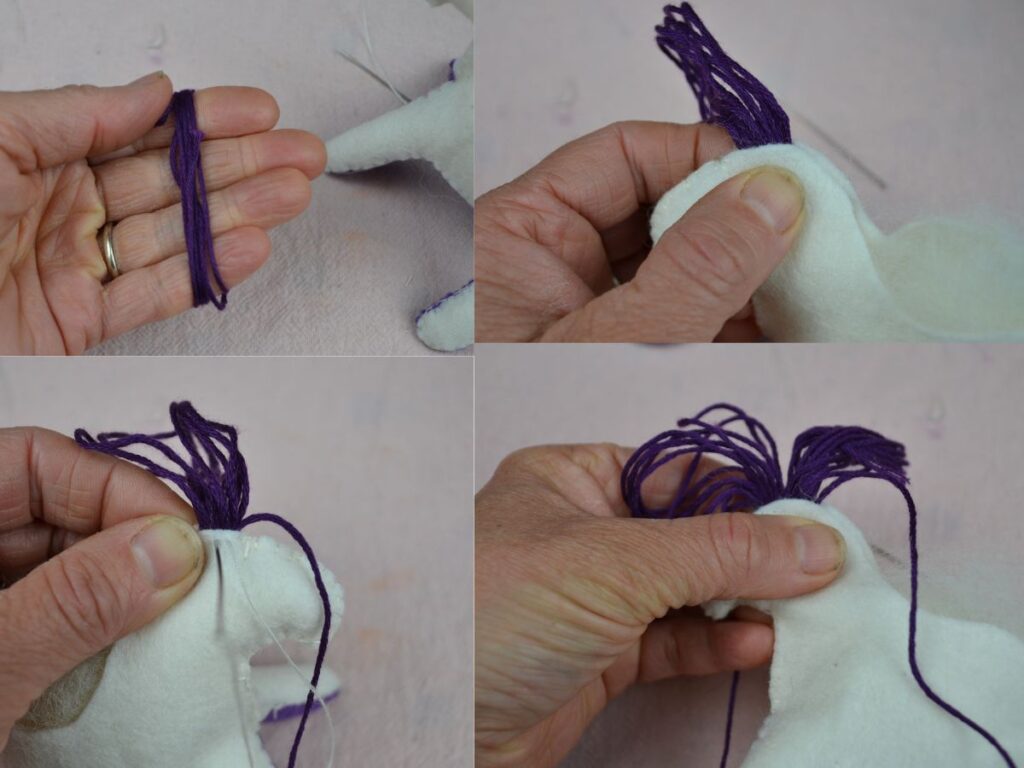
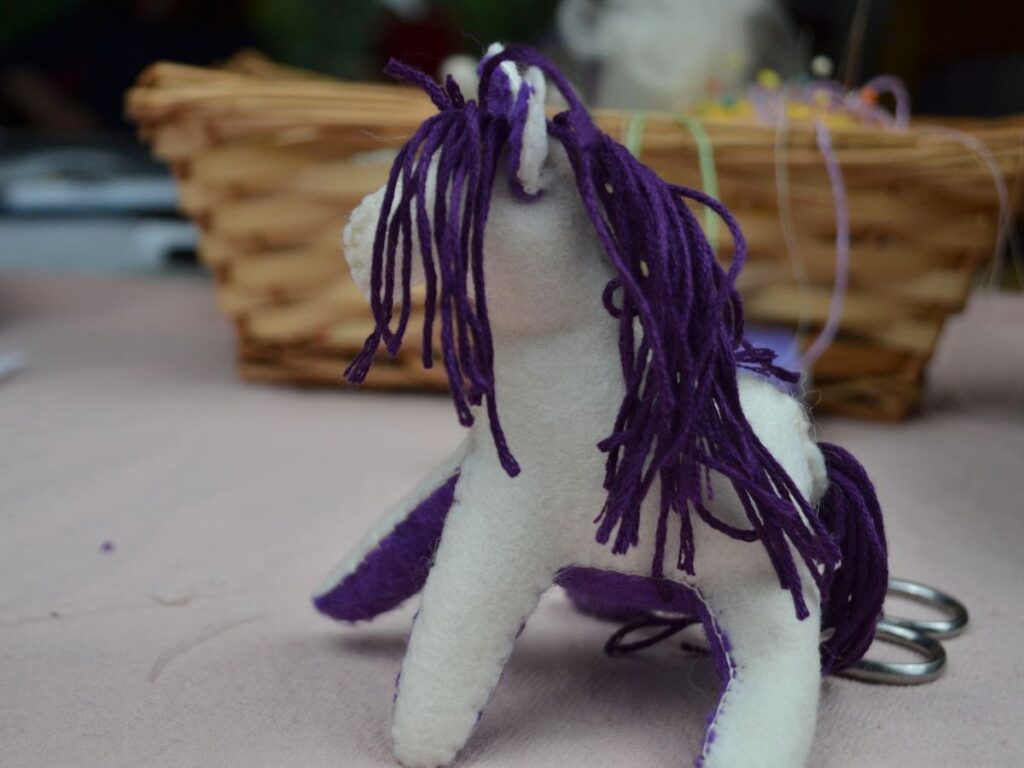
Wrap some embroidery thread or wool between your fingers, whatever length you want for the mane. Insert it at the top of the head and stitch it using a running stitch.
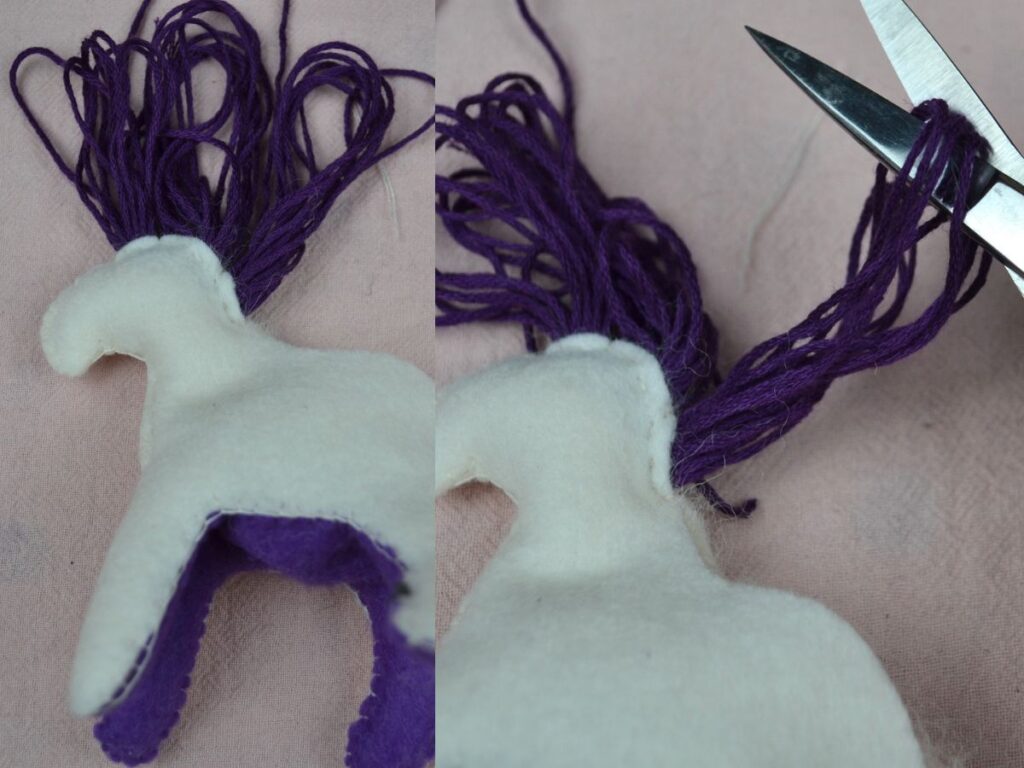
Do this until you reach the end of the neck, then cut the loops and the length.
Then keep sewing with a blanket stitch until you reach the opening for the tail.
Fill with more wool if needed.
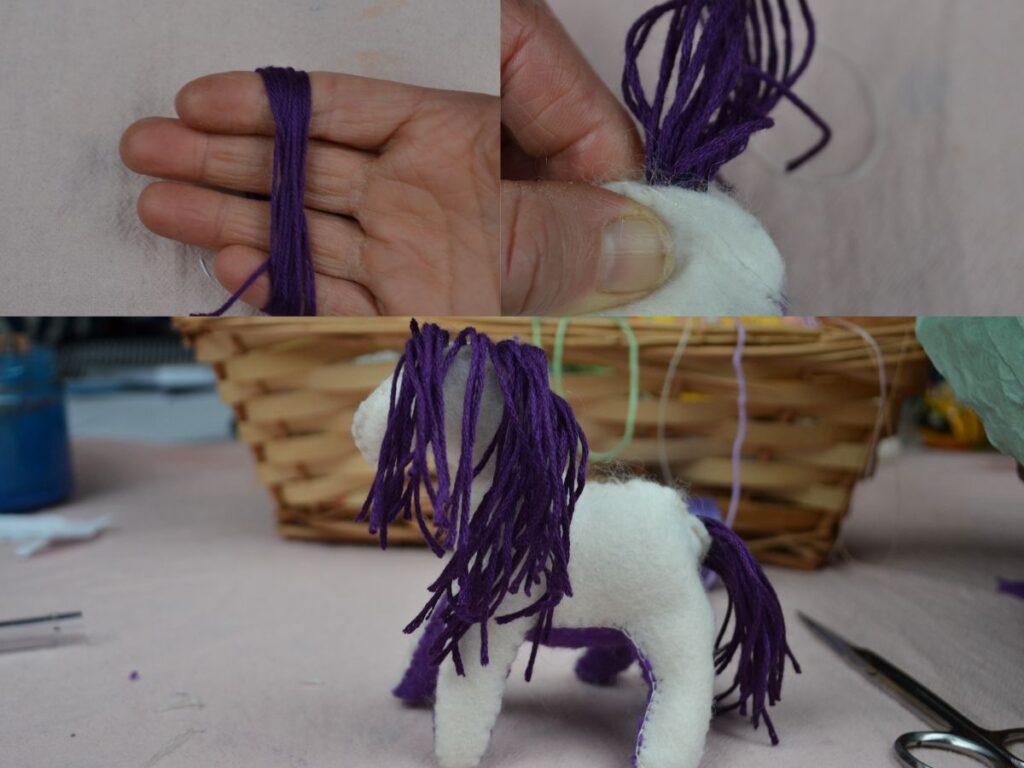
Wrap some embroidered thread between your fingers to form the tail, insert it into the opening, and sew it with a running stitch.
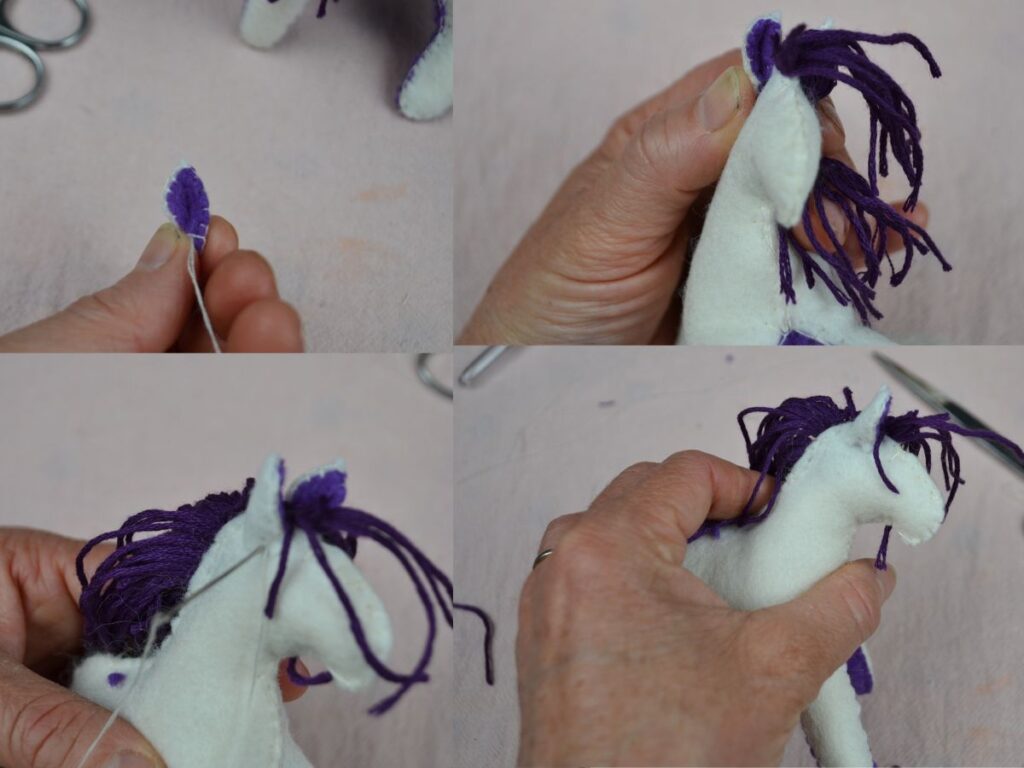
Sew the two felt pieces for the ears together. Then measure and sew them to the head, going from one side to the other.
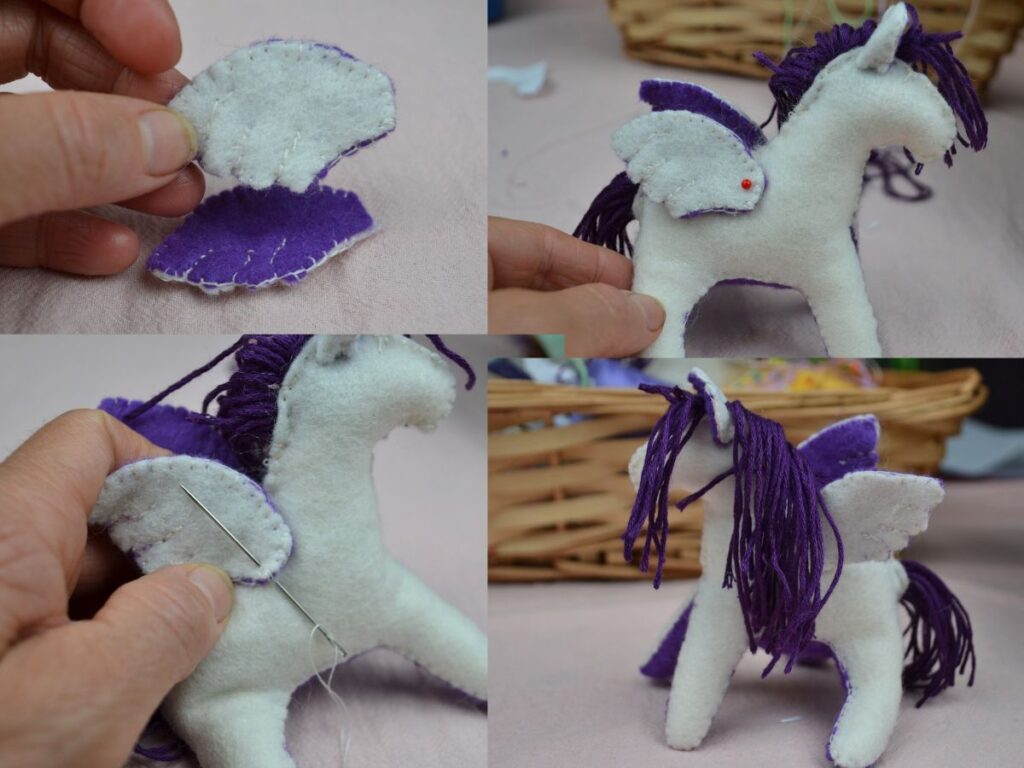
Sew the wing pieces together with a blanket stitch, and use a running stitch to mark the wings.
Then sew them to the pegasus body.