How to make easy Paper snowflakes
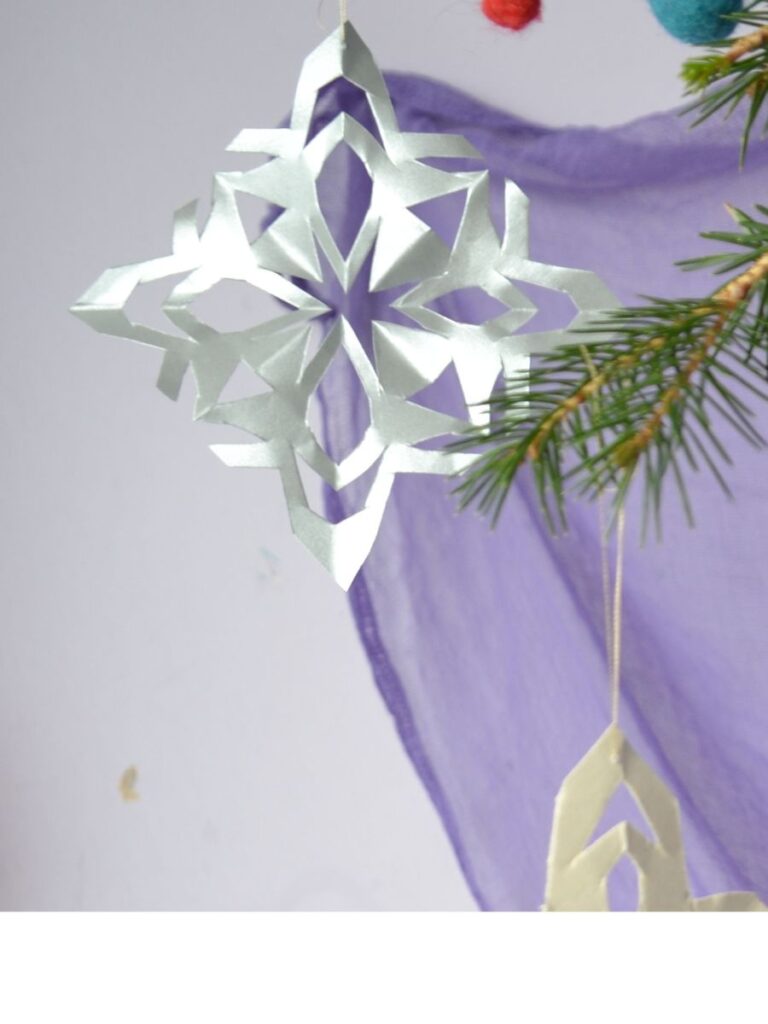
Making paper snowflakes is a simple and lovely Christmas craft to enjoy with children. With just a sheet of paper and a pair of scissors, you can create beautiful snowflakes in all kinds of shapes and patterns. This easy craft is perfect for decorating windows, hanging around the home, or adding a little winter magic to your Christmas celebrations. In this tutorial, I’ll show you how to make paper snowflakes step by step, so you can easily make your own at home.
You will need:
- Paper, plain white or you can use gold or silver, double-sided paper to add extra sparkle and a more festive look.
- Small scissors,
- A pencil.
- String or thread, if you want to hang them
How to make the paper snowflakes:
You can make paper stars in any size you like. For this example, I am using a 10 x 10 cm square.

With a square of paper, fold in half from A to A to form a triangle.
Then fold again from B to B, and a third time from C to C.

Draw a shape on the folded paper, for cutting and cut.

Open up the cut triangle and discover your snowflake.


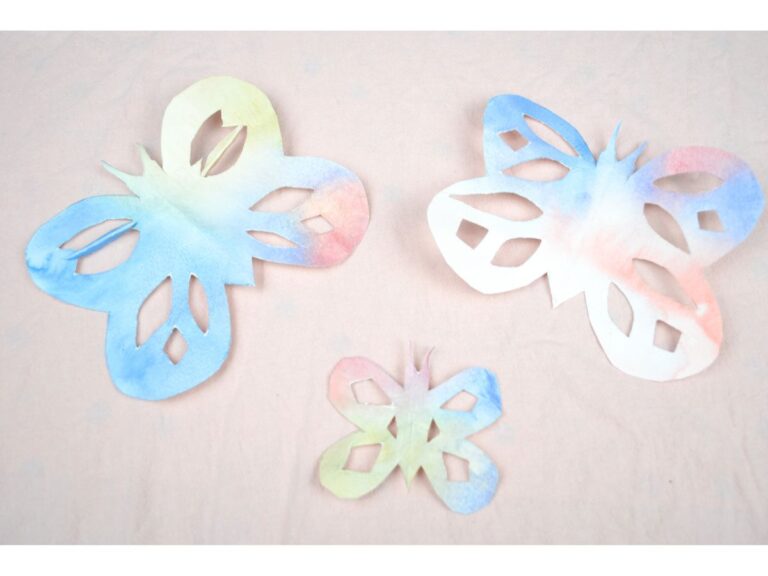
Cut different shapes

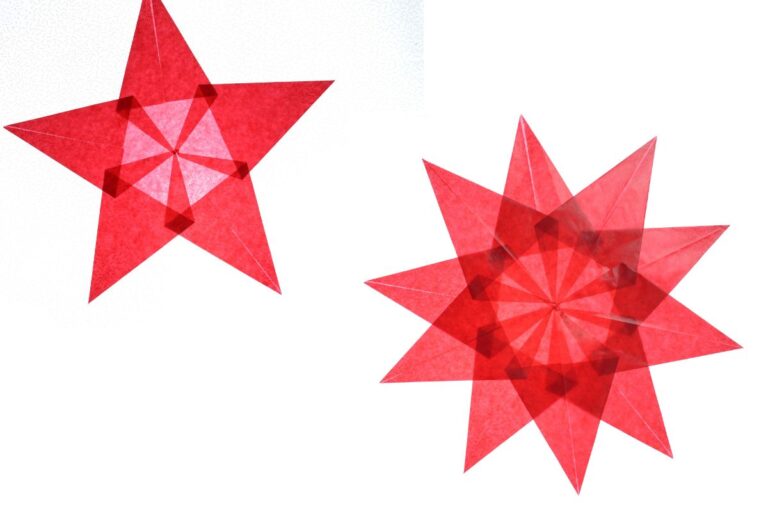
You can cut them from different papers, like metallic or kite paper. You can also apply a little bit of paper glue and add some glitter!

Thread a piece of golden thread to hang.


Tips for Making Paper Snowflakes with Children
- Use thinner paper for easier cutting.
- Start with simple shapes.
- Let children create their own patterns.
- Fold the paper carefully for a neater snowflake.