Simple, Easy Paper Butterfly Craft Ideas + Template
Looking for a simple and easy paper butterfly craft idea? This step-by-step tutorial shows you how to create a beautiful paper butterfly using basic materials you already have at home. It is a lovely activity for children and beginners. This nice and creative project is great for decorations, school crafts, or a relaxing afternoon activity.

These paper butterflies are very easy to make, and you can create different designs and use different papers and sizes. I have a butterfly template you can download for guidance, but it is very easy to create your own.
Paper crafts are a creative and easy craft for children. These paper butterflies would be recommended for children aged about 7 and up.
Materials:
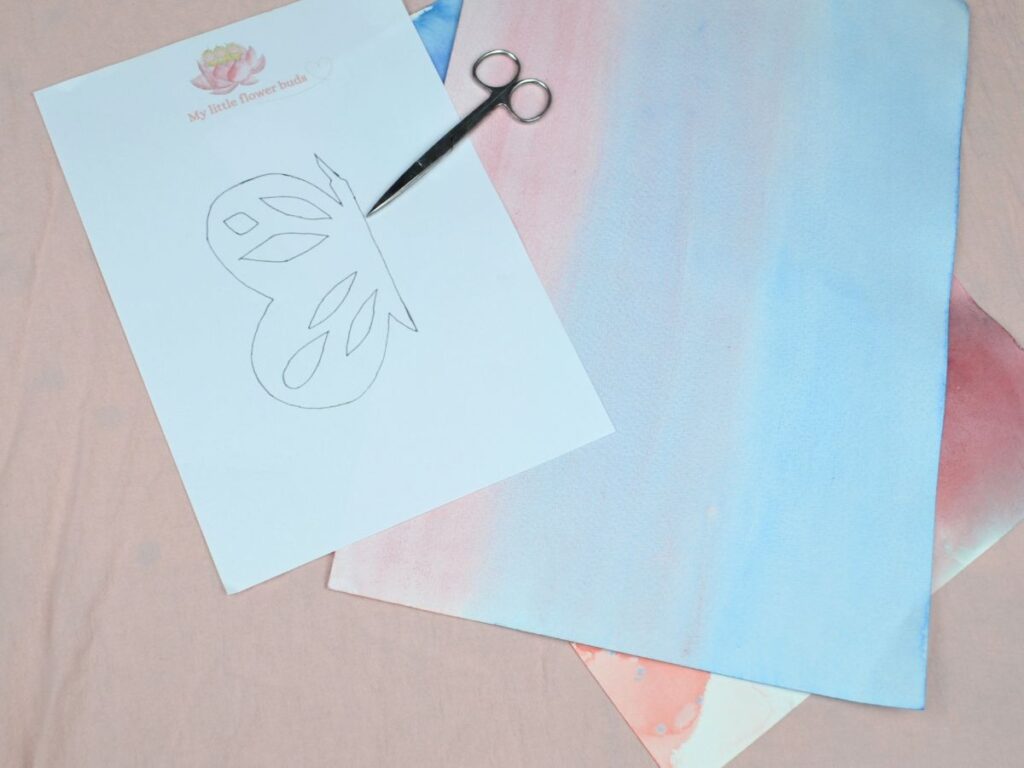
- A butterfly template (optional)
- Paper, I am using watercolour paper, but any will work.
- Scissors
- Glue, Tissue paper or kite paper for decorating (optional)
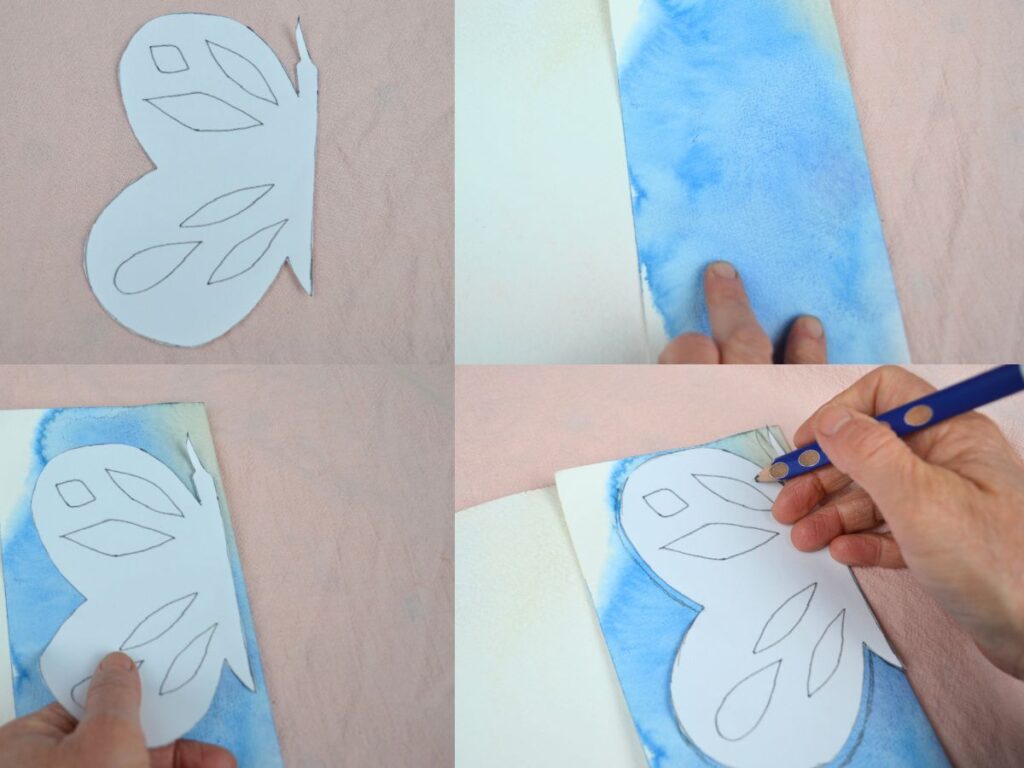
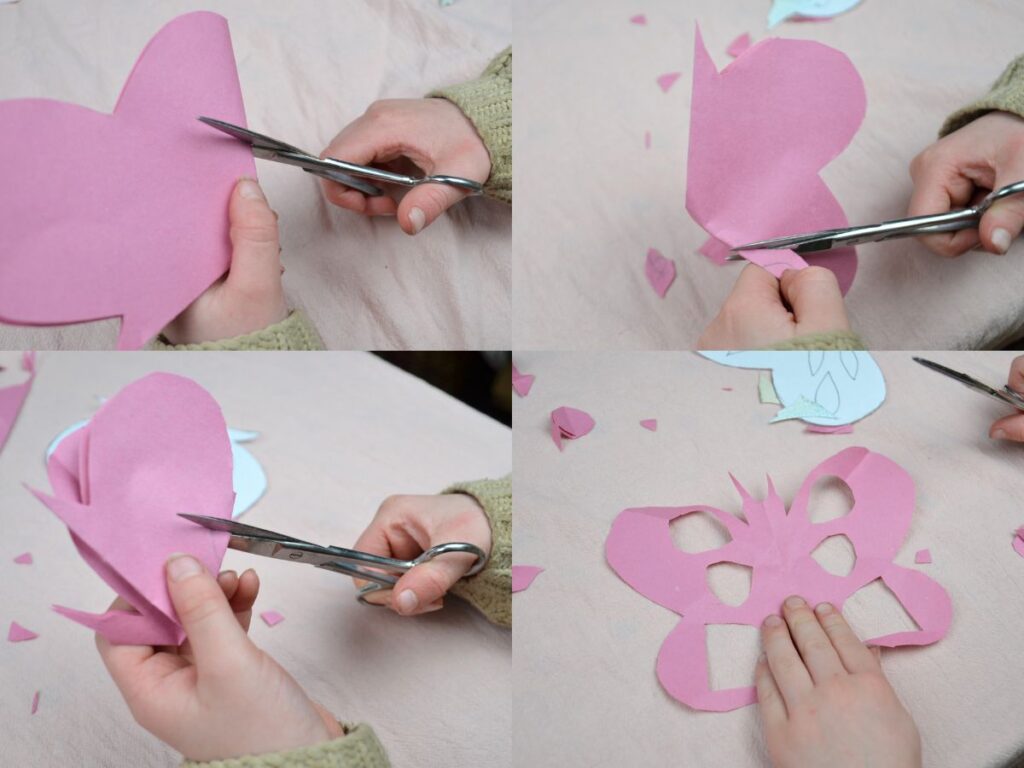
Cut the template if using one.
Fold the paper, and mark your template.
And cut.
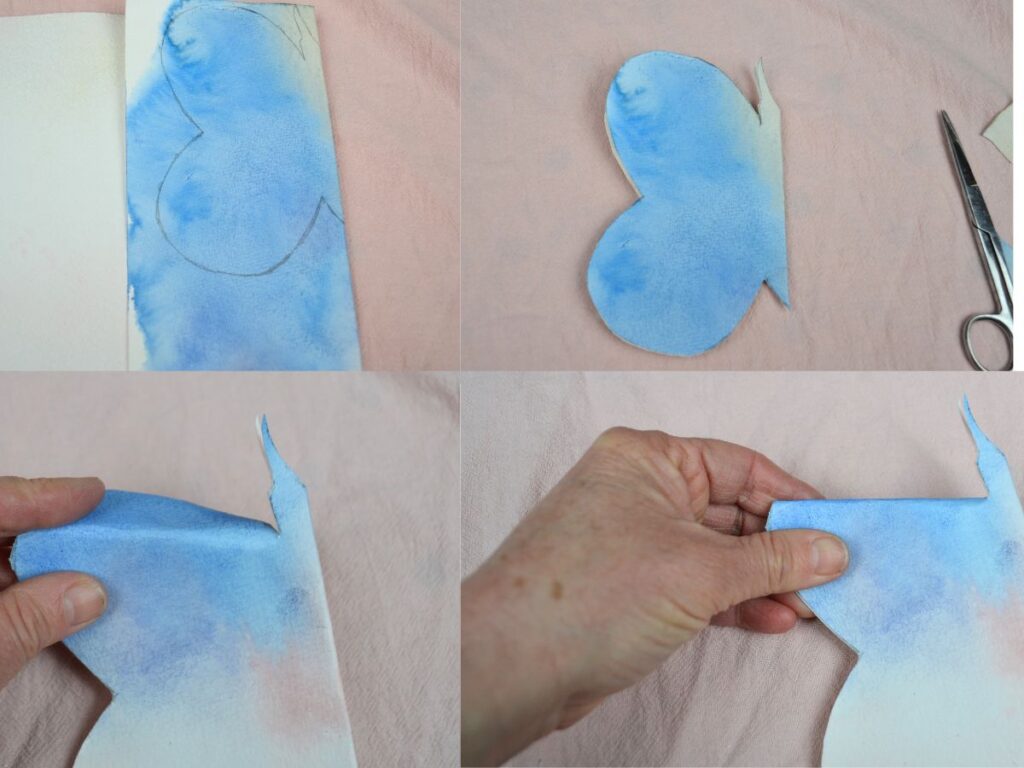
To make the butterfly wing designs, fold as shown in the picture.
Make sure the fold is pointing towards the centre of the butterfly.
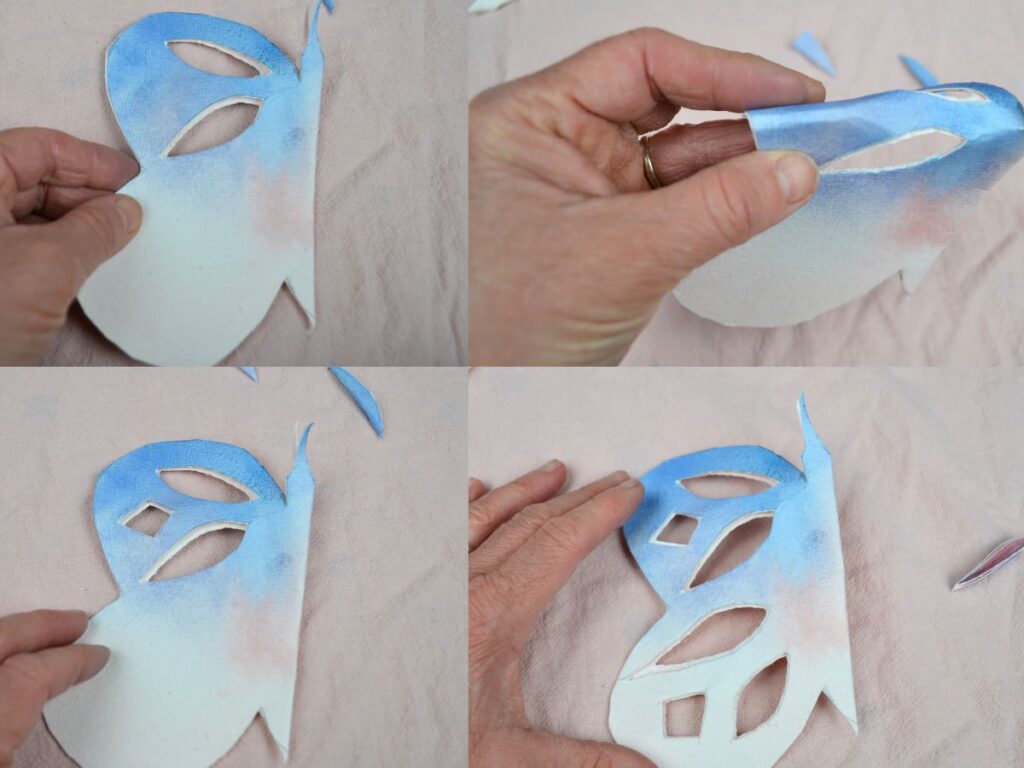
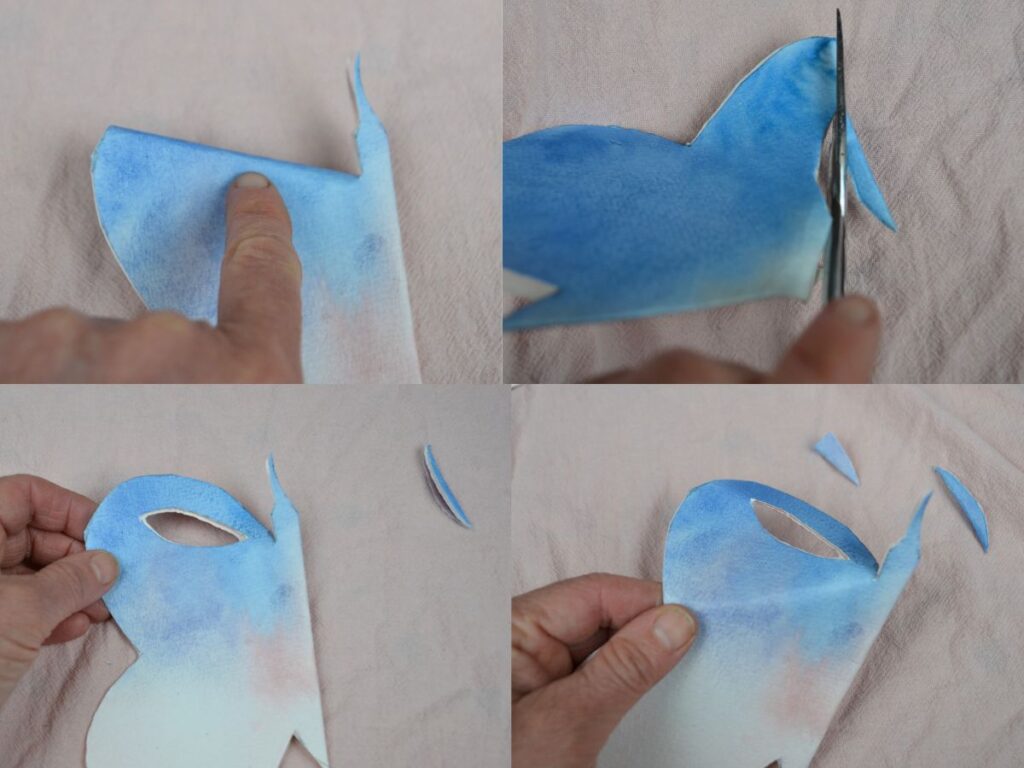
Continue folding and cutting until you have the design you want.
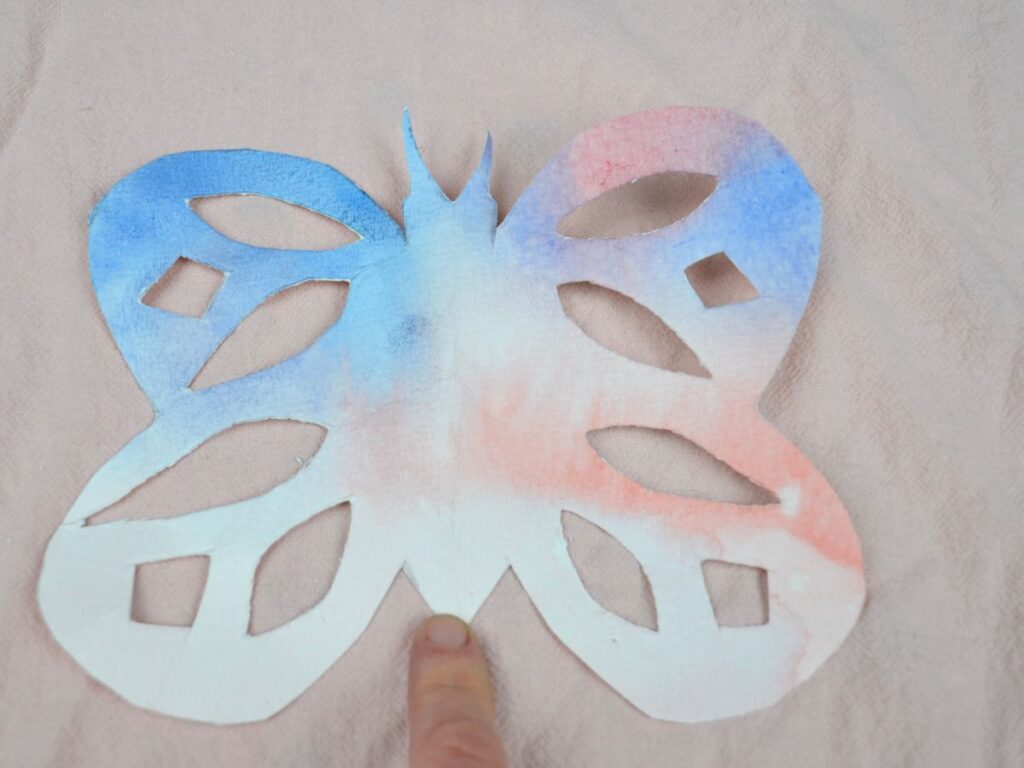
And open to discover your design.
Children are pleasantly surprised when the butterfly opens.
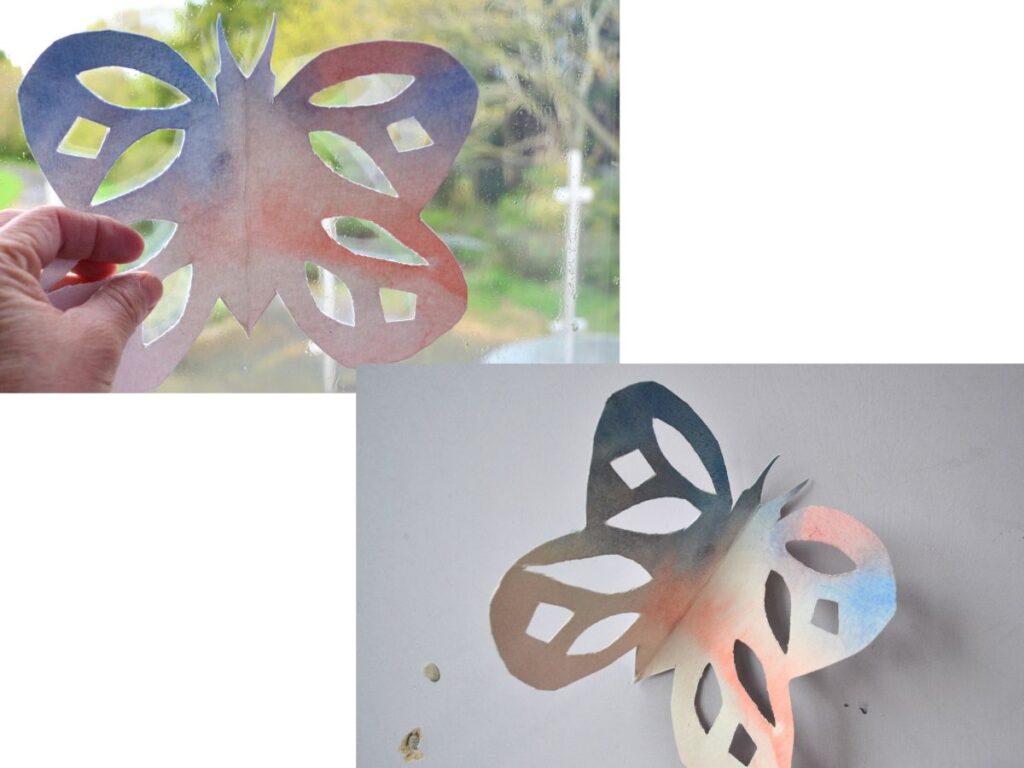
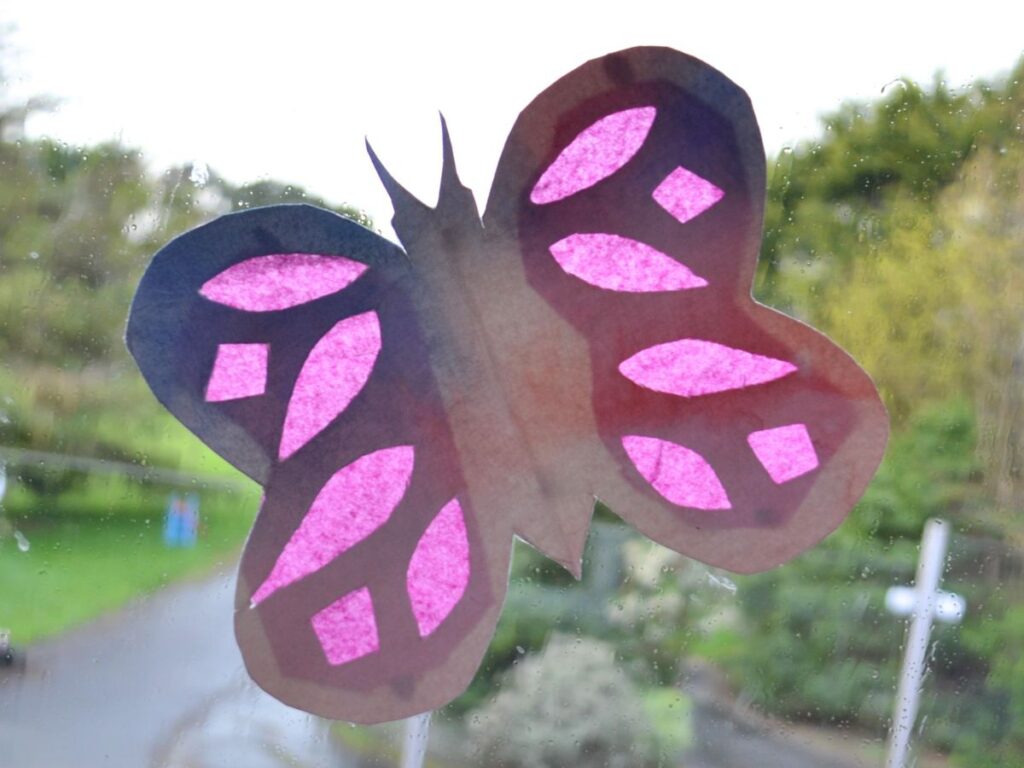
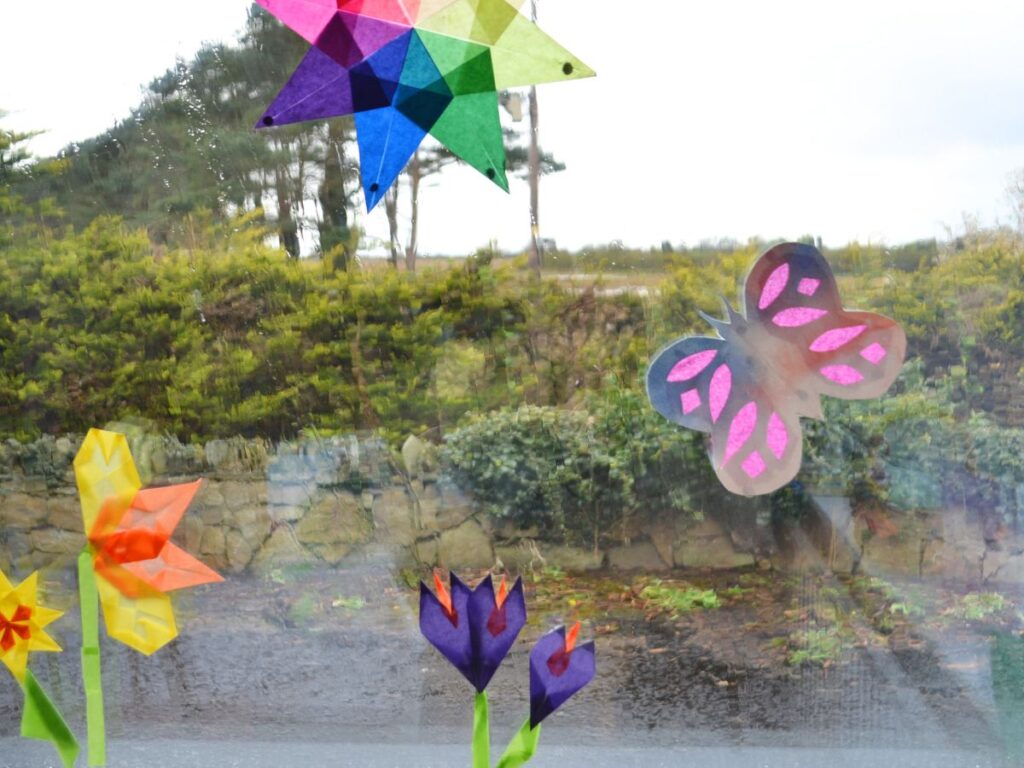
Paper butterfly crafts look beautiful on windows or on wall.
You bend the wings and stick just the body of the butterfly.
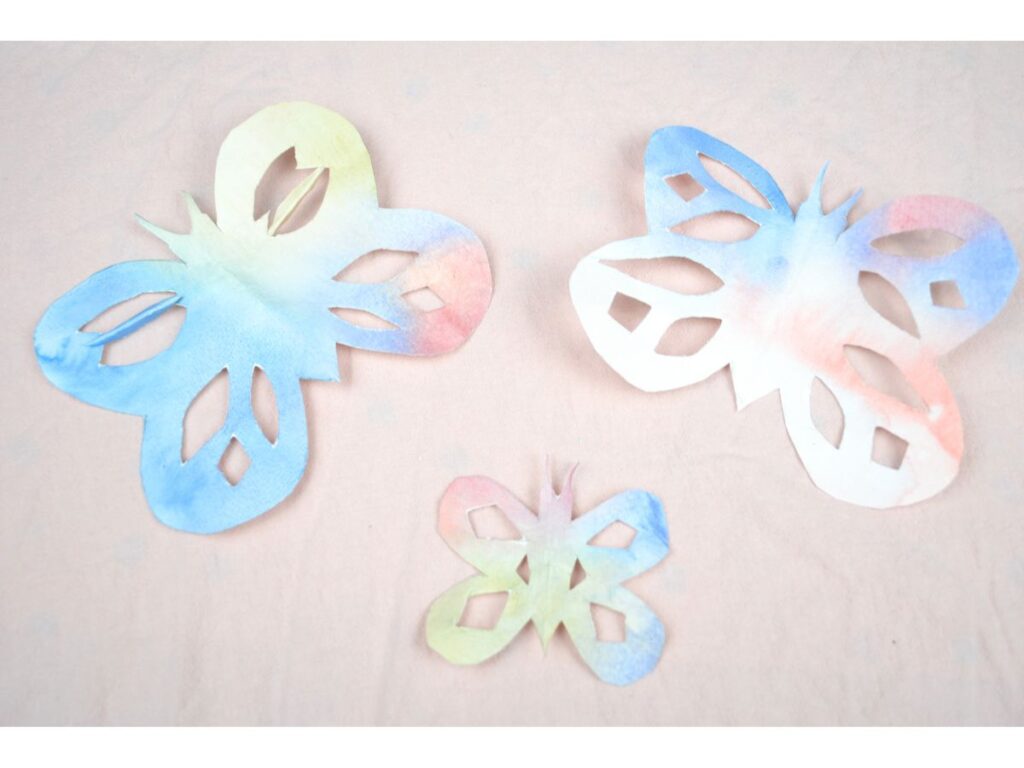
Beautiful designs.
For younger children, watercolour paper is a bit hard to cut, so you might prefer using a thinner paper.
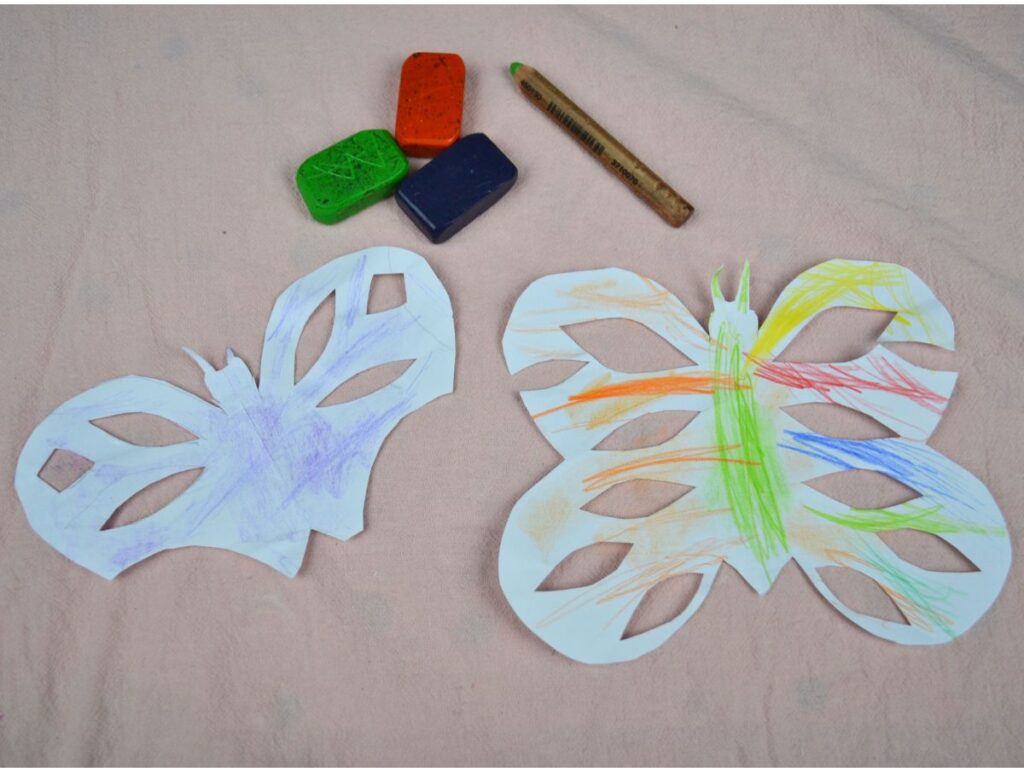
You can also make the butterflies on plain white paper and give them to younger children to colour.
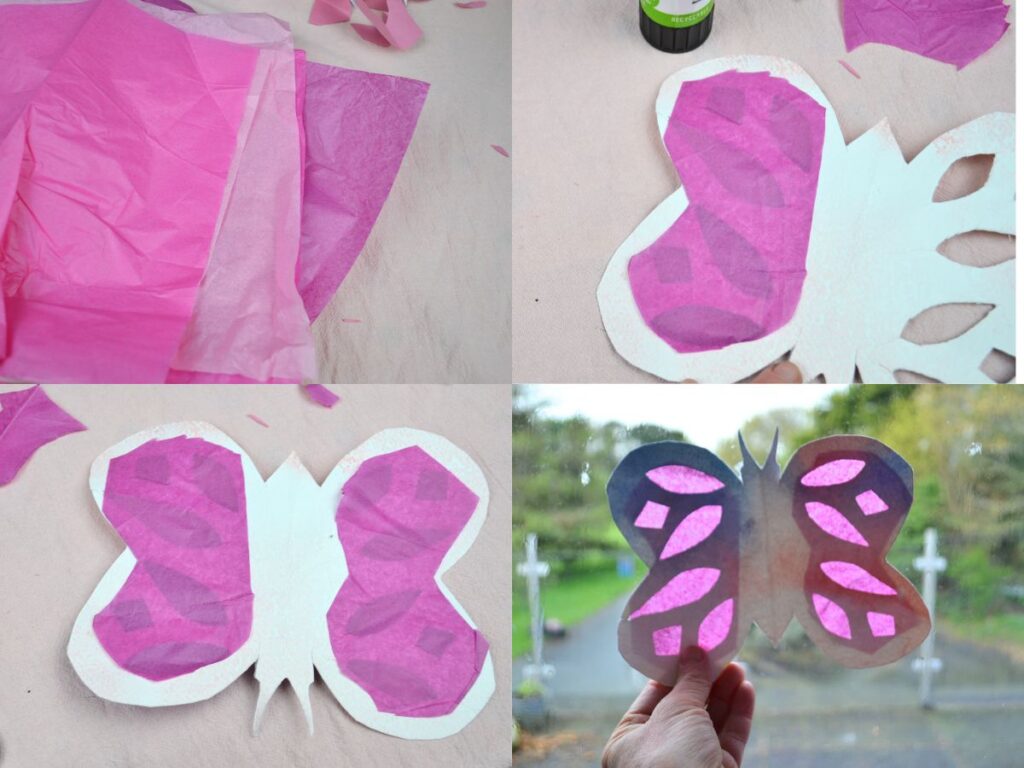
If you have tissue paper or kite paper, you can glue it on the back of the design and stick the paper butterfly on a window; it looks magical✨