How to Make 5 & 10-Point Window Stars
There is something magical about paper window stars. When the sunlight shines through their delicate folds, they bring beautiful colour and warmth into the home. In this tutorial, I’ll show you how to make both 5-point and 10-point window stars using simple pieces of colourful paper.
These window stars are easy to make and are a lovely Waldorf-inspired craft for children and adults. You can make them year-round to match the seasons, or use them as simple decorations for a child’s bedroom, playroom, or classroom. All you need is some paper, scissors, and a little patience to create these beautiful handmade stars.
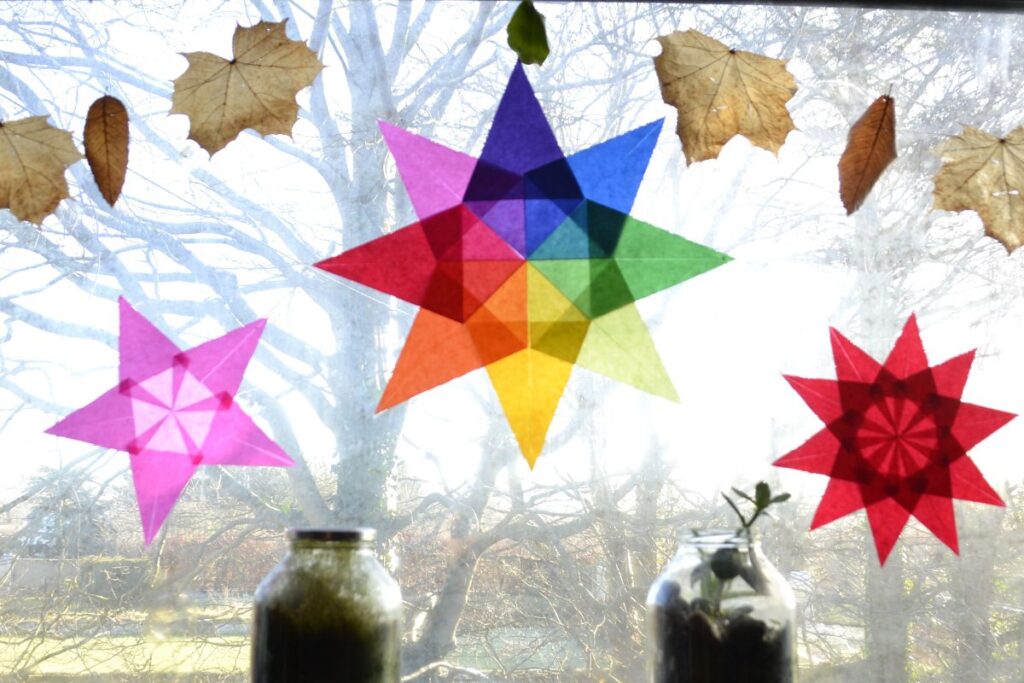
Choosing the Right Paper:
Choosing the right paper makes folding your window star much easier. Thin, lightweight paper works best because it folds neatly without getting too bulky when you join all five points.
For the most beautiful effect, I recommend using kite paper, translucent paper, or tissue paper in bright or seasonal colours. When you place the finished star on a window, sunlight shines through the paper, making the colours glow beautifully.
You can also use ordinary coloured craft paper, but try to avoid paper that is too thick or stiff, as it can be difficult to fold and may make the finished star look heavy.
Tip: If you are making window stars with children, pre-cutting the paper squares can make the project easier and let them focus on the fun part—folding and creating the star.
5-pointed star:
Materials:

- 5 square pieces of kite paper or thin coloured paper
- Scissors
- Glue stick or paper glue
- A clean, flat workspace
- Optional: ruler for measuring
Step 1:
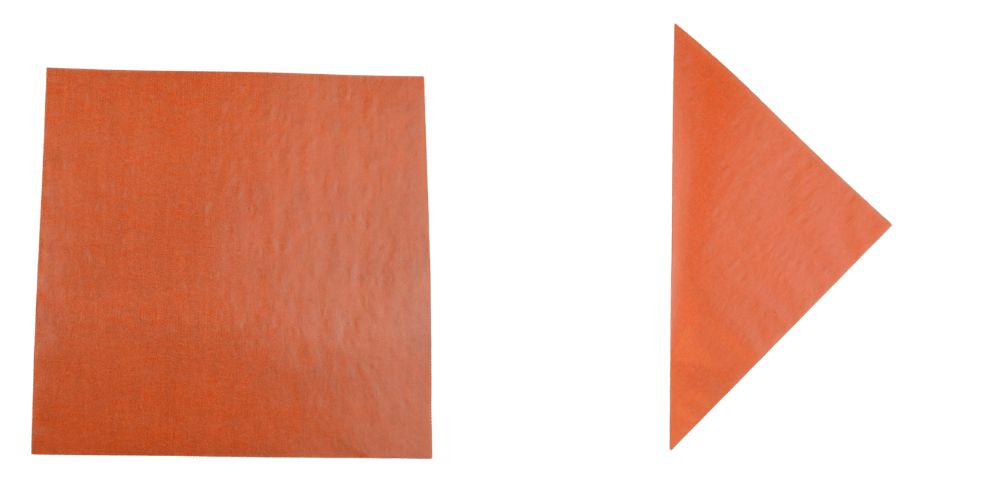
Start by folding the sheet point-to-point diagonally, as shown in the picture, to create a crease.
Step 2:
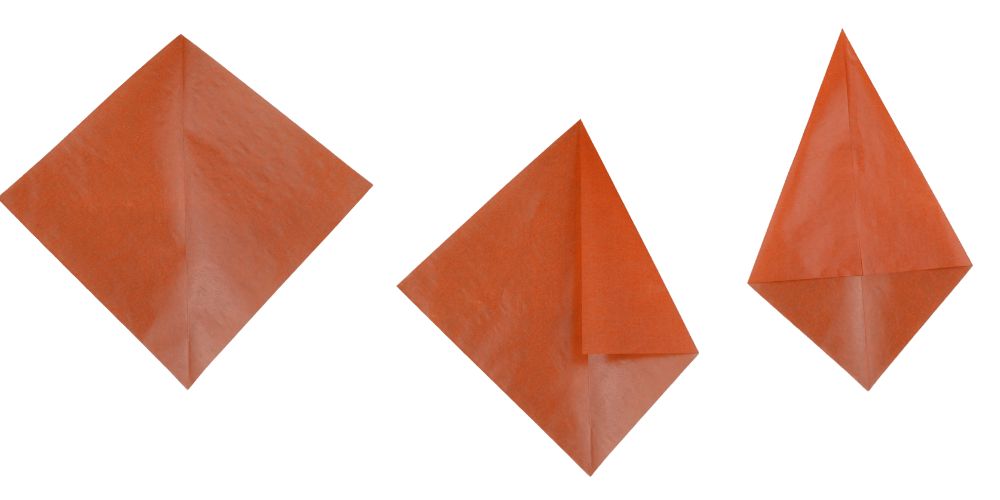
Now open the square up and fold one side to the centre crease, and then the other side to form a point star.
Step 3:

Apply a small dab of glue to keep them in place.
Step 4:

When you glue them together, instead of overlapping at the centre crease, stick the unfolded base of the second star point just a little over the first, about 10 mm, as shown in the picture.

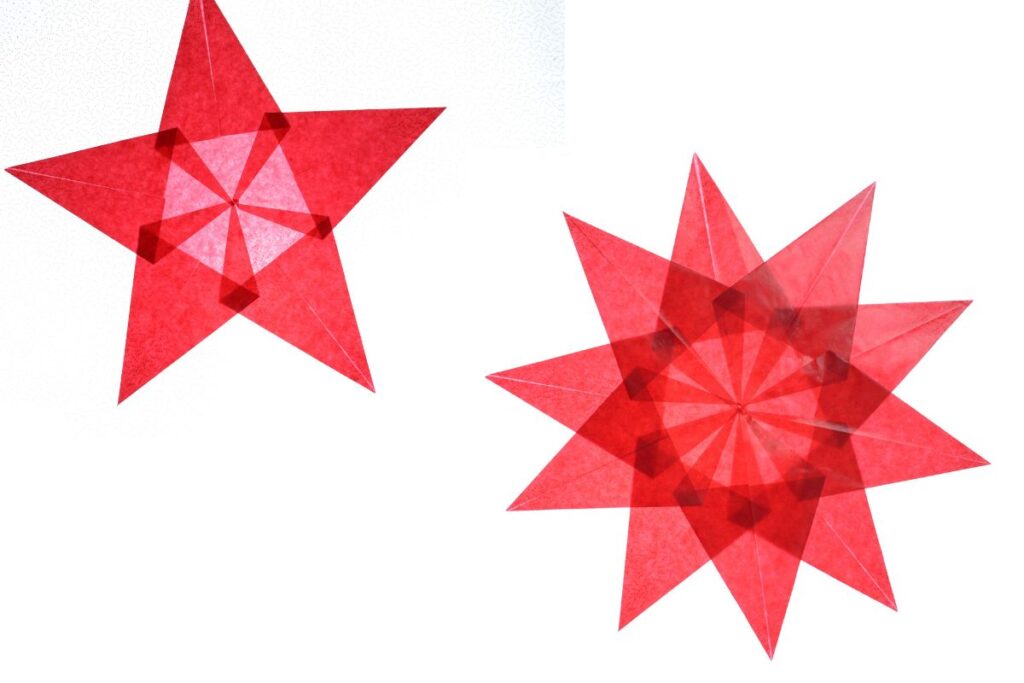
A finished 5-point star!
10-pointed star

You will need:
- Glue
- 10 squares of kite paper.
How to make it:
Follow the steps 1, 2, 3 and 4 as the 5-pointed star, but make two 5-pointed stars.

When you glue them together, stick the unfolded base of the second 5-pointed star a little bit over the diagonal of the first, as shown in the picture.
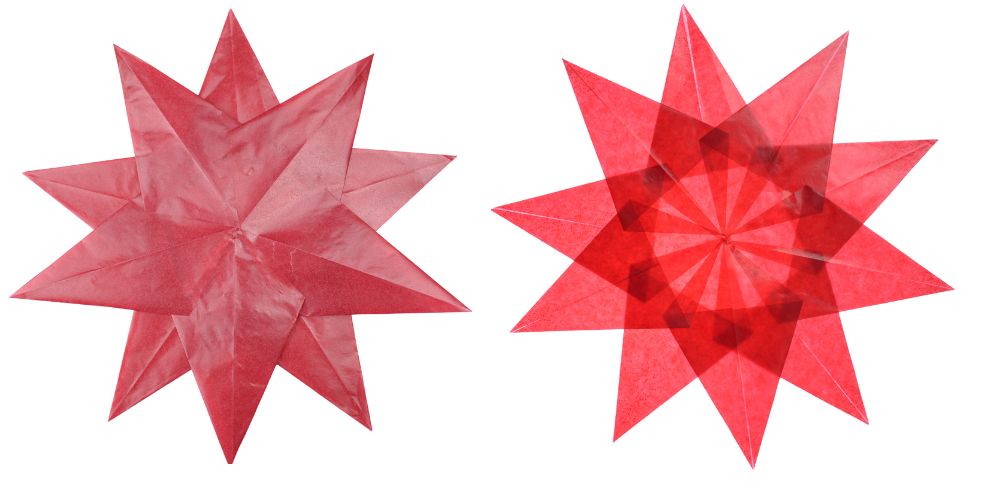
The finished 10-pointed star!
Tips for Making Beautiful Window Stars
- Use thin paper for easier folding.
- Make sure all five pieces are the same size.
- Fold each piece carefully and neatly.
- Try different colour combinations.
- Don’t worry if your first star isn’t perfect—the process becomes easier with practice.