How to make a wet-felted basket, tutorial for beginners
Looking for a nice, creative way to make your own felt basket? Wet felting is a simple and satisfying technique that transforms soft wool into a sturdy, beautiful felt basket using just water, soap, and gentle pressure. In this tutorial, you’ll learn how to create a unique felted basket from scratch—perfect for Easter, home decor, or storing little treasures—while enjoying a calm and hands-on crafting process.
What you need:

- carded wool.
- warm soapy water
- A wisk
- Bubble wrap
- a pool noodle (optional)
- A hand towel.
- A bowl or something similar to shape the basket.

Cut a semicircular piece of bubble wrap. The size will depend on the size you want your basket to be. Also have two bigger square pieces of bubble wrap.
For this small basket, I am using a semicircular bubble wrap with a radius of about 14cm.
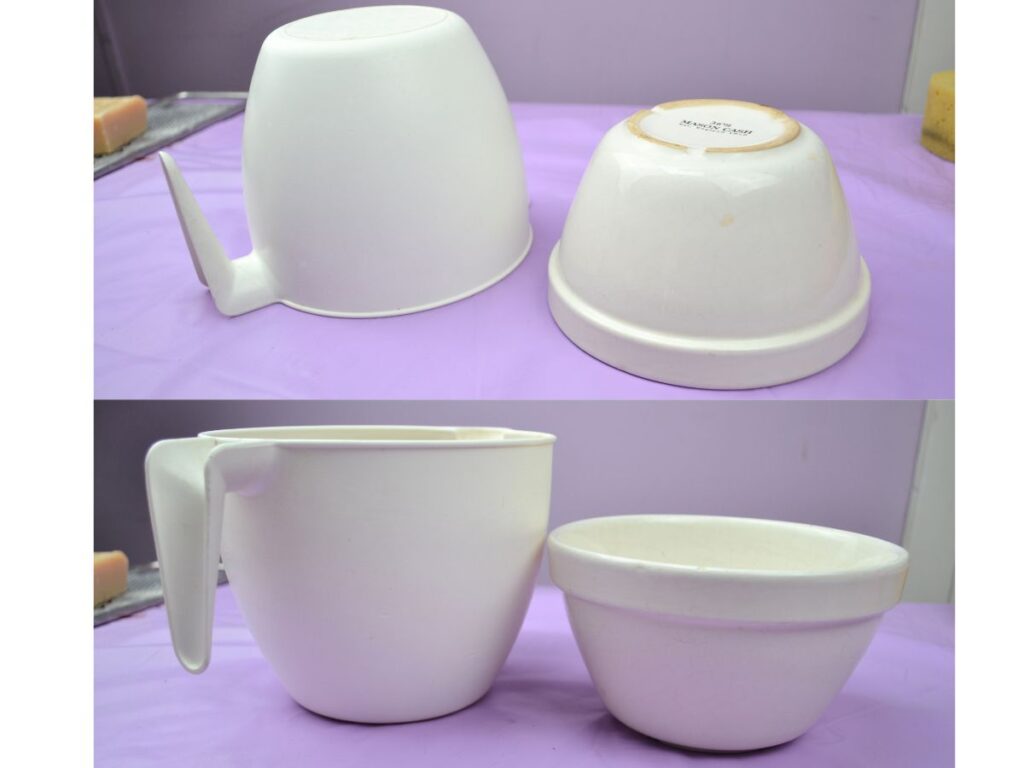
I also use a bowl to shape the basket.
How to make a felt basket:
Step 1

Lay the semicircular piece of bubble wrap on a table.
Pull small sections of wool at a time and lay all the pieces in a vertical (or horizontal) position. And then do another layer in the opposite direction.

Repeat this process (of laying vertical and then horizontal sections of wool) at least once more; the more layers you add, the thicker your basket.
I did 8 layers

When you are done, whisk the warm water with soap to make lots of bubbles.
Add the soap suds to the wool. Put one of the square pieces of bubble wrap on top and press gently with your hands.
Turn it around and tuck extra wool around the semicircle.
Step 2:

Then repeat the layering process as before, on this side. lay small sections of wool in one direction, then in the other. Do as many layers as you did before.
Sprinkle soap suds and cover with the second square piece of bubble wrap. And press gently.
Check and make sure the wool is all covered with soap suds.

Turn it around and remove the bubble wrap, and tuck the extra wool around the semicircle.
Step 3: Felting
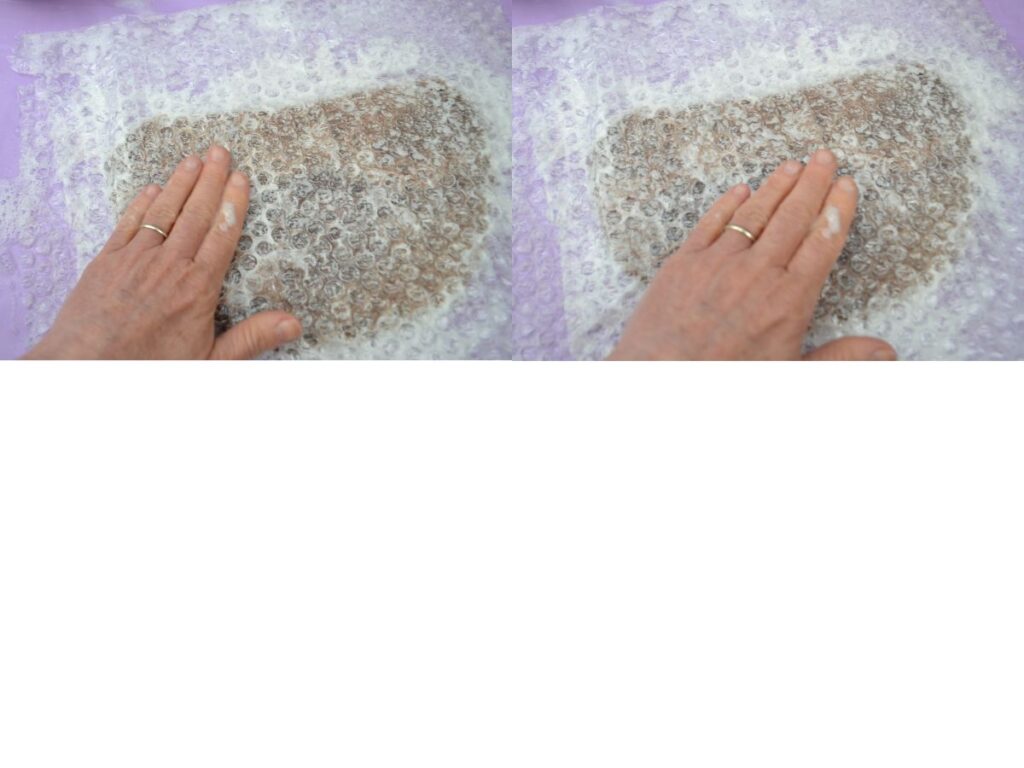
Cover with bubble wrap, wet your hands with soapy water, and start felting by pressing gently in circular motions.
Step 4: Pool noodle

This part is optional but it will speed the prosses of felting your piece.
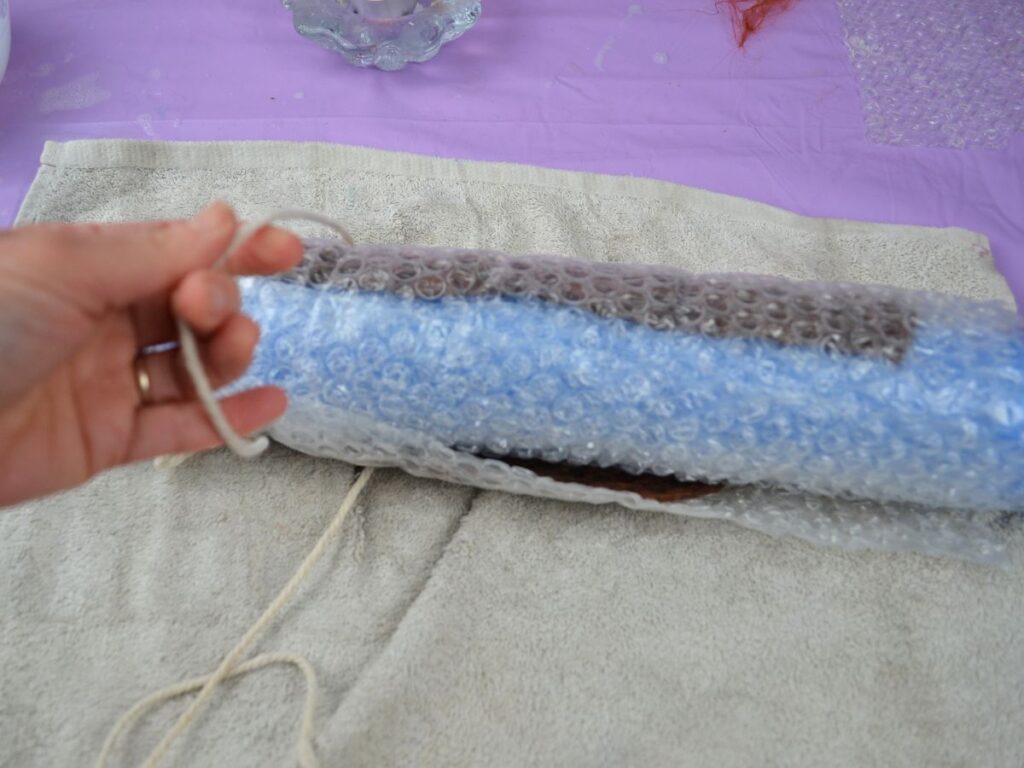
Wrap the bubble wrap (with the felt piece in it) around the pool noodle.
Tie it with a string, and then wrap a hand towel around it and tie.
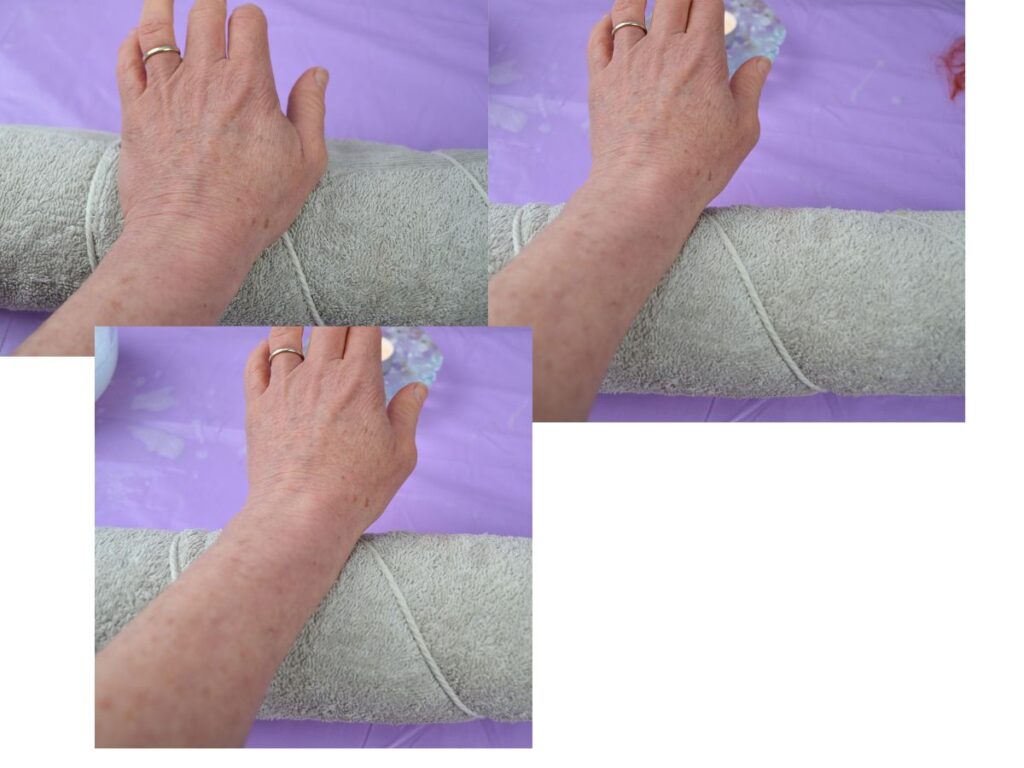
With the palms of your hands or your forearms, apply gentle pressure and roll your pool noodle the length of your hands or forearms.
Do this for about 2 minutes, rotating your noodle a quarter turn every 50 seconds or so to apply friction evenly to the wool piece.
Untie the towel and bubble wrap.
Rotate 90 degrees. Repeat the process for about 2 minutes. Then turn another 90 degrees and felt for 2 more minutes, and continue until you cover the entire circle. So 4 rotations of 90 degrees!
Then turn the piece around and repeat as before: 4 rotations of 90 degrees.
So you will do this 8 times! About 16 minutes rolling.

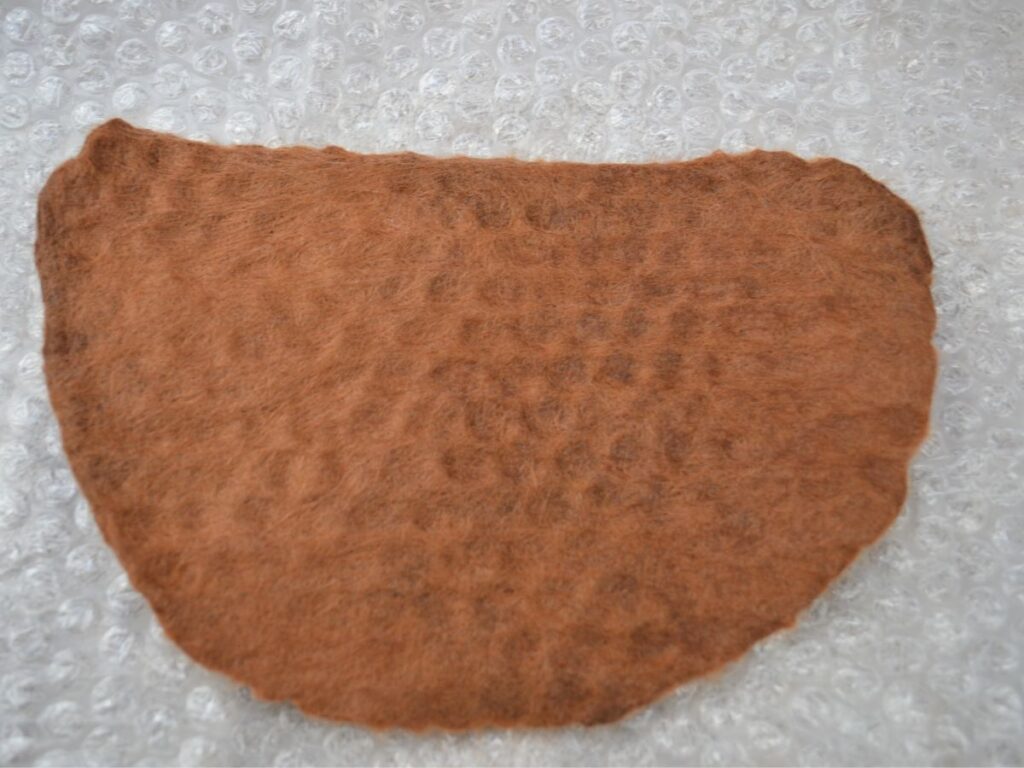
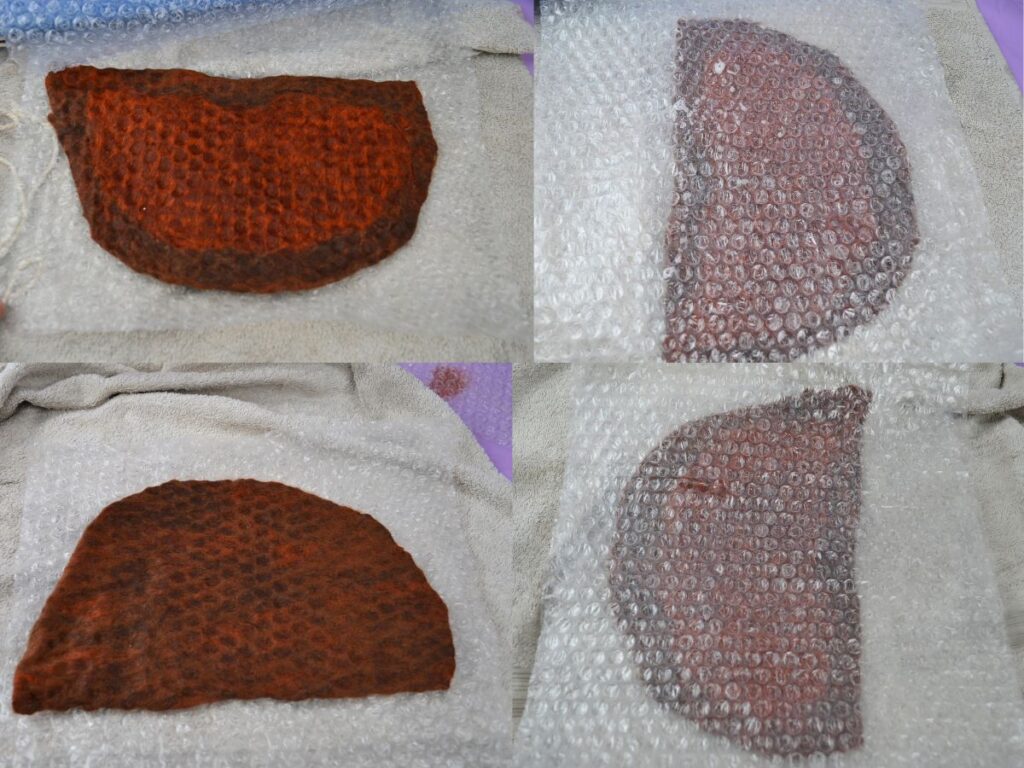
When you are done, check the felt piece by pinching; if no wool comes out, it is ready for the next part.
Cut the straight part of the felt piece, as shown in the picture.
Step 5: Shaping
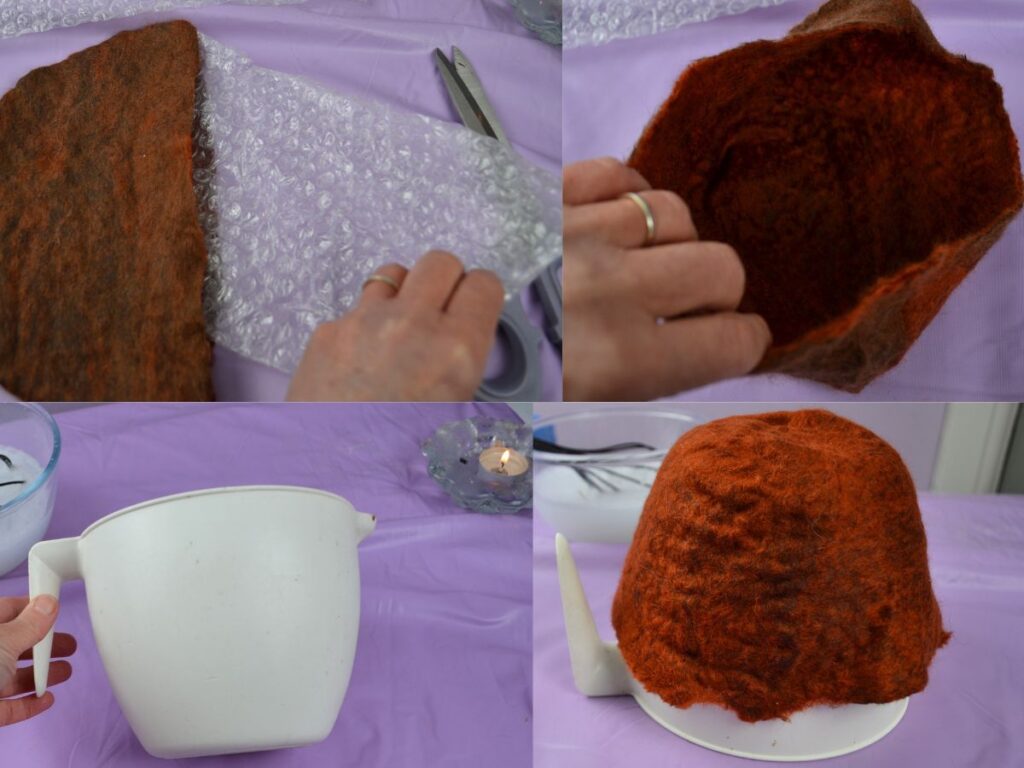
Remove the bubble wrap and open up your felt piece.
Get a bowl or something similar, turn it upside down, and place the piece on it, as in the picture.

You’re going to keep felting, so get the warm, soapy water and put some soap suds on the felt piece. And start working with gentle pressure in circular motions, on the top and sides of the bowl.
You can use the bubble wrap to help the felting process.
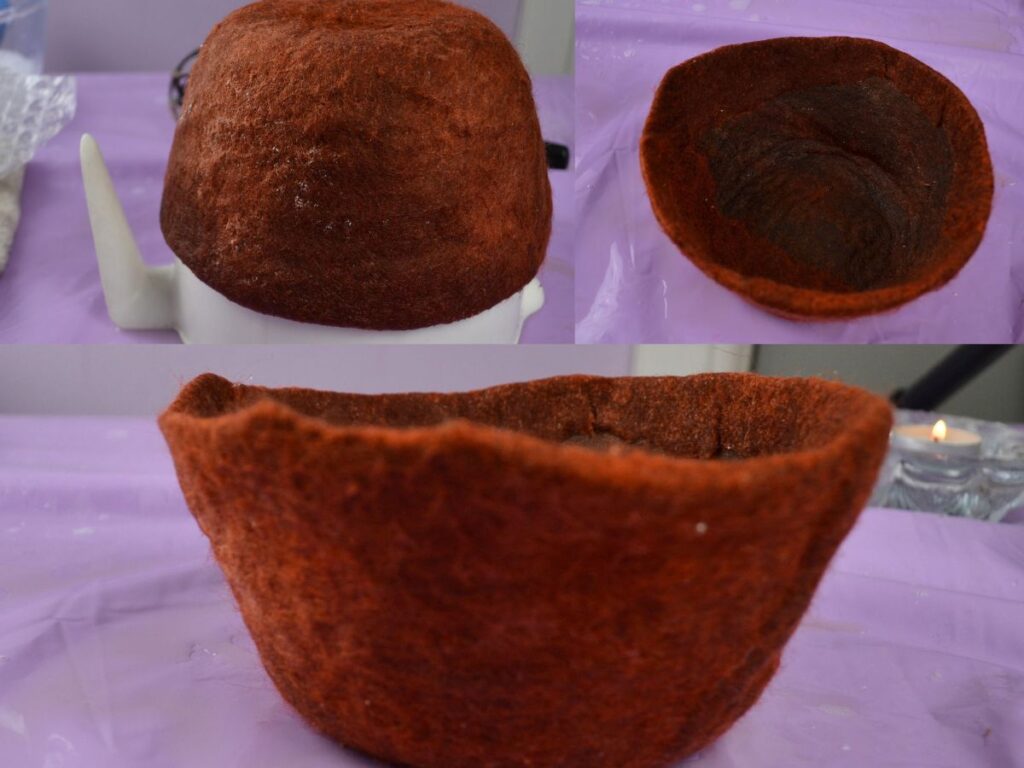
When it feels ready, take the piece off the bowl. You can fold the edges inwards; if you do, put it back in the bowl and felt the edges a bit more.
Turn the piece, inside and out, using the bowl until you are happy with the result.
Let it dry for a day or two, or overnight in a warm place.
Step 6: Handle
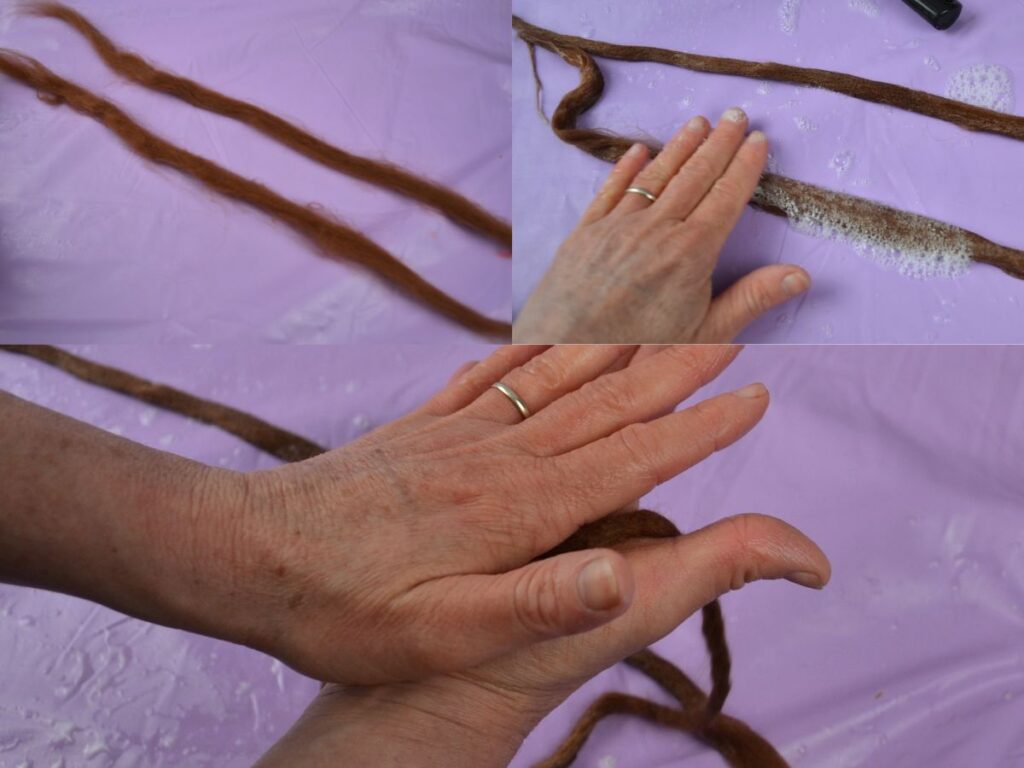
To make the handles, separate three long pieces of wool, put soap suds on them, and felt each one by rubbing it between your hands. It doesn’t take too long to be fully felted.
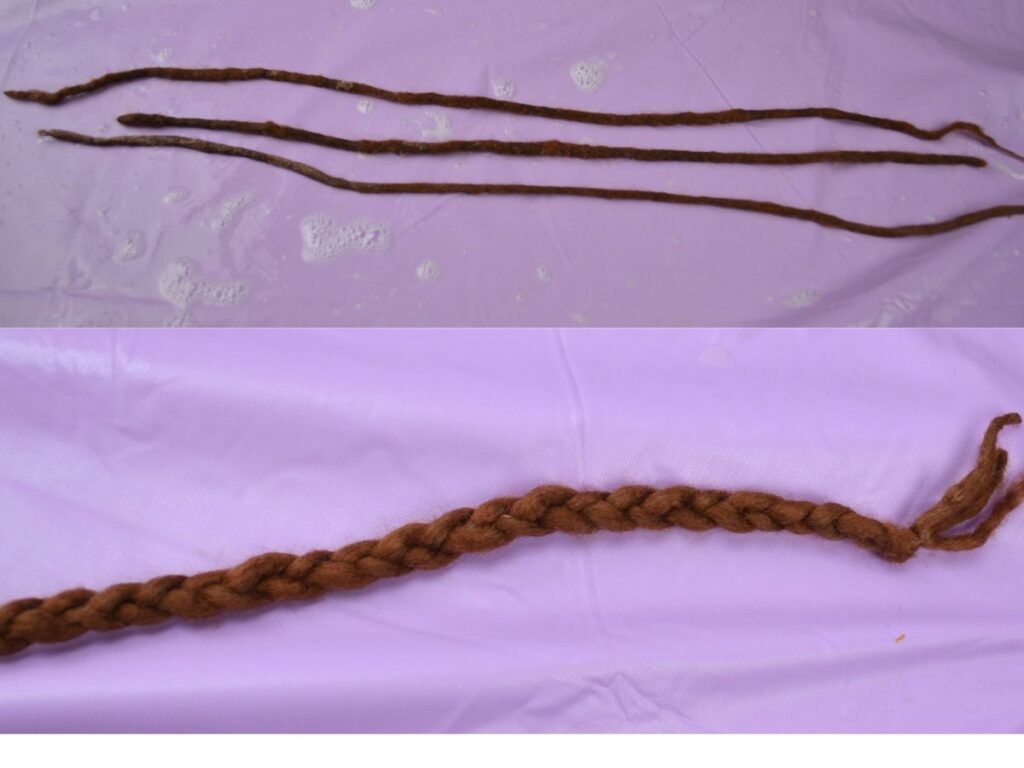
Let them dry, and braid them.
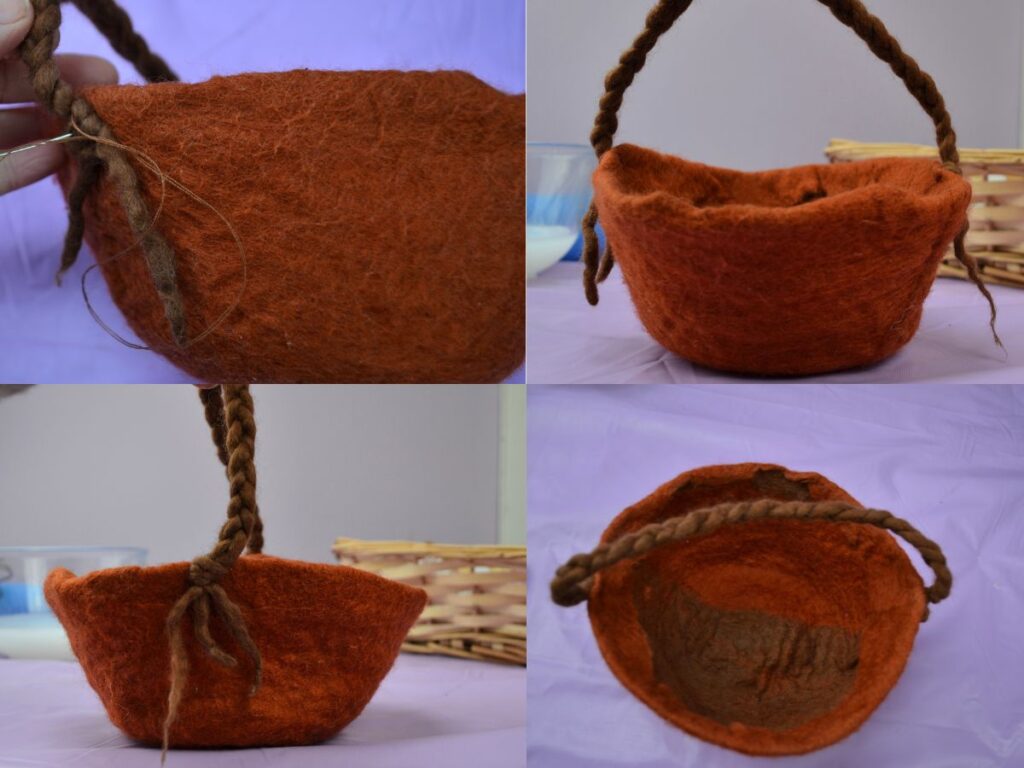
Sew the braid to the basket.
Step 7: Decorating
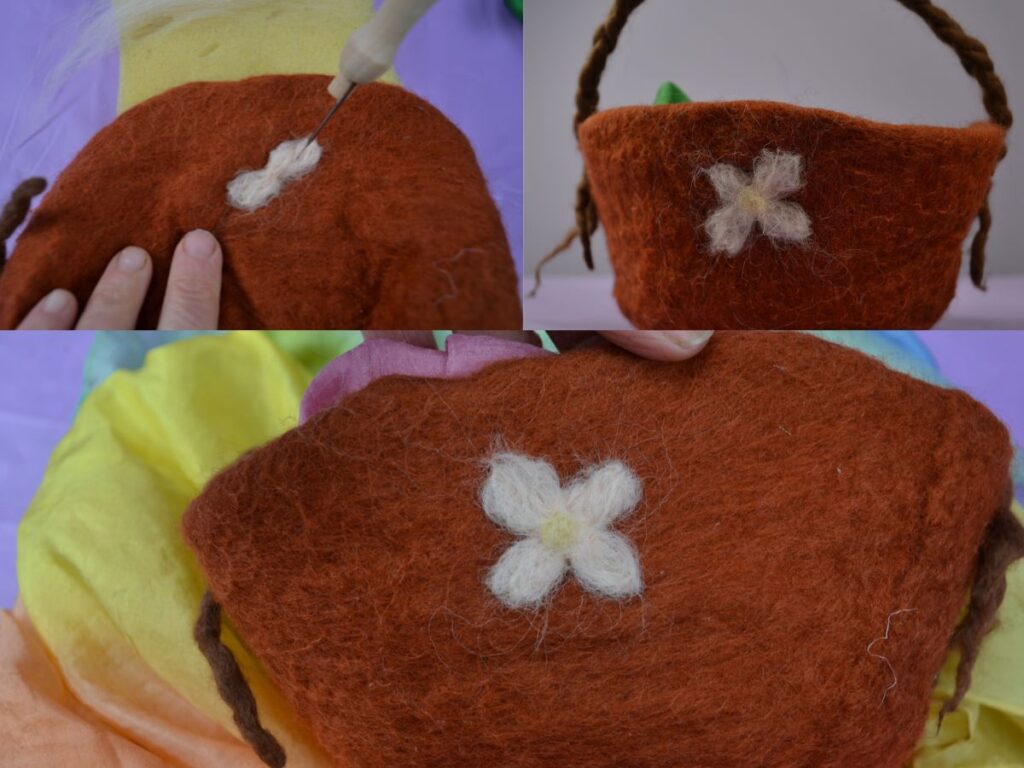
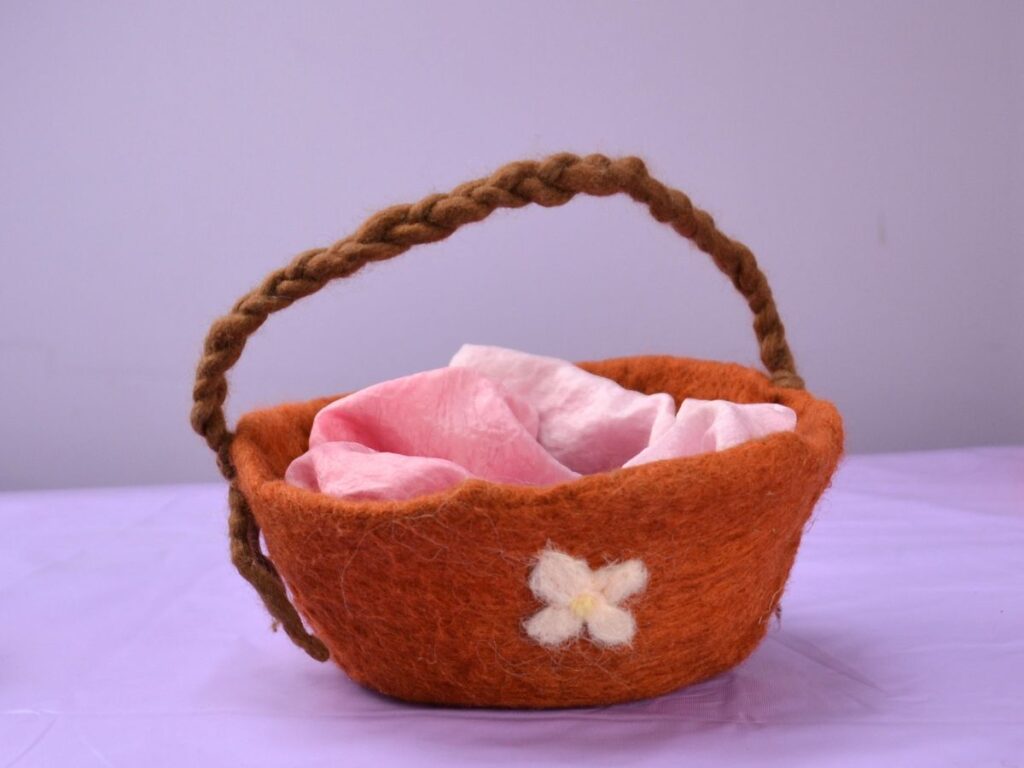
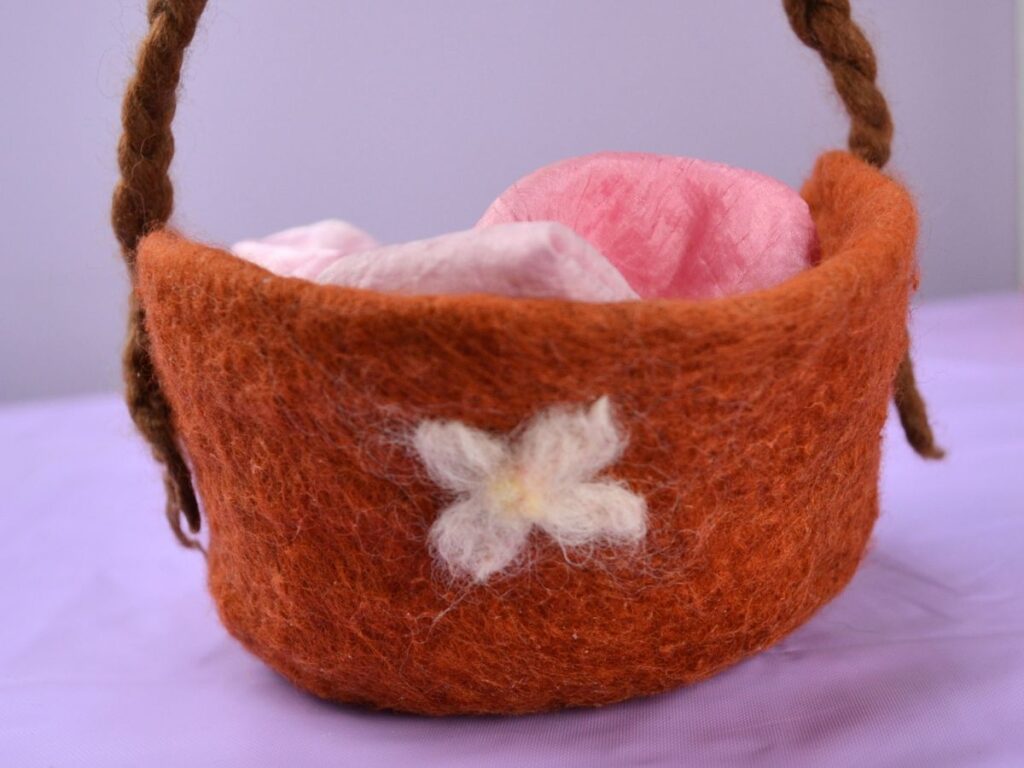
If you like, you can decorate your basket with needle felting.
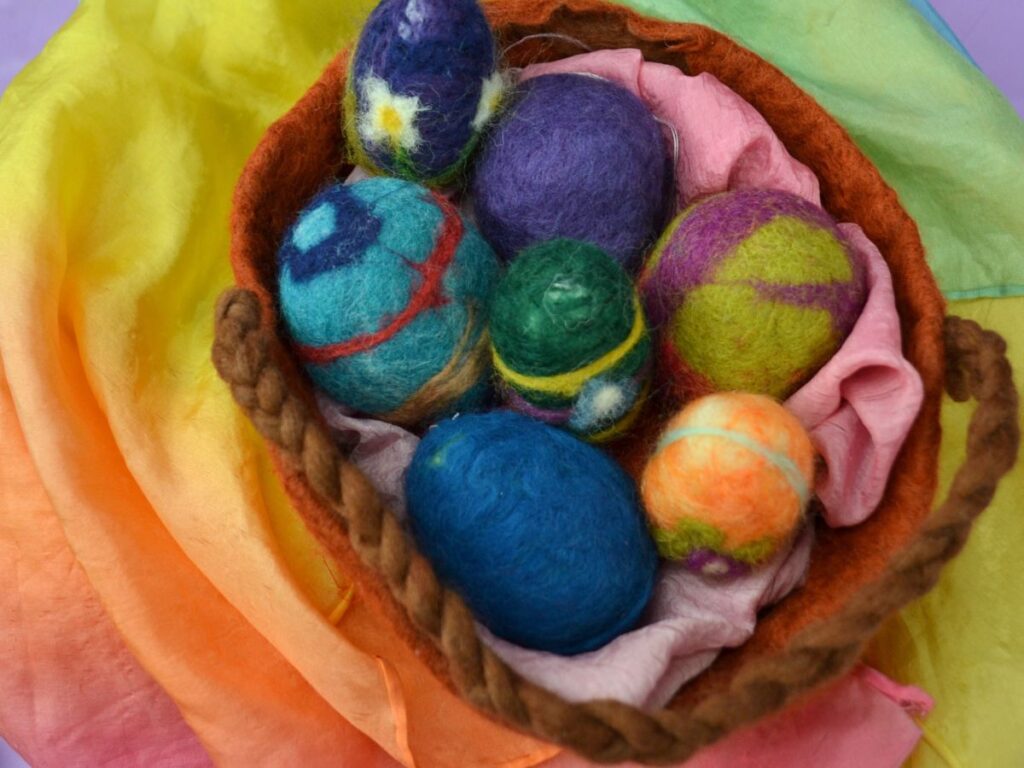
The finished basket ❤️