How to Make an 8-Point Window Star, Easy Waldorf-Inspired Craft

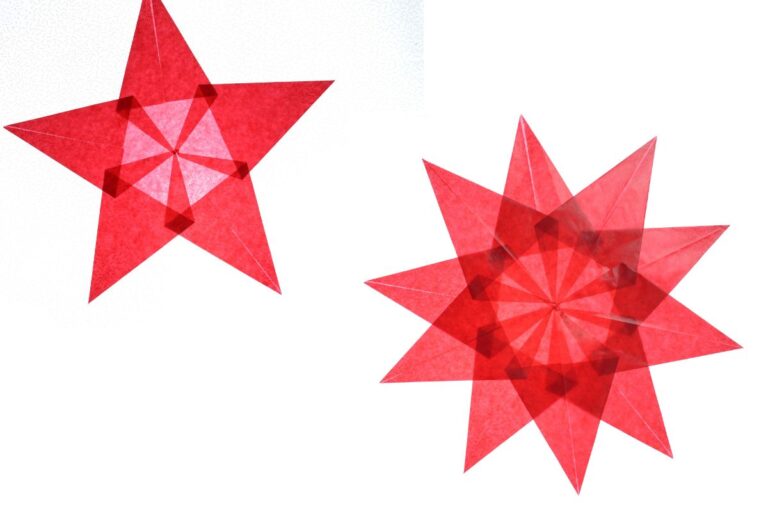
There is something magical about making paper stars, especially when they catch the light and bring beautiful colour into the home. In this tutorial, I’ll show you how to make an 8-point star using rectangular pieces of kite paper, rather than the square pieces used for many other window stars. The rectangular shape gives this star its own unique form while still creating the delicate, colourful look of a beautiful Waldorf-inspired paper craft.
What Is a Window Star?
Window stars are decorative paper stars made from folded pieces of translucent kite paper. Originating from European paper-folding traditions and popular in Waldorf education, they transform sunlight into colourful patterns and are often displayed in windows throughout the changing seasons.
Choosing the Right Paper:
Choosing the right paper makes folding your window star much easier. Thin, lightweight paper works best because it folds neatly without getting too bulky when you join all five points.
For the most beautiful effect, I recommend using kite paper, translucent paper, or tissue paper in bright or seasonal colours. When you place the finished star on a window, sunlight shines through the paper, making the colours glow beautifully.
You can also use ordinary coloured craft paper, but try to avoid paper that is too thick or stiff, as it can be difficult to fold and may make the finished star look heavy.
Tip: If you are making window stars with children, pre-cutting the paper squares can make the project easier and let them focus on the fun part—folding and creating the star.
Materials:
- Translucent kite paperPaper
- cutter or scissorsRuler
- Pencil (optional)
- Glue stick or clear-drying paper glue
- Flat work surface
How to assemble the 8-point star:
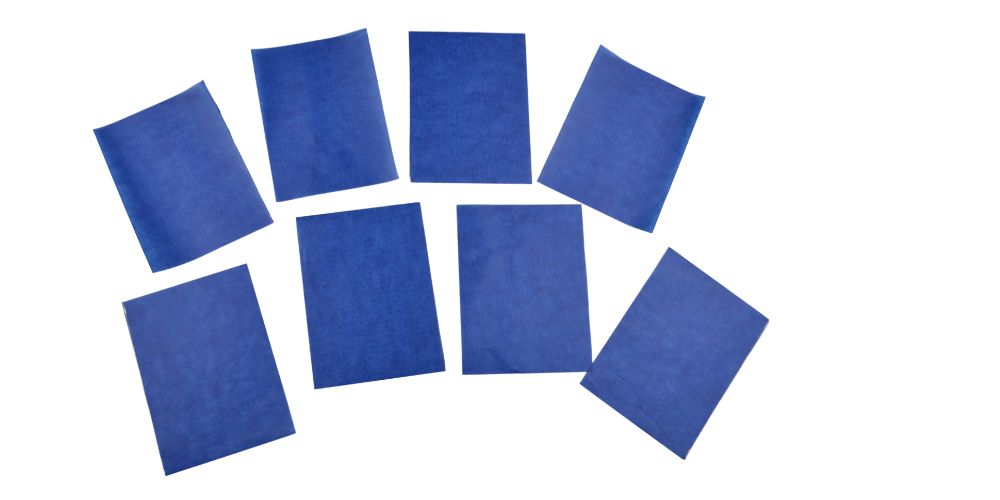
You will need 8 10×10 cm square sheets of kite paper
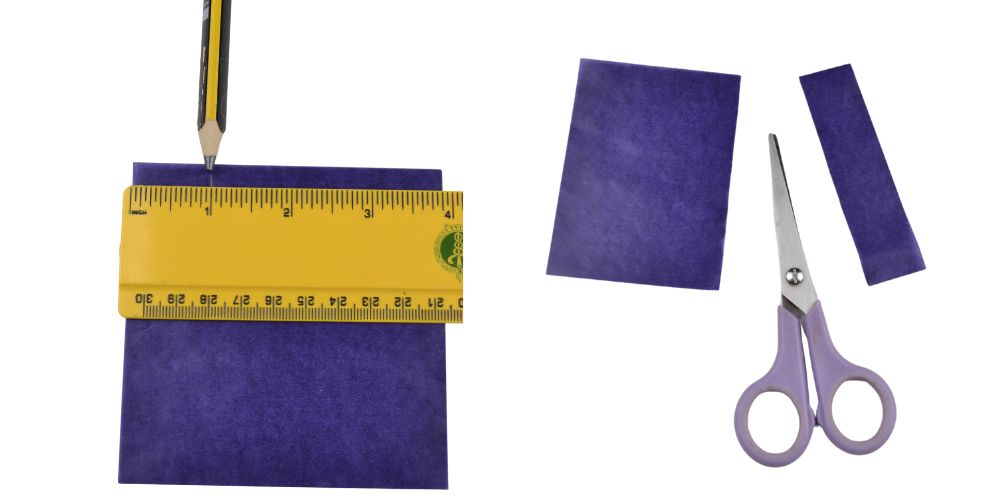
Take one square sheet of kite paper and take 2,5cm off and cut it off to have a rectangular sheet.
You can give the leftover piece of kite paper to your youngest child to make their own star! (whatever way they want!)
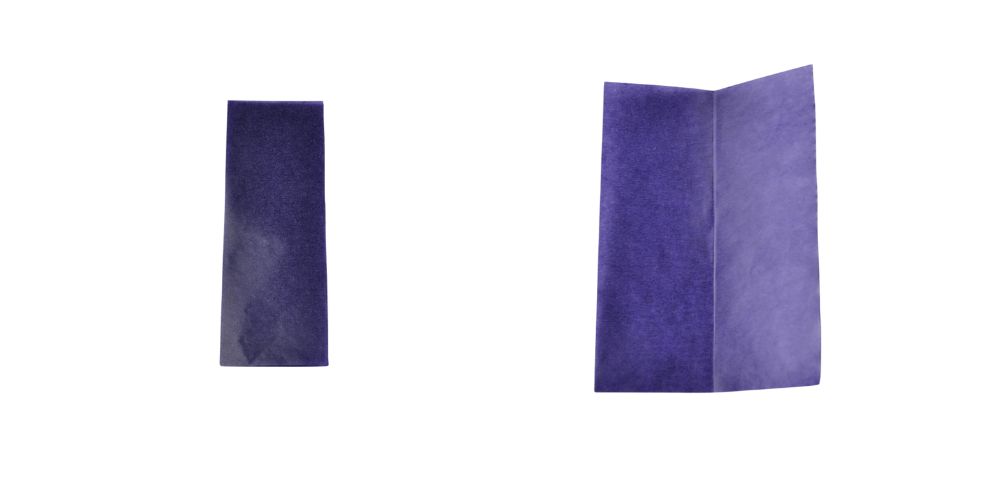
First, fold it to the centre of the sheet, longways, to form a crease, then unfold.

Step 2:
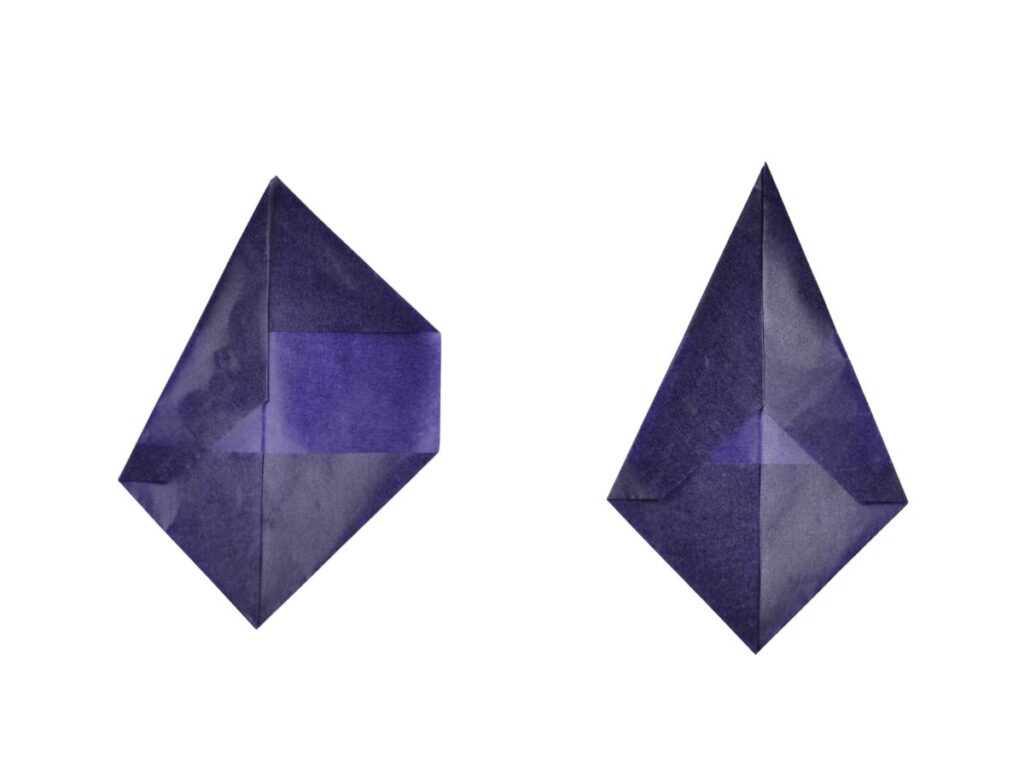
Fold one corner to the centre crease, then fold the remaining corners as shown in the picture.
Step 3:
Once more, fold the top star points to the centre line as shown in this picture.

Step 4:
Put a bit of glue to keep them in place.
Step 5:
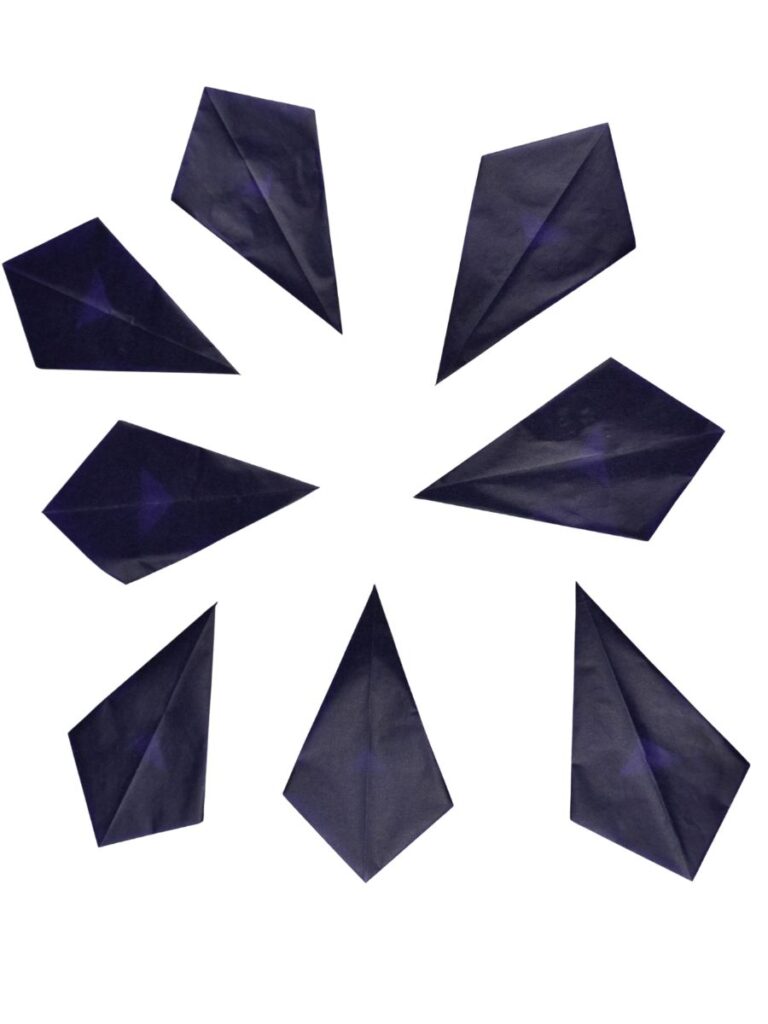
Make the eight sheets this way, and then stick the window star together.

Step 6:
Stick the unfolded side of the first star point to the second and continue until all the remaining pieces are glued together.

Finish the 8-point star.
How to stick the stars to a window?
You can use glue dots, double-sided tape, or a small ball of Blu-Tack at each point of the star.
Stick it to a window that has direct sunlight (east or west) for these beautiful stars to glow.
If you have a window near your nature table, it is a lovely place to stick them.
Tips:
- Cut all paper strips accurately.
- Fold carefully for crisp edges.
- Keep your folds consistent.
- Work on a clean, dry surface.
- Lay out the pieces before glueing.