How to Make a 12-Pointed Window Star Easy Step-by-Step Tutorial
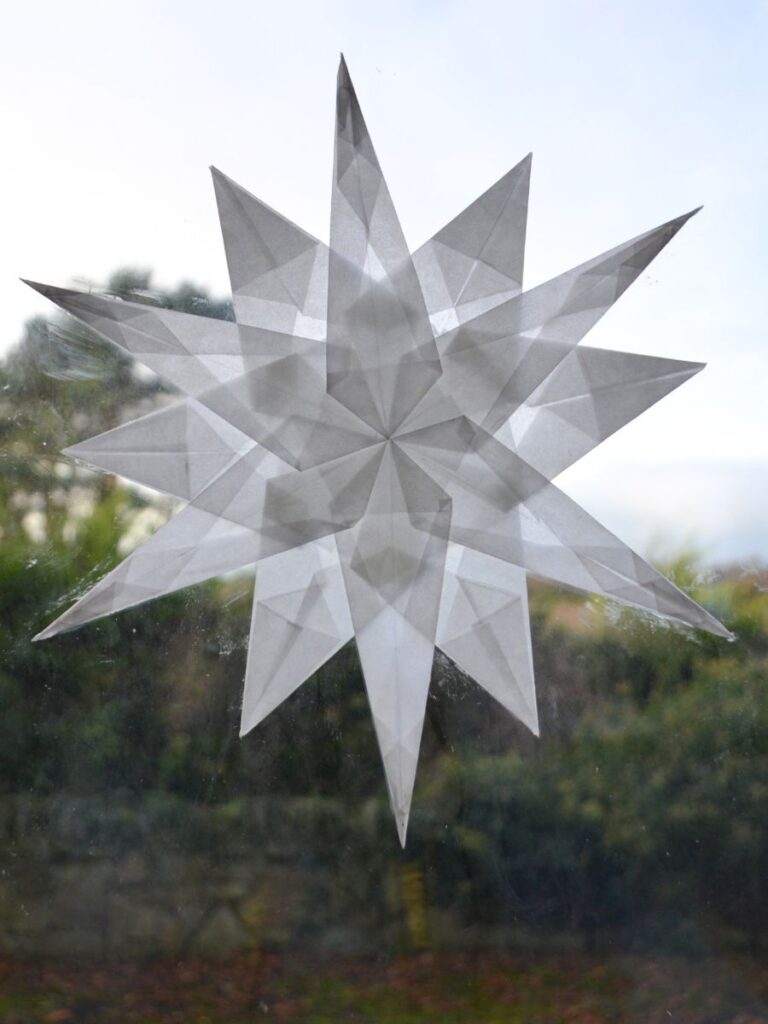
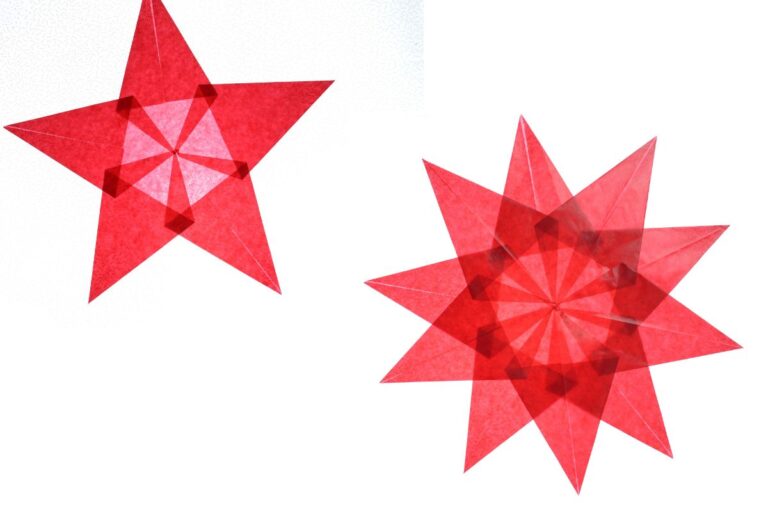
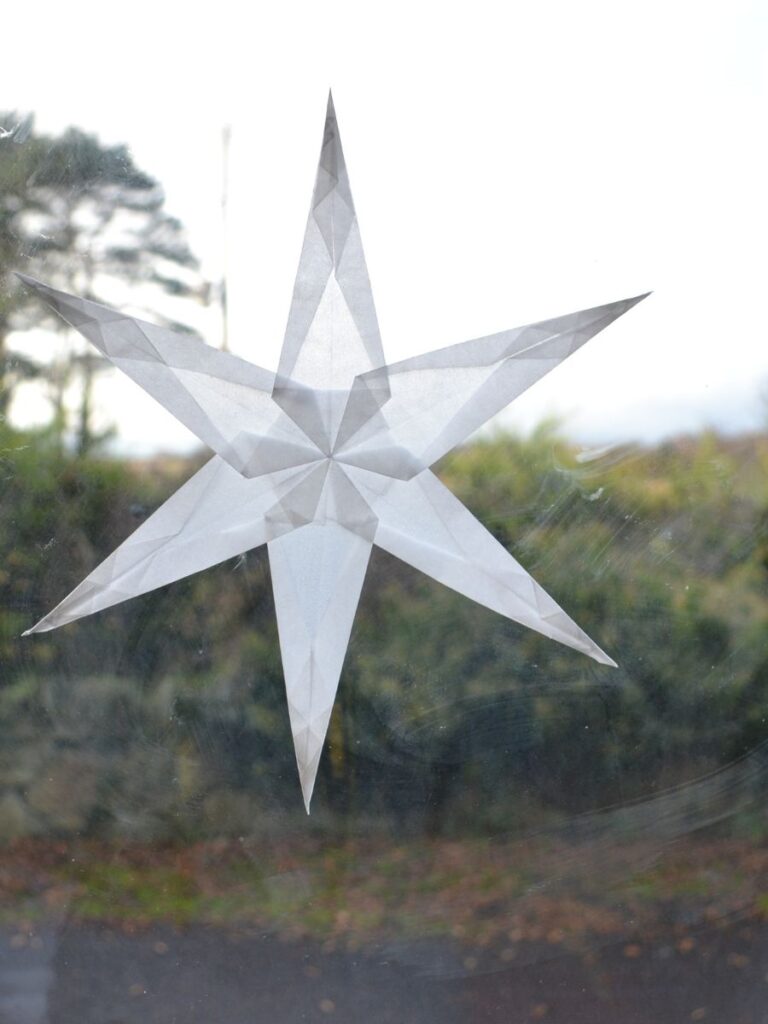
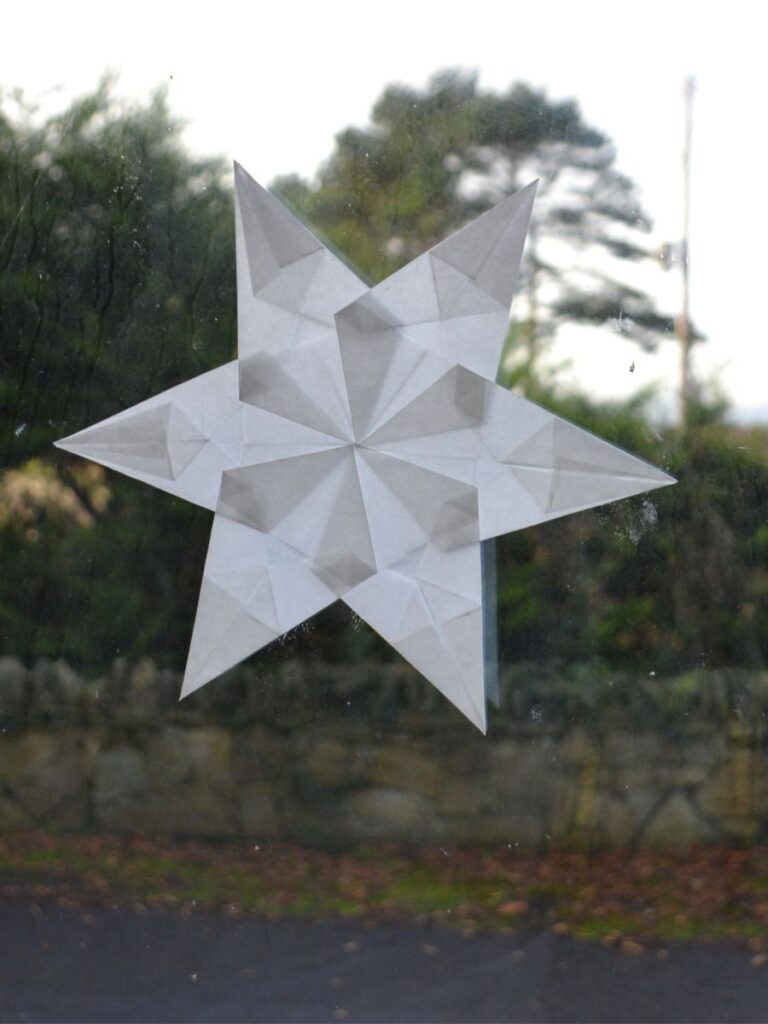
In this tutorial, I will show you how to make a beautiful 12-pointed window star using two different 6-pointed stars made from translucent kite paper. Traditionally, these winter stars are made in white, giving them a delicate, snowflake-like appearance that looks beautiful in a winter window. However, you can make them in any colours you like! Each 6-pointed star looks lovely on its own, so you can also hang them separately as individual decorations. Alternatively, you can layer the two stars together to create a larger, more intricate 12-pointed star. Experiment with different colours and combinations to make your own beautiful window decorations.
Materials You Will Need
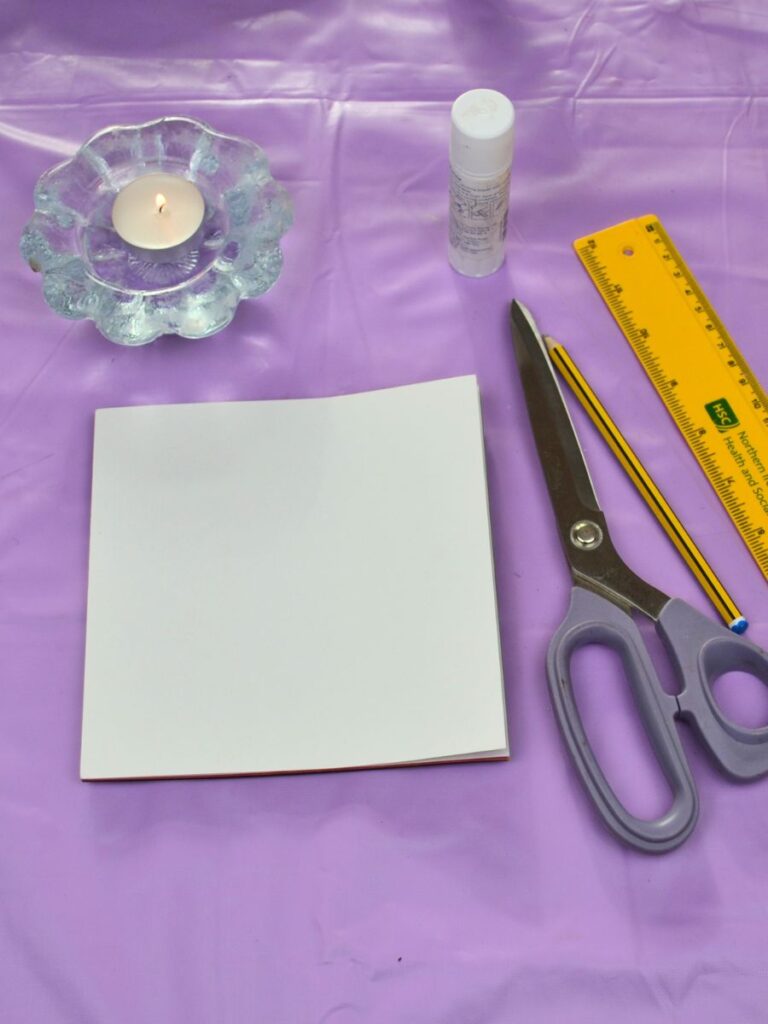
- Translucent kite paper (white or your favourite colours).
- Scissors.
- Glue stick.
- Ruler
- Pencil
How to Make the First 6-Pointed Window Star
Step 1. Prepare the kite paper
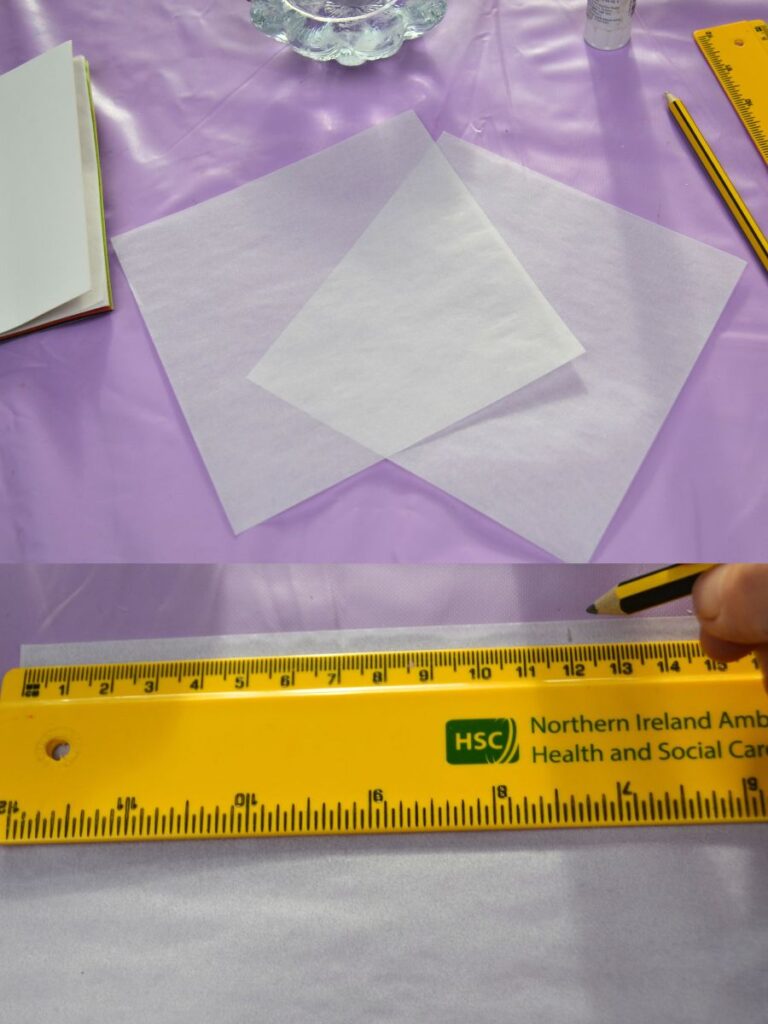
For this star, you need six pieces measuring 12 x 4.5 cm each. Measure and cut them.
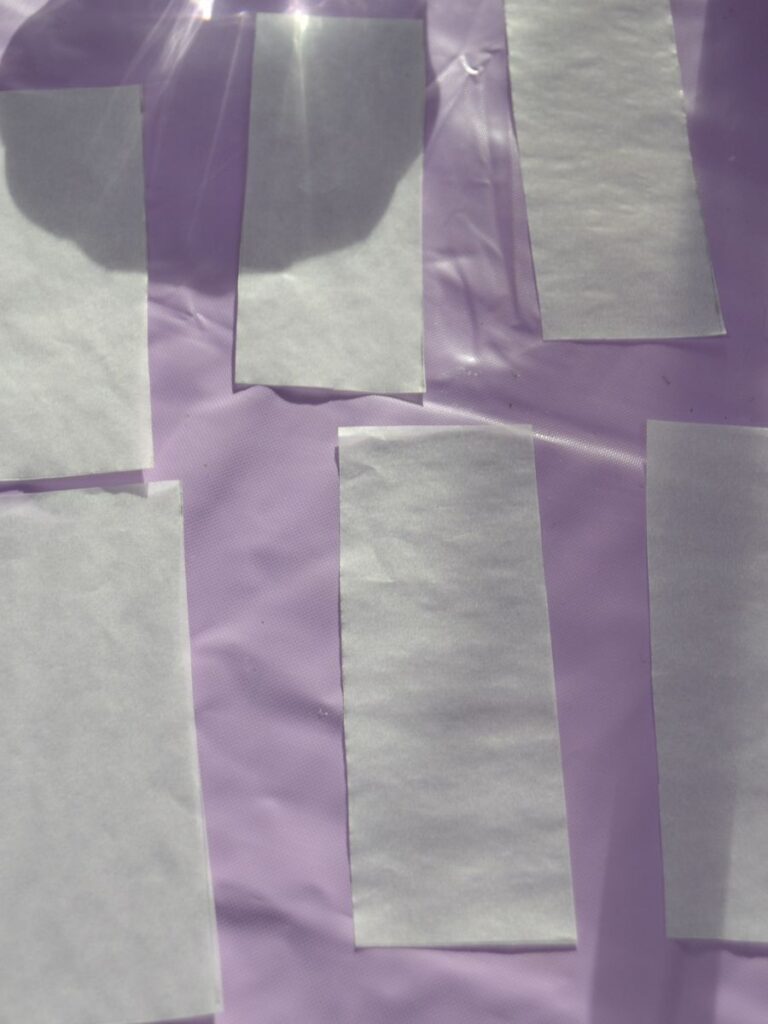
Step 2. Fold the paper
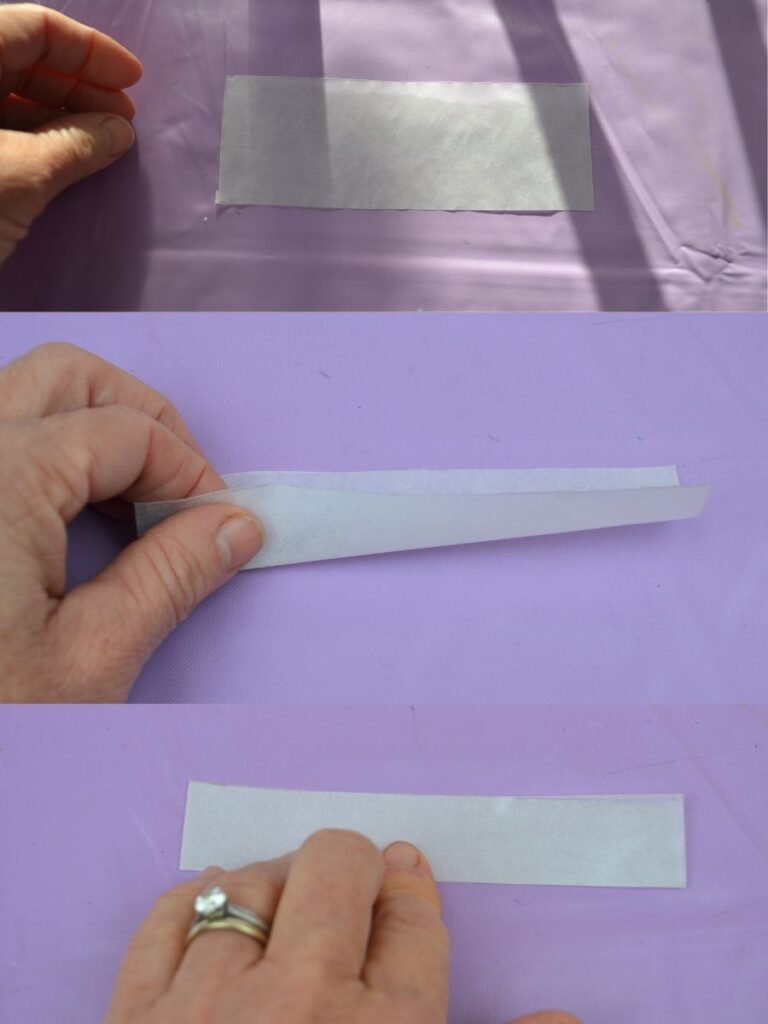
First, fold the sheet lengthwise and unfold to create a centre line.
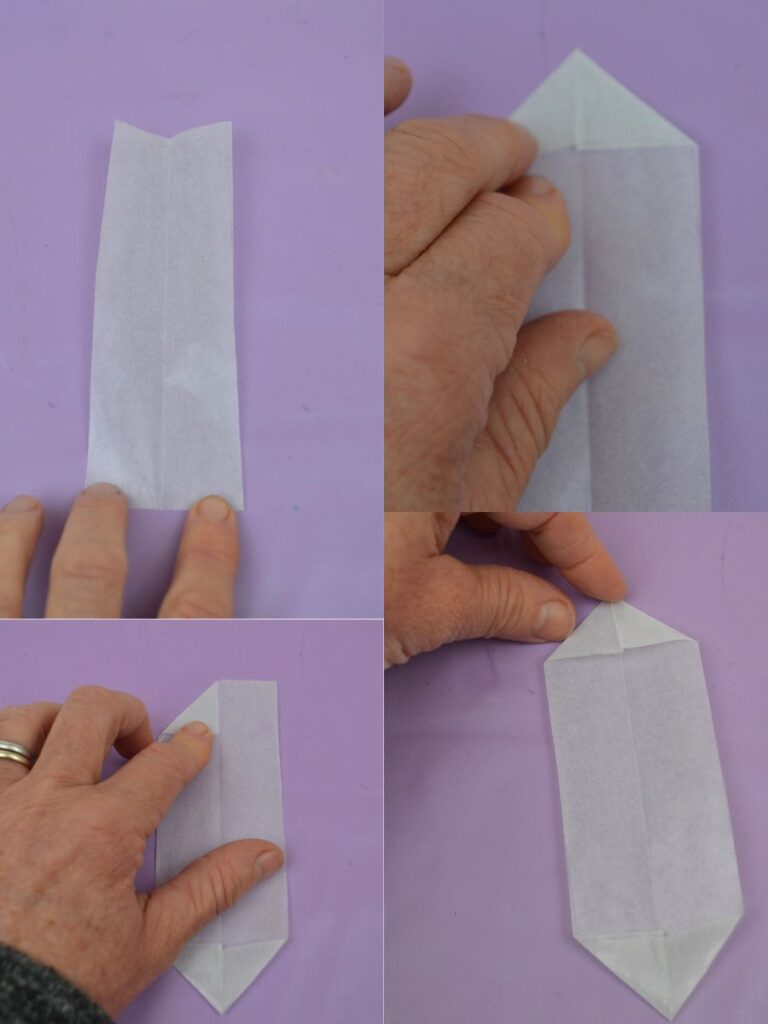
Fold each of the 4 corners to the centre line.
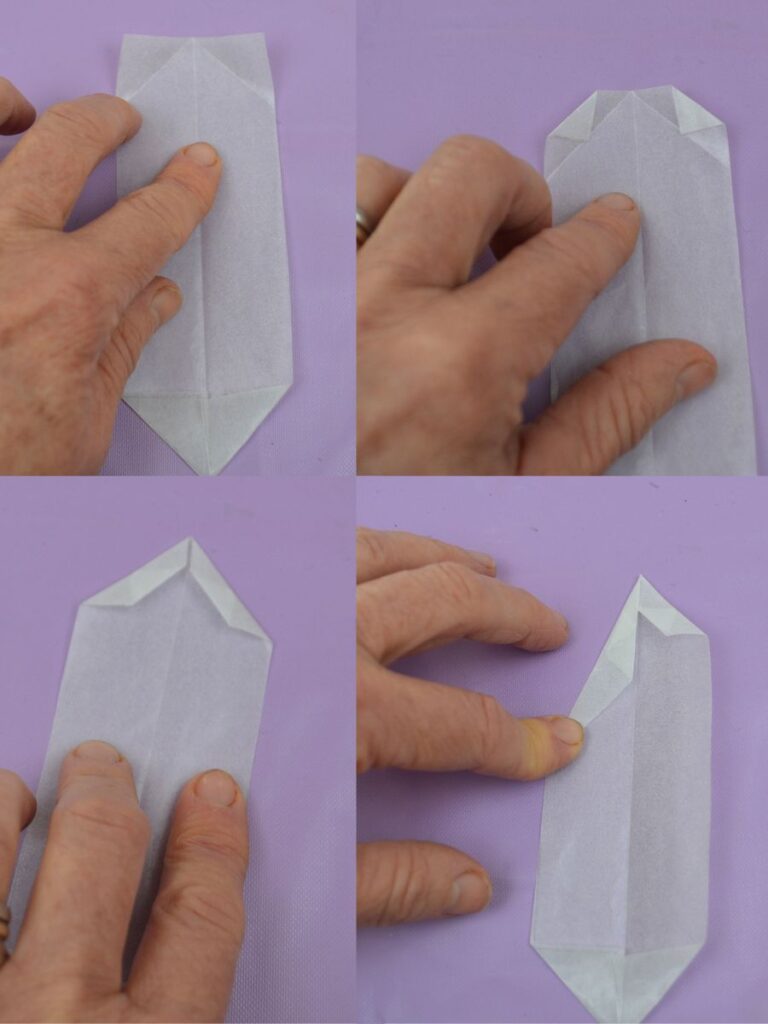
Unfold the top side of the corners and fold again to the diagonal line from the previous fold, as shown in the picture above.
Then fold again to the centre line.
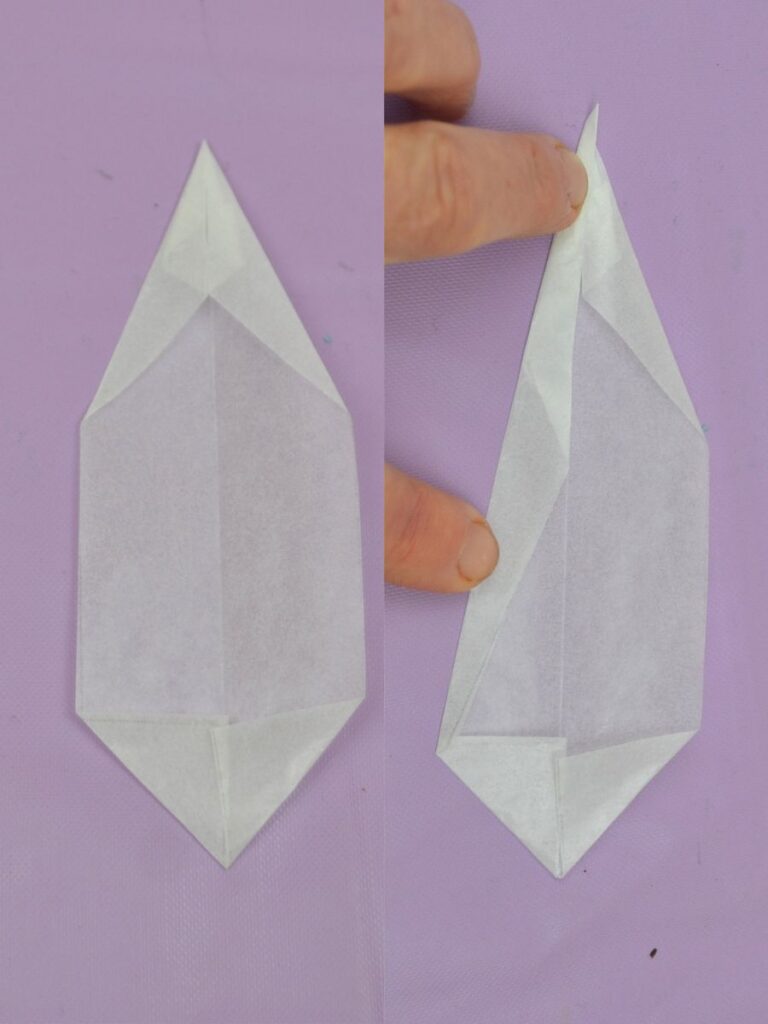
And then fold one more time.
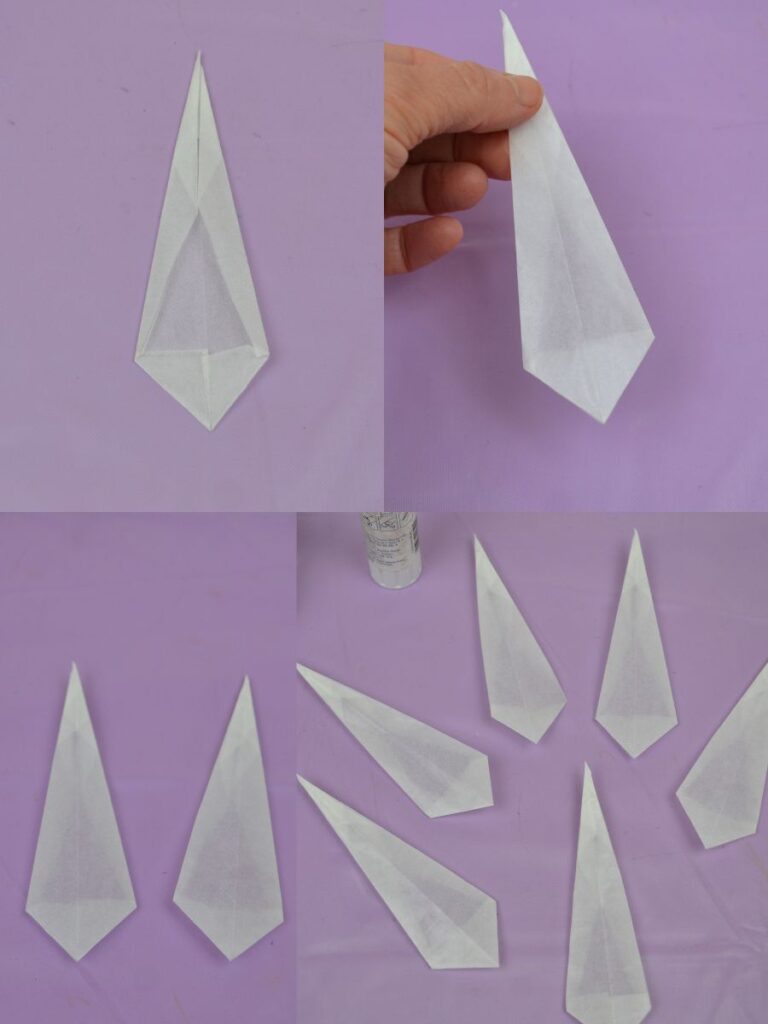
Repeat the steps to make the remaining pieces.
Step 3. Glue the pieces together
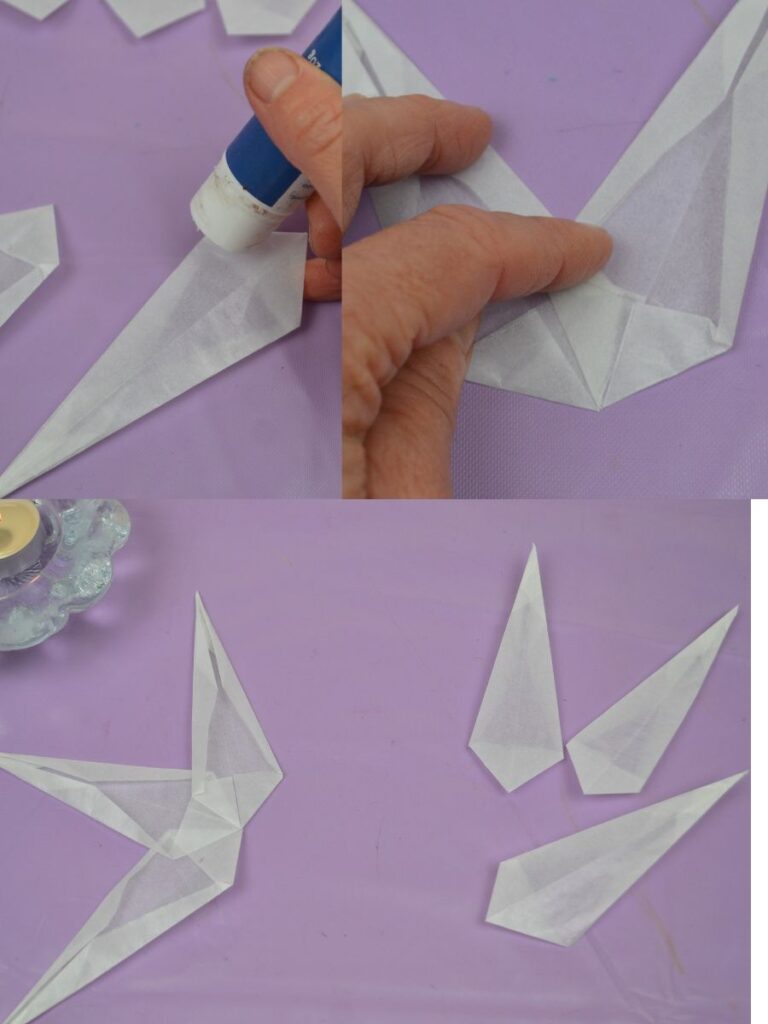
Once you have folded the pieces, you can glue the folds to keep them in place.
Place the pieces slightly off-centre from the next piece; once you are happy with the alignment, stick them together.
I find it easier to stick three pieces first, then the other three, and then stick them together.
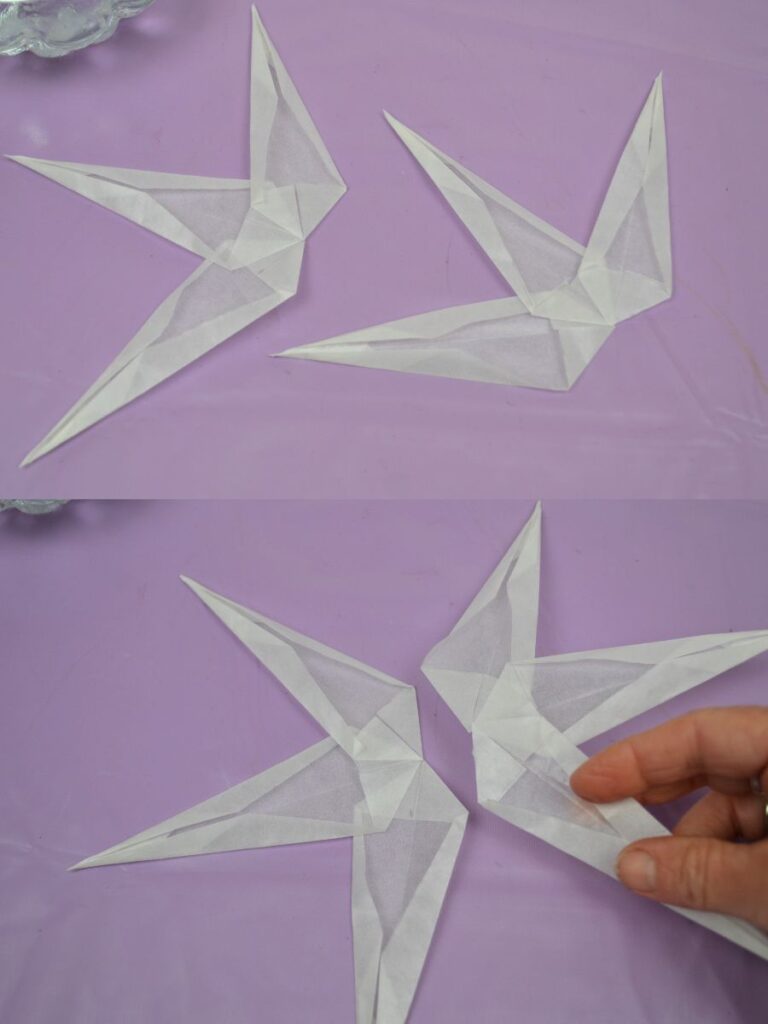
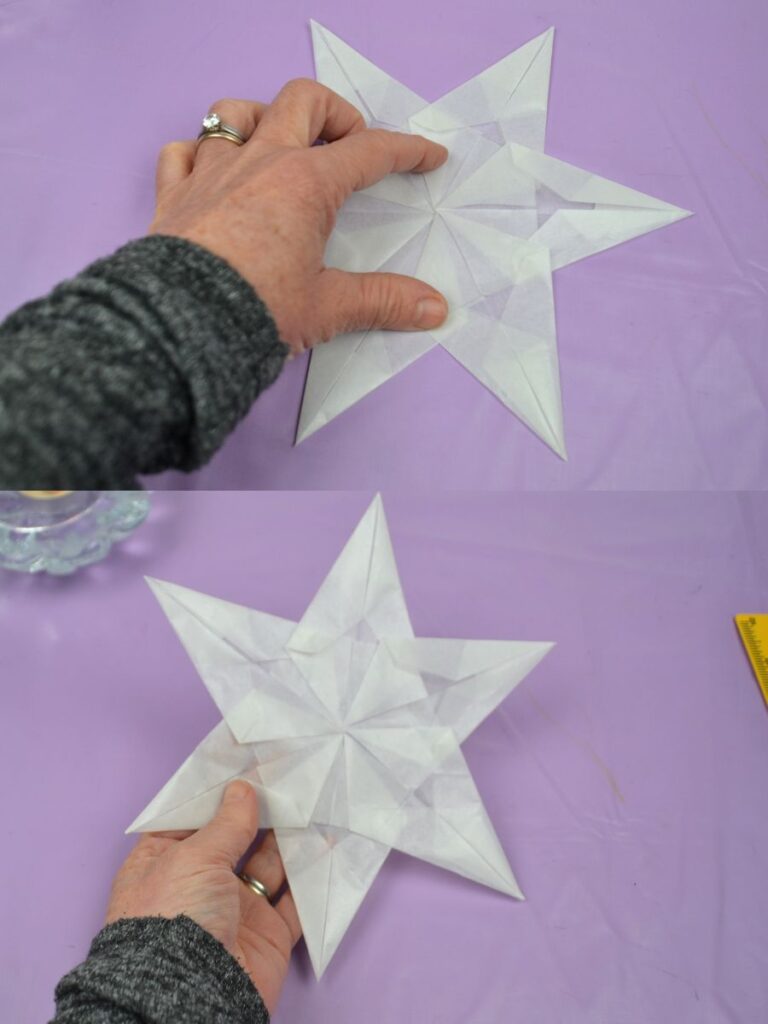
Step 4. Finish your first star
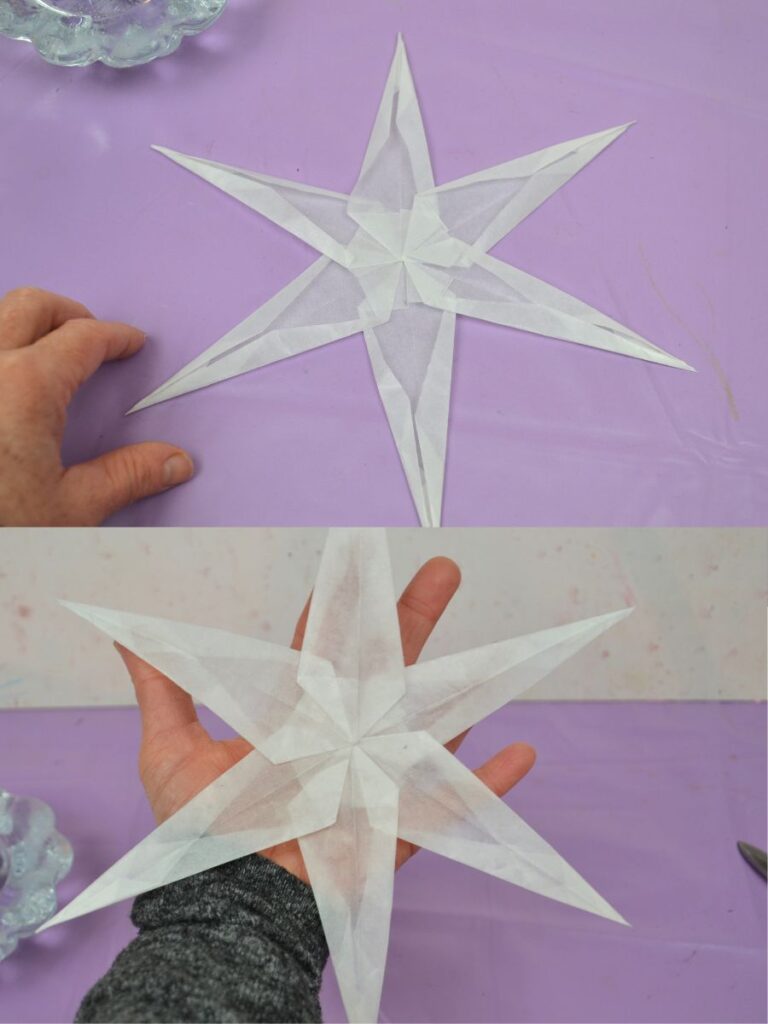
How to Make the Second 6-Pointed Window Star
Step 1. Prepare the kite paper
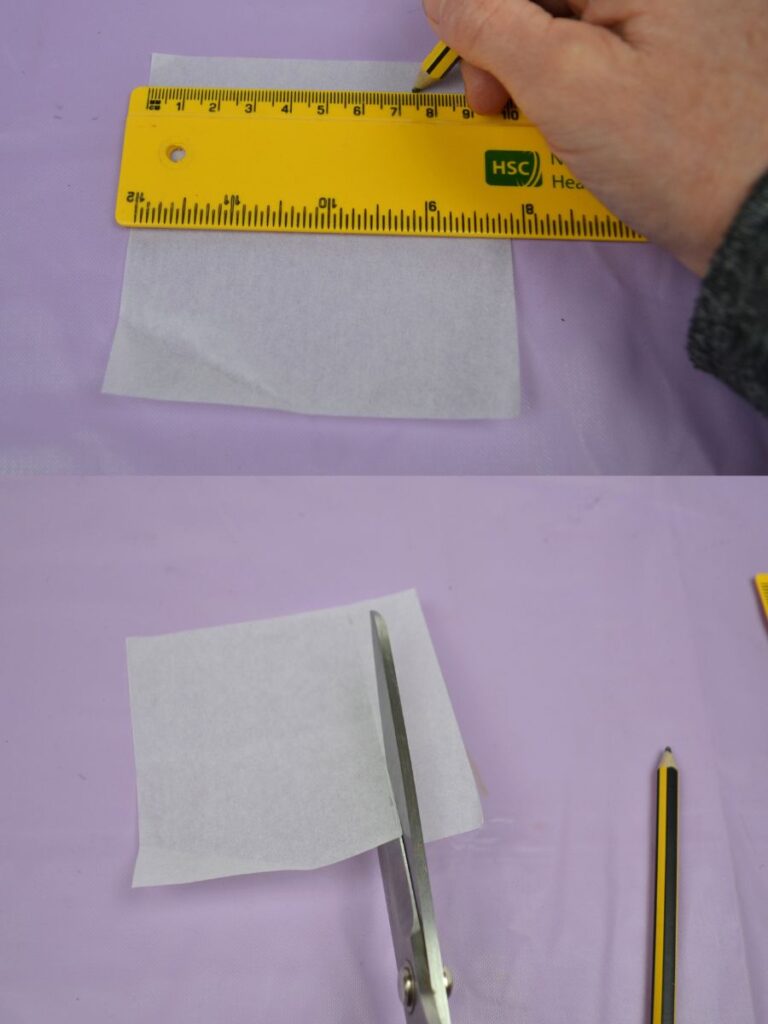
You need 6 pieces meassuring 10 x 7.5 cm (4 x 3 in)
Step 2. Fold the paper
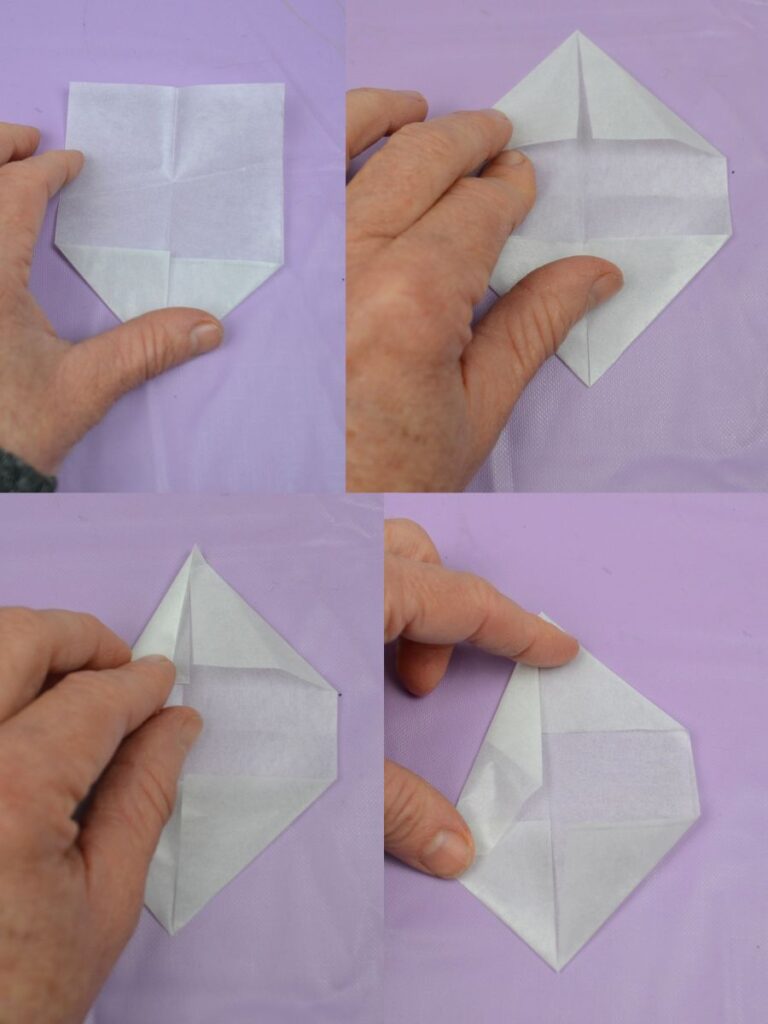
Fold the sheet lengthwise and unfold to create a centre line.
Now fold all the corners to the centre line.
Then fold the two top corners again to the centre line.
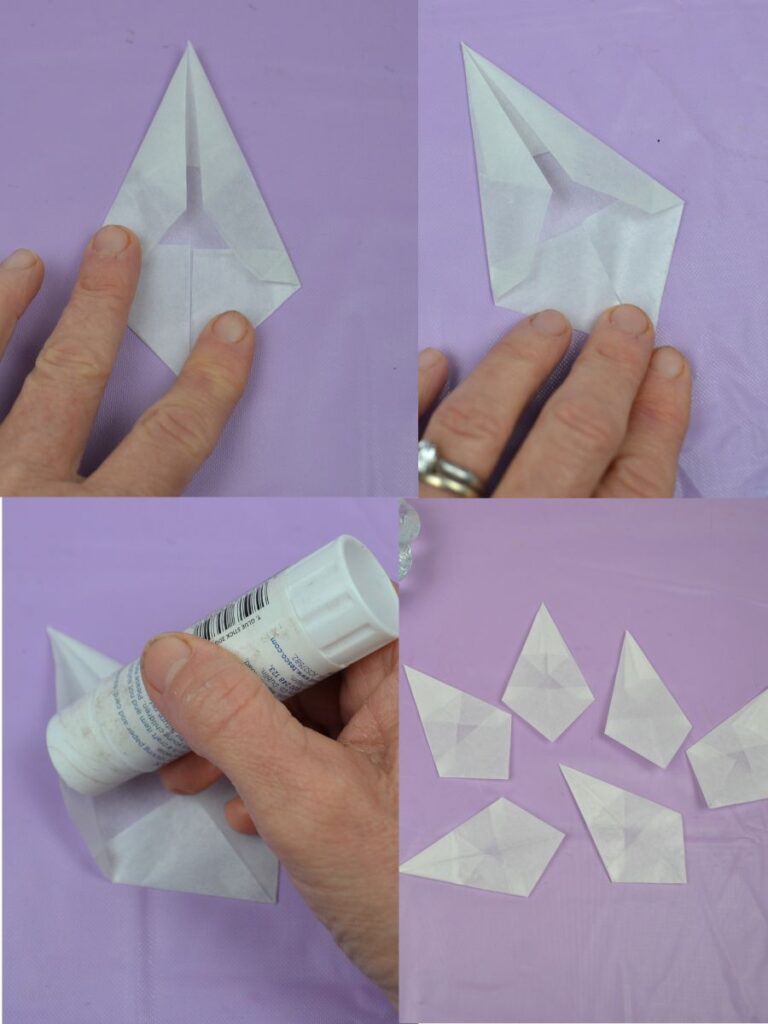
Glue the folds to keep them in place, then repeat the steps to make the remaining pieces.
Step 3. Glue the pieces together
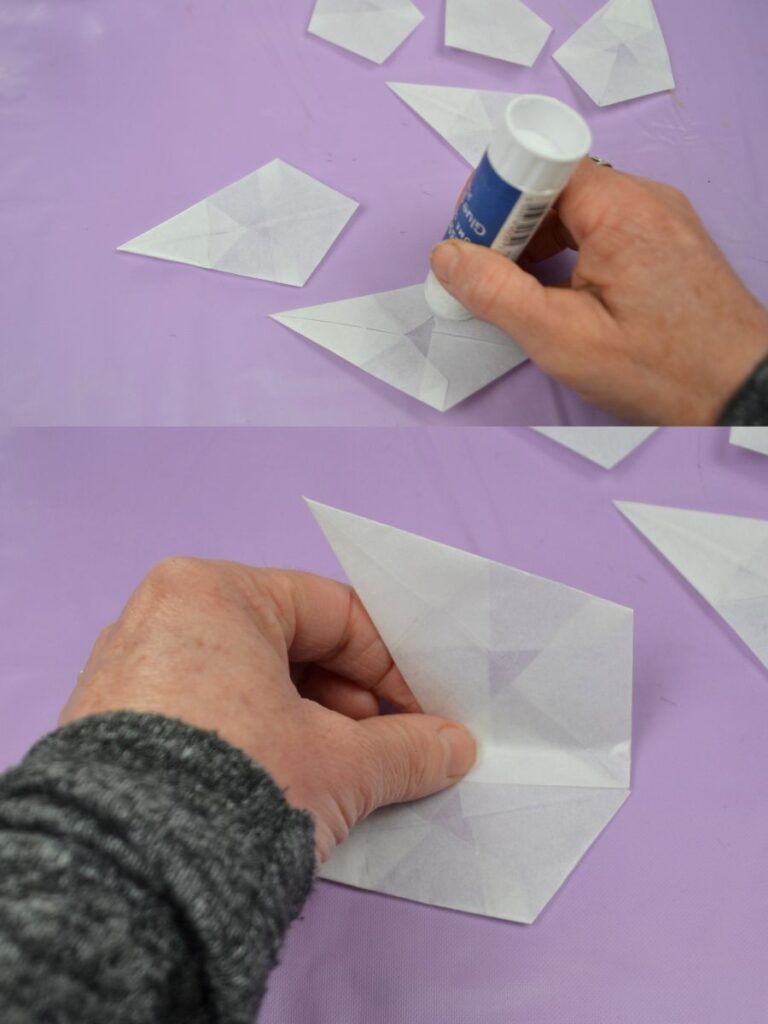
Glue one piece to the next, slightly off-centre.
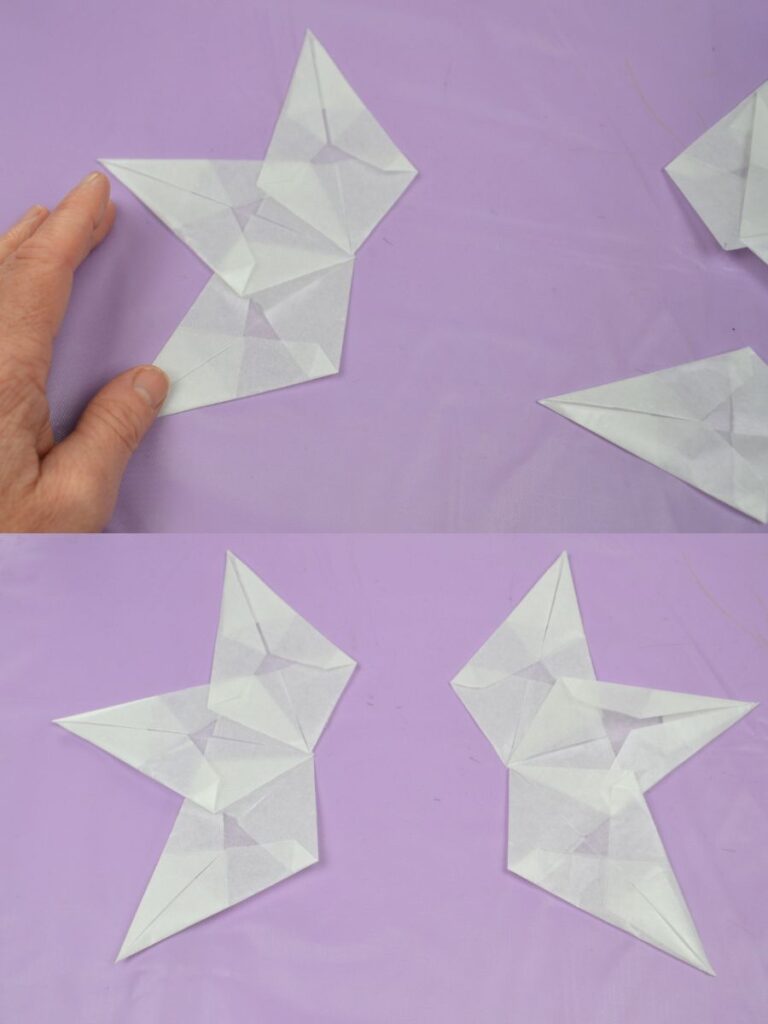
Again, I find it easier to glue three pieces together, then the other three, and then join the two.
How to Join the Two Stars Together to Make a 12-Point Star
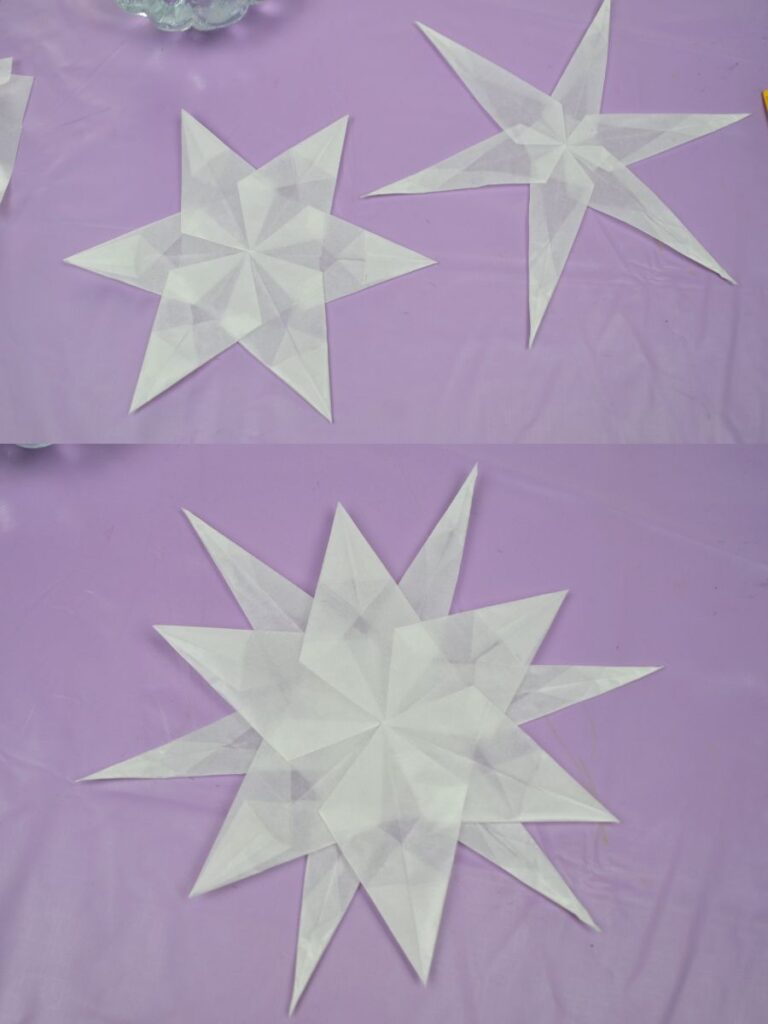
Place one star over the other; you can either glue them together now, or stick one star to the window, then place the other on top and stick it to the window.
Stars on a window
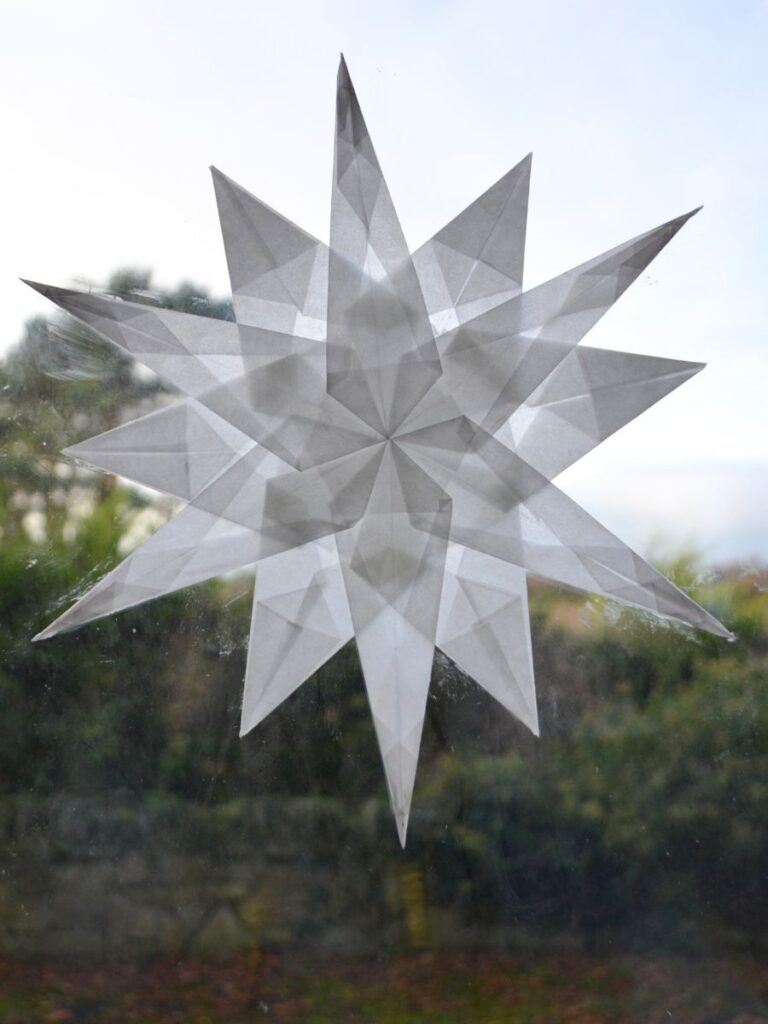
You can also hang them on their own.
How to Hang Your Window Star
The easiest way to stick a Waldorf window star to a window is to use a little water. This works particularly well with kite paper or transparent window star paper, or you can use a little glue on each point of the star to stick it to the window.
How to attach your window star with water:
- Dip your fingertip in a little water.
- Lightly dampen the back of the star, especially the centre and a few of the folded points.
- Gently press the star against the clean window.
- Smooth it lightly with your fingers to help it stick.
A few helpful tips
- Don’t use too much water, as it can damage delicate paper.
- Make sure the window is clean before attaching the star.
- If the star doesn’t stay in place, use a tiny piece of transparent tape or a small removable glue dot.
- To remove it, gently peel it away from the glass.
Tips for Making Beautiful Window Stars
- Work with clean hands to avoid marks on the paper.
- Use a glue stick sparingly.
- Fold carefully to keep the points symmetrical.
- Experiment with different colours.
- Take your time when joining the star points.