How to Make an Easy Wet-on-Wet Watercolour Lantern
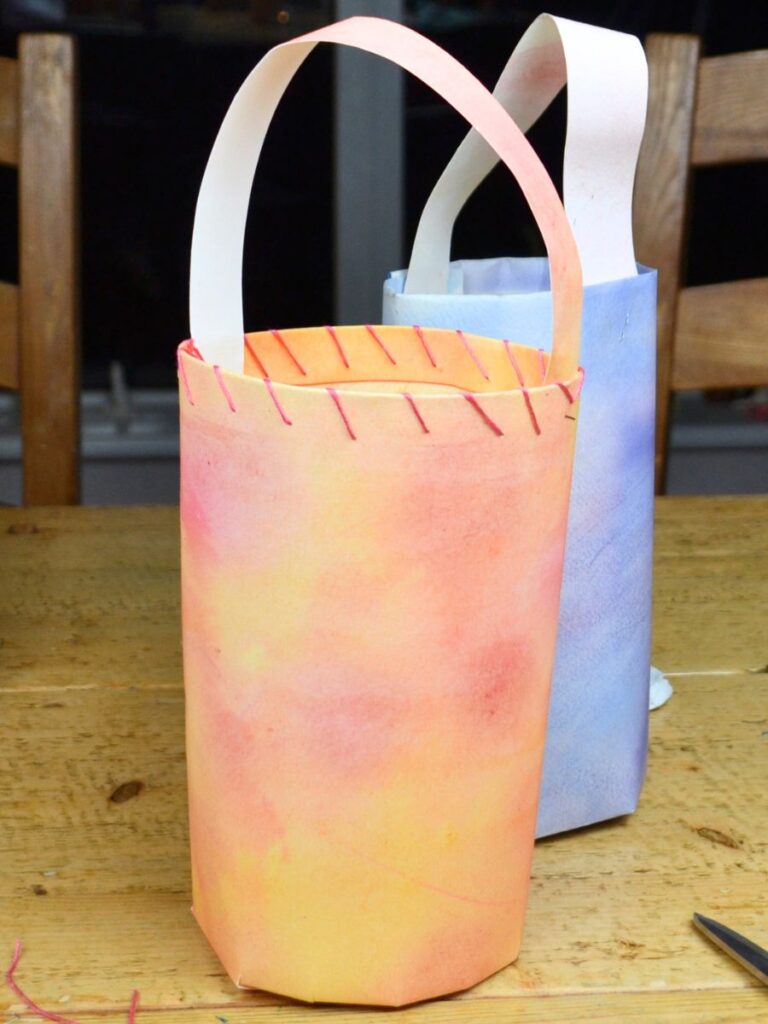
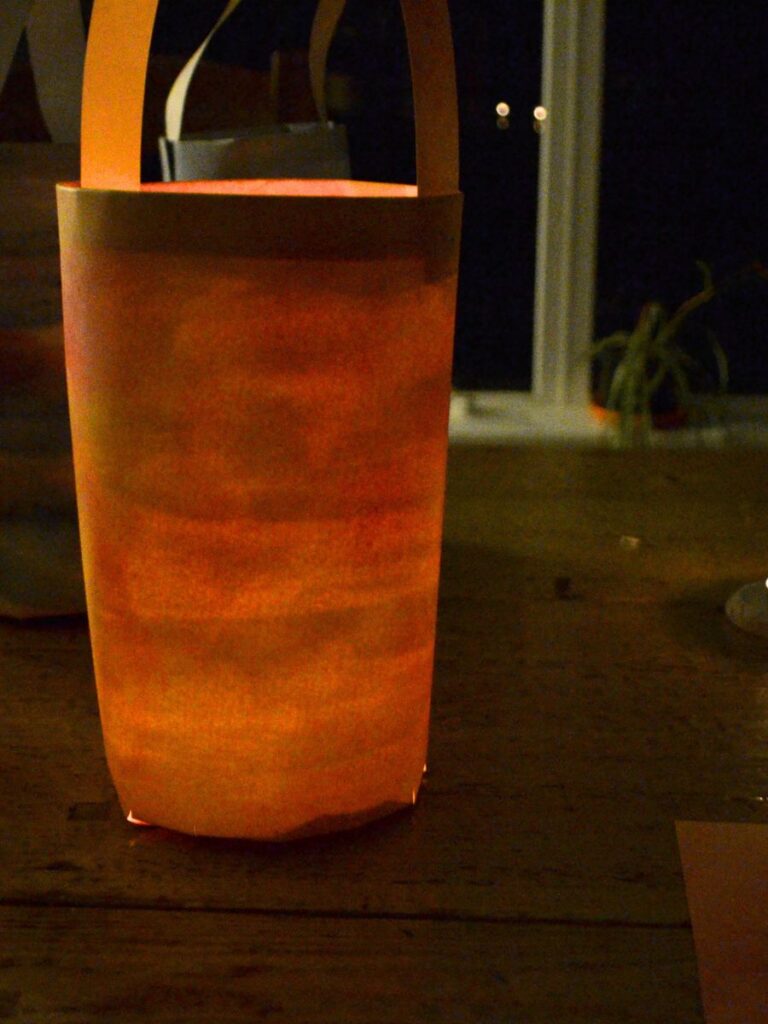
These beautiful wet-on-wet watercolour lanterns are very easy to make and a lovely craft to enjoy with children. If you have never made a lantern before, this is a perfect place to start! With just a few simple materials and some watercolour painting, you can create a colourful lantern that brings a little warmth and magic to your home.

Watercolour Lanterns for Martinmas
In Waldorf traditions, handmade lanterns are often made for the celebration of Martinmas, also known as St Martin’s Day, which takes place on 11th November. This traditional festival celebrates St Martin of Tours, who, according to the story, shared his warm cloak with a poor beggar on a cold winter’s night.
To remember this act of kindness and generosity, children traditionally take part in lantern walks after dusk, carrying their little handmade lanterns through the darkness. The glowing lights symbolise warmth, kindness and the light we can share with others as the days grow shorter and winter approaches.
Making a lantern together is a lovely way to prepare for Martinmas and introduce children to this beautiful tradition. And, of course, you don’t need to celebrate Martinmas to enjoy making one!
Materials for Making a Watercolour Lantern
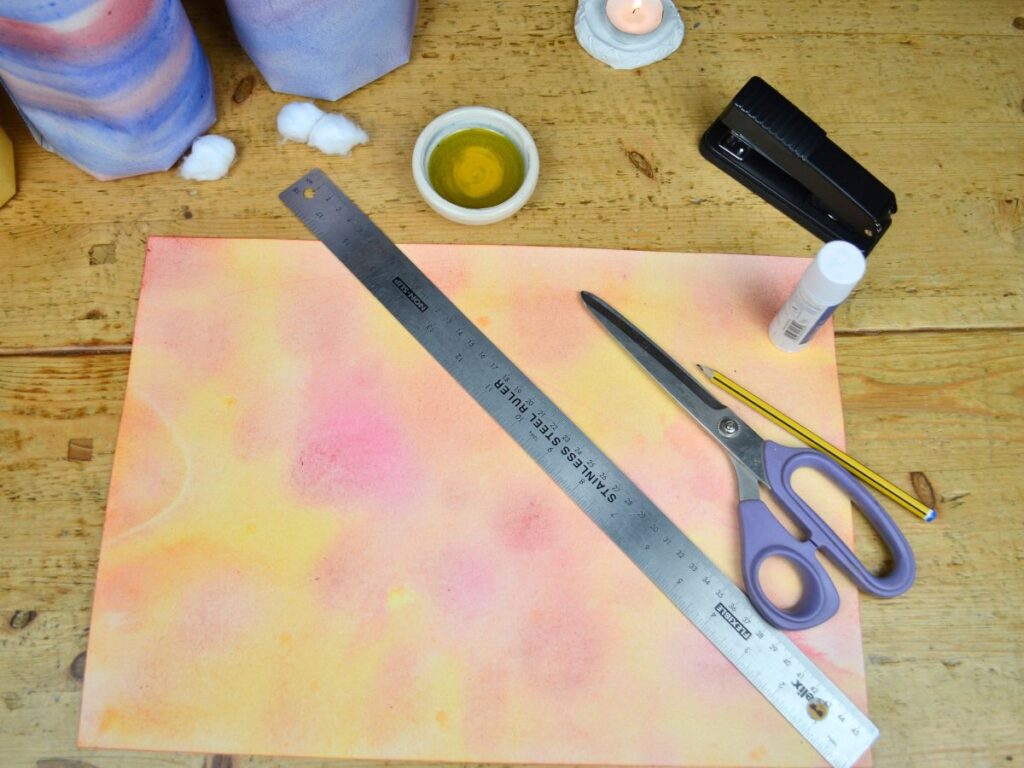
- A3 wet-on-wet watercolour painting
- Card paper or another piece of wet-on-wet watercolour painting
- A ruler
- Scissors
- Glue
- Coking oil
- cotton or a piece kitchen towel
- A pencil
How to Make a Wet-on-Wet Watercolour Lantern
Step 1 – Prepare Your Wet-on-Wet Watercolour Paper to make the lantern.
Choose a watercolour painting to use for your lantern.
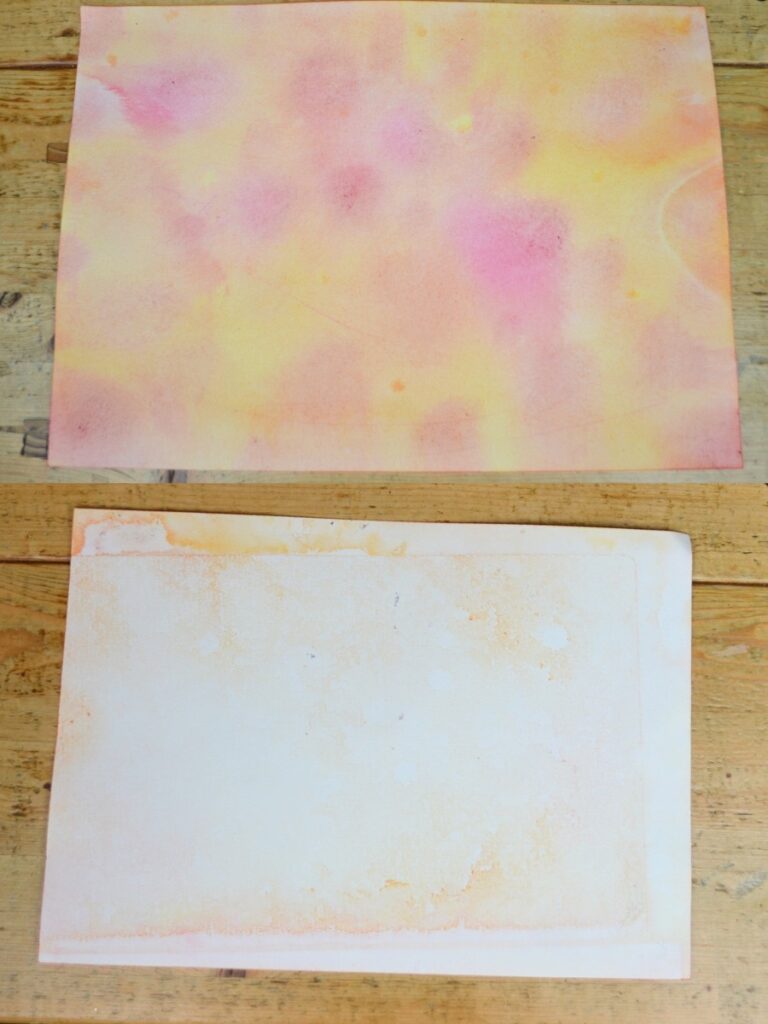
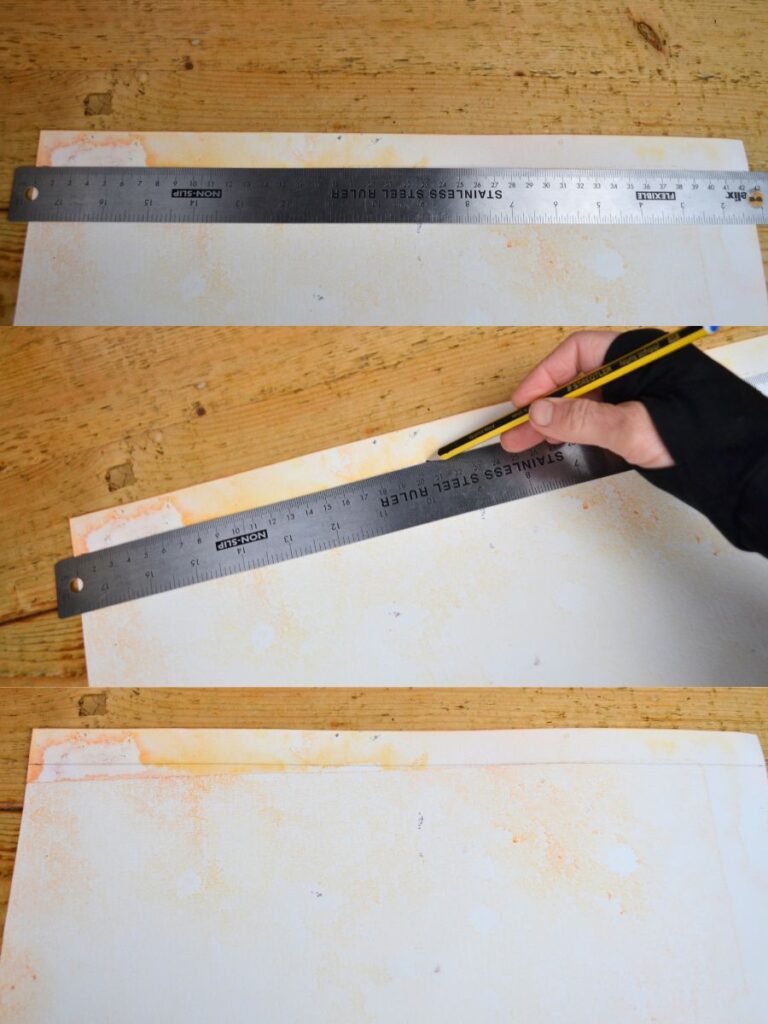
Turn the page around and fold about 2 cm on the top long side of the paper, I mark it with a ruler and use the ruler to fold.
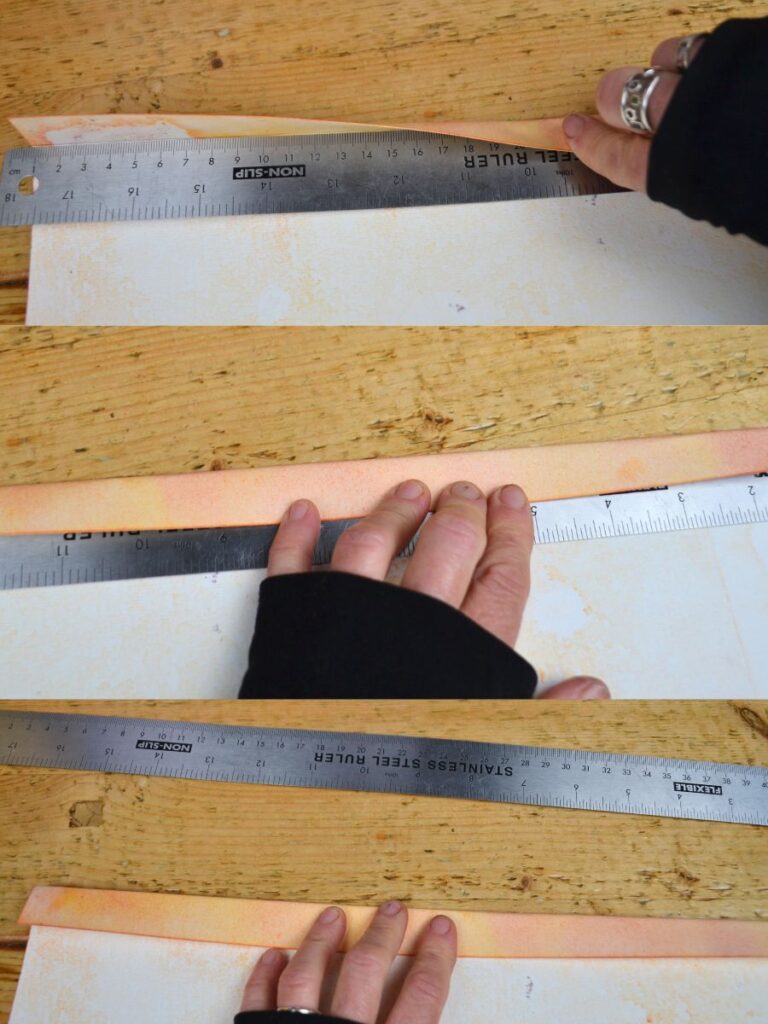
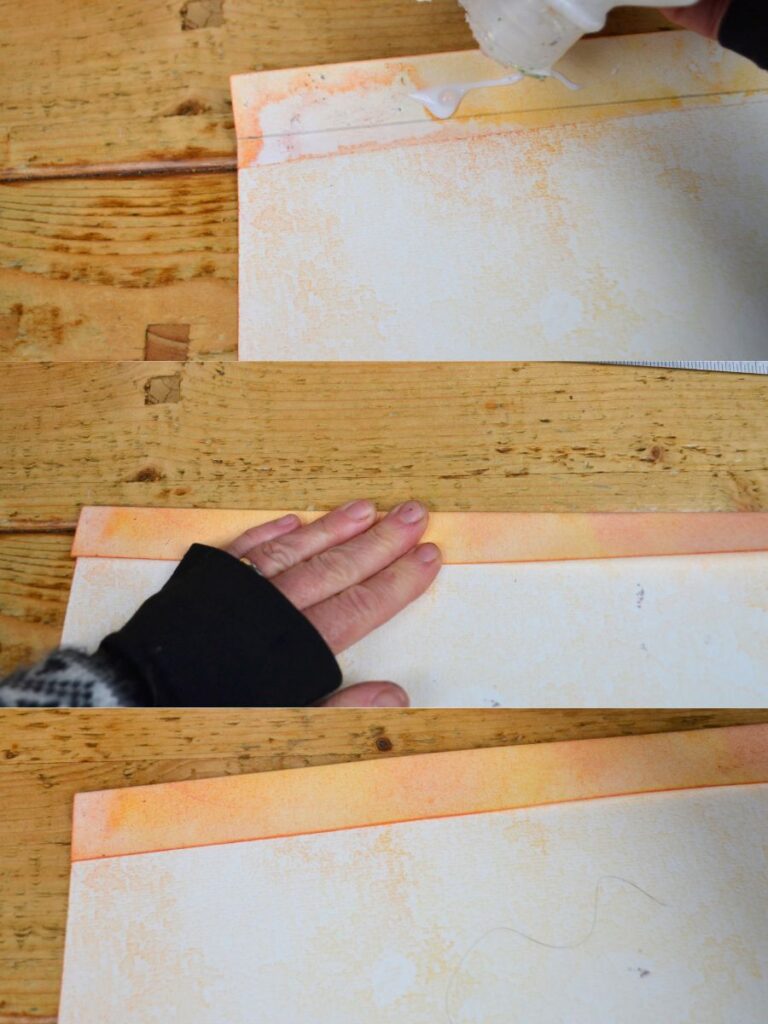
Then glue it. You need to press it with your hands, maybe put some weight on it, until it sticks.
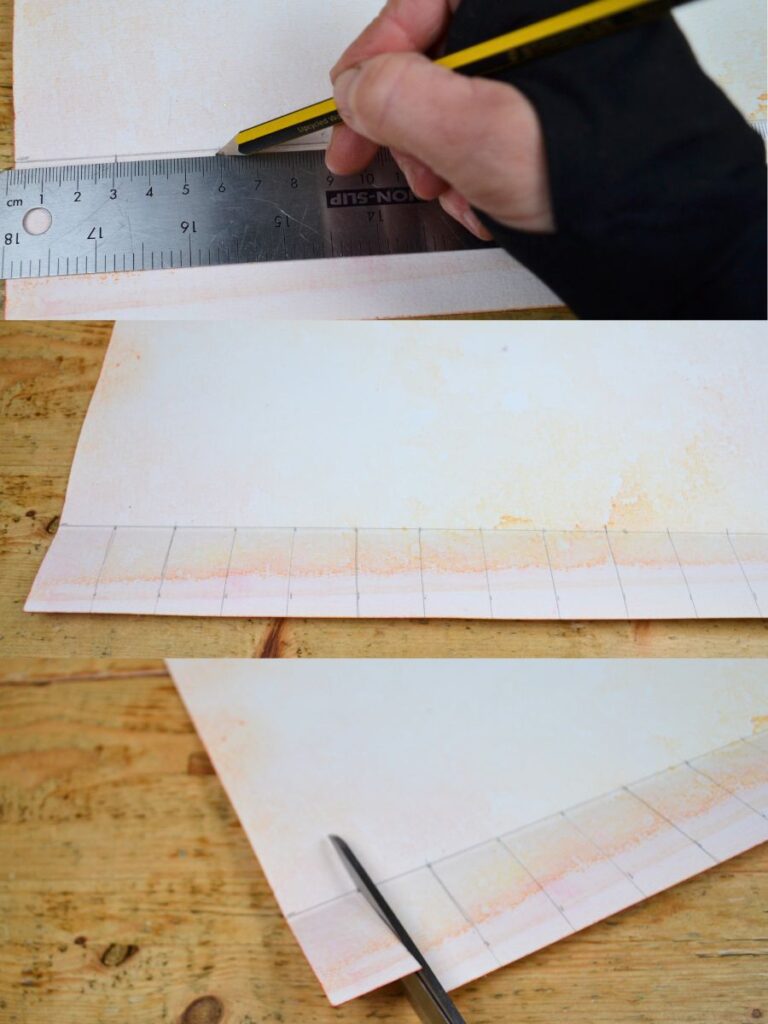
Draw a line about 6 cm long at the bottom; mark it, or just do it by eye, a fringe about 3 cm wide,and cut them up to the line you just made.
Step 4– Oiling the paper
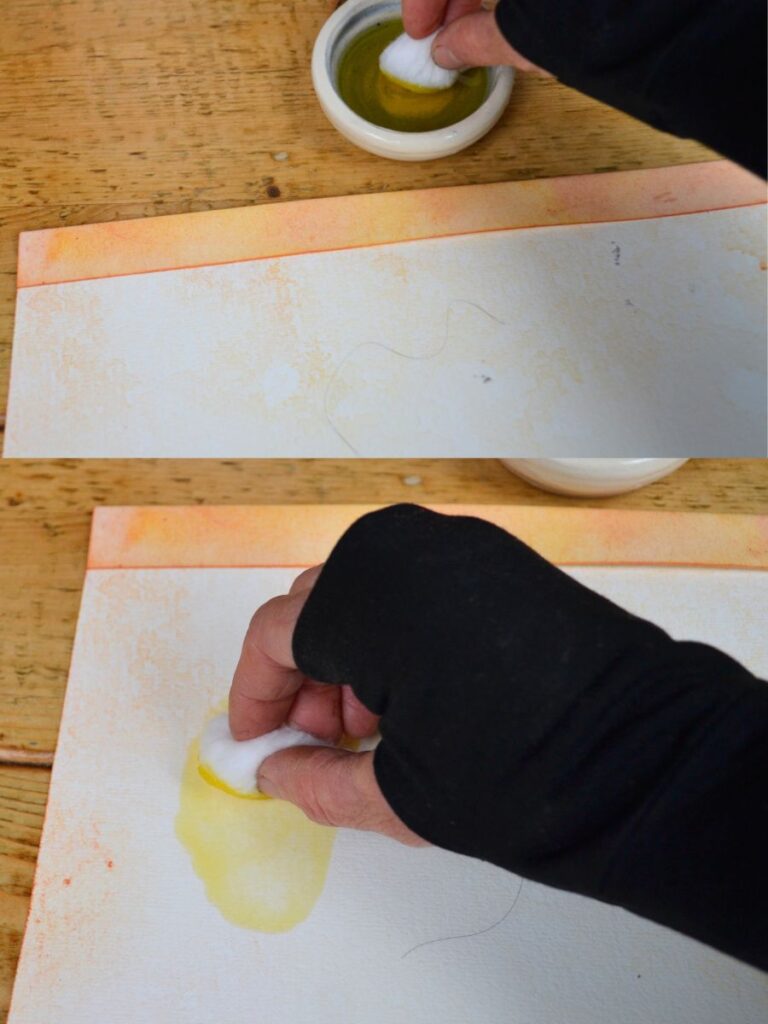
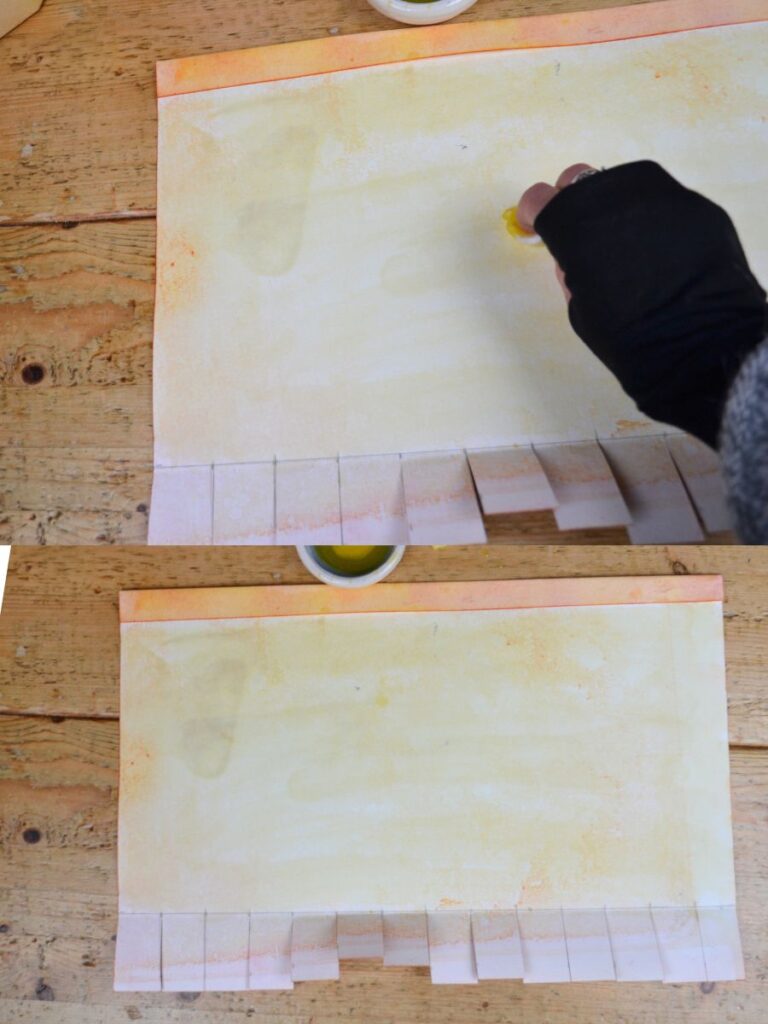
Rub the back of the paper with a paper towel or a piece of cotton wool. This will make the paper more translucent, allowing the light to shine through more beautifully.
Step 5 – Assemble the Lantern
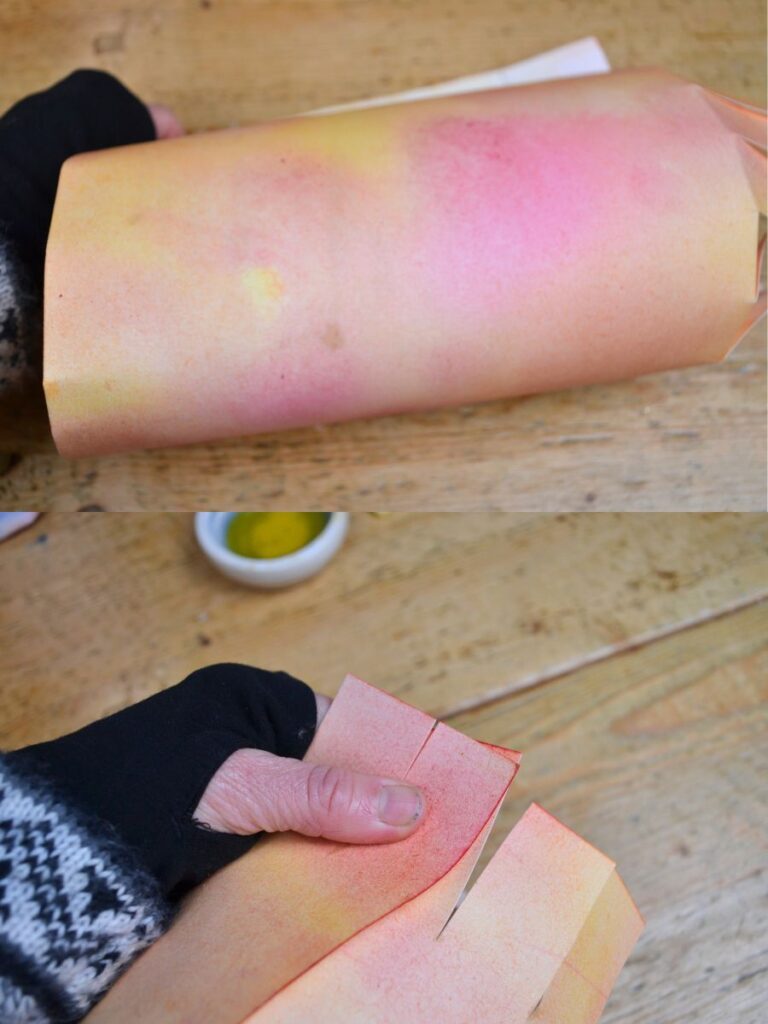
Overlap the wet painting paper to form a tube.
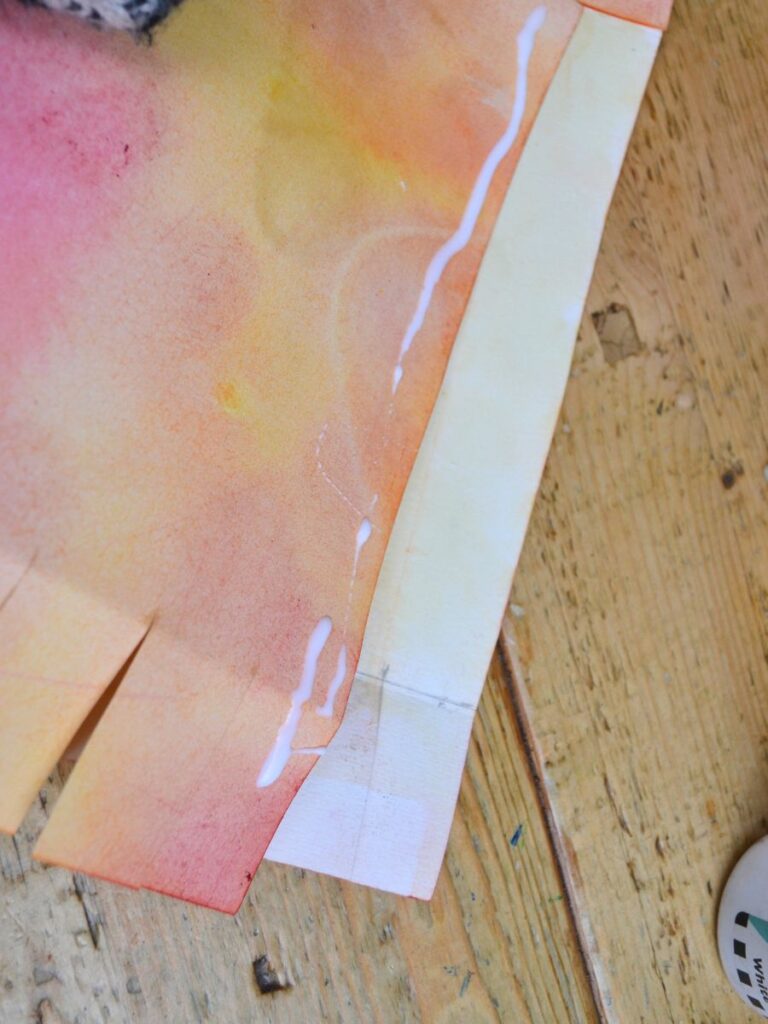
Apply glue to it.
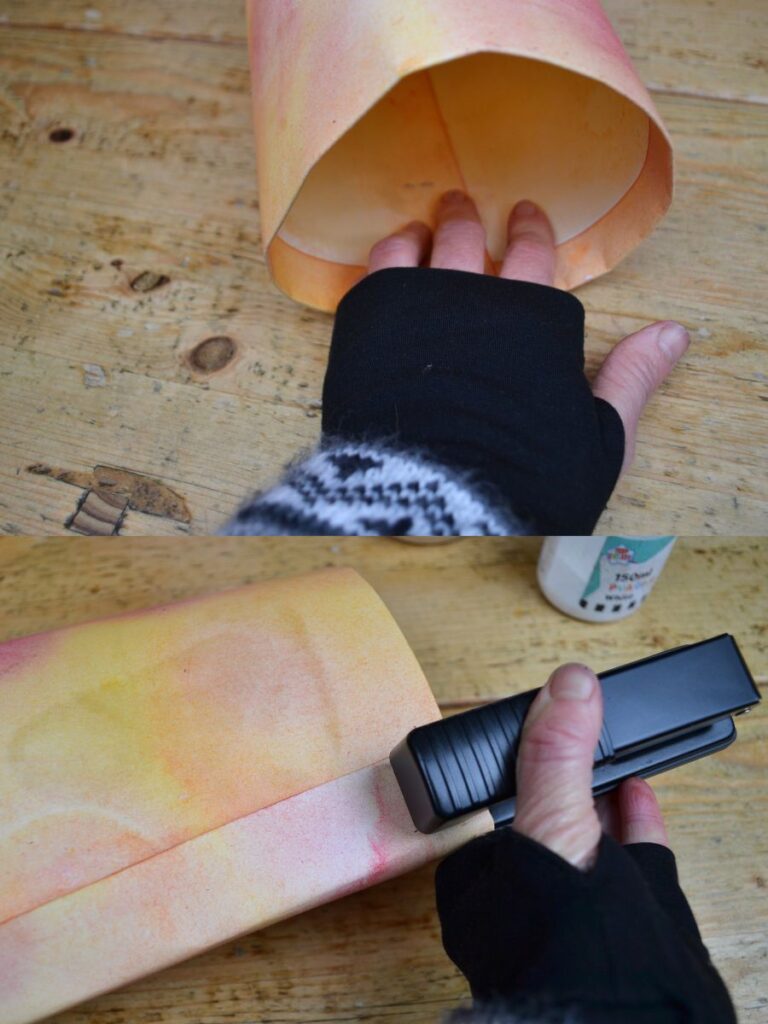
Press with your hands, and you can either use a paper clip to hold it while it dries or a stapler to secure it.
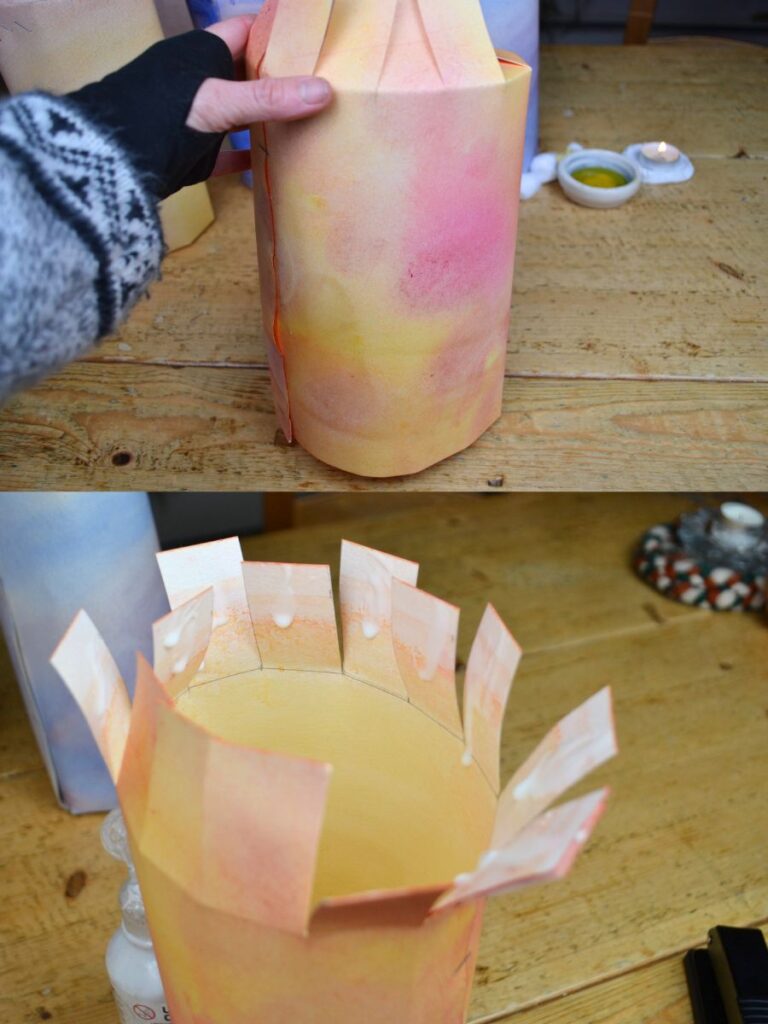
Apply glue to the inside of the fringe pieces.
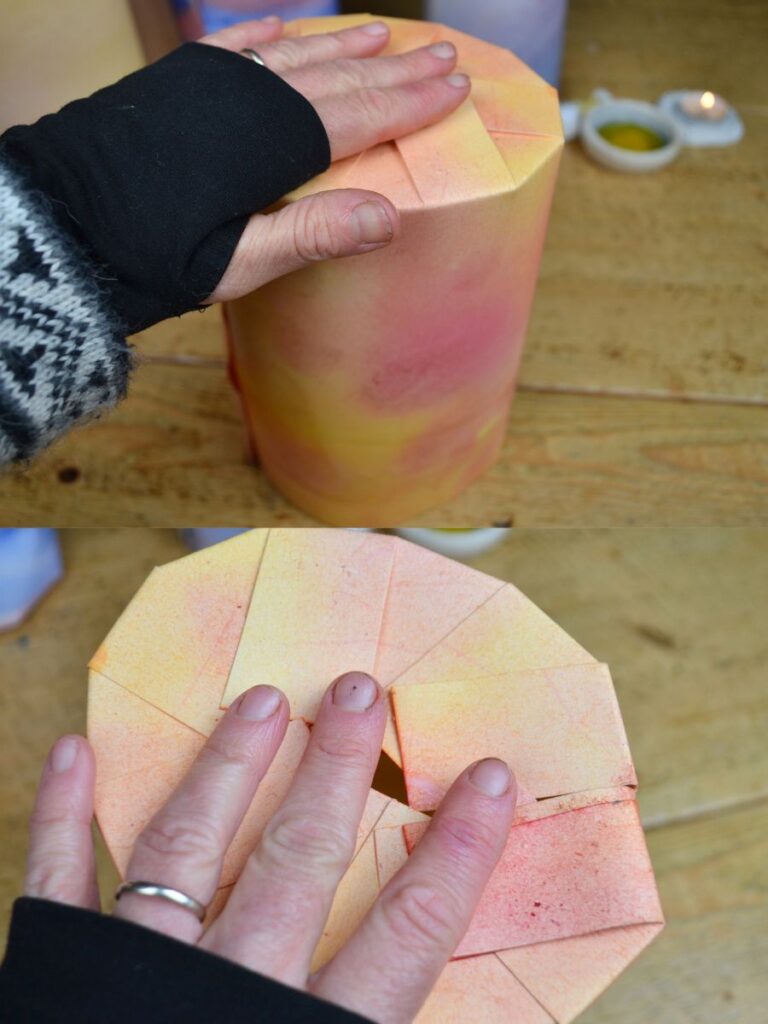
Press them gently down; the pieces will overlap and stick together.
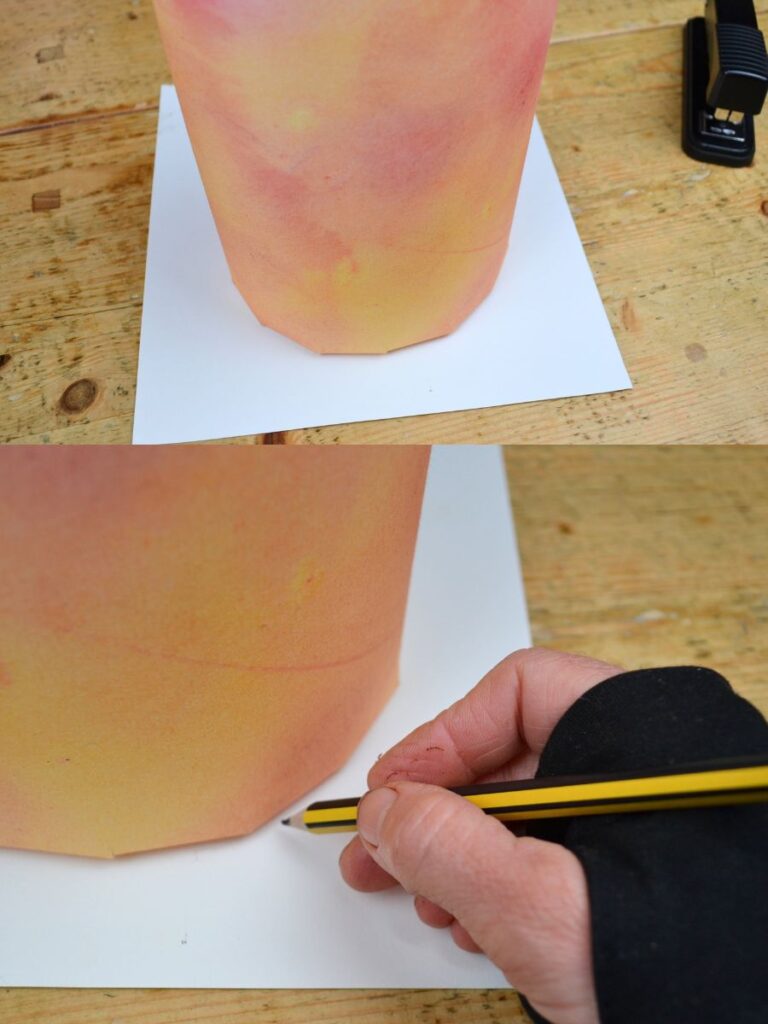
Mark and cut a circle from another piece of wet painting or card paper.
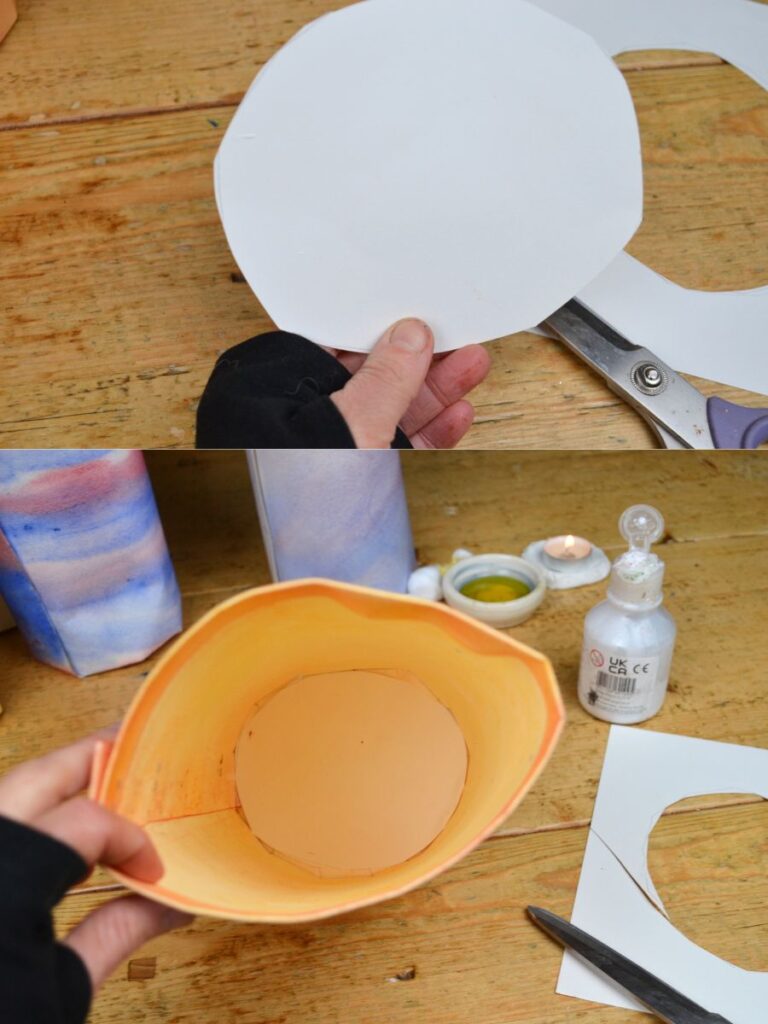
Put the circle of card at the bottom of the lantern; it will stick with the glue you apply to the fringe. This will make the base more secure.
Step 6 – The Handle
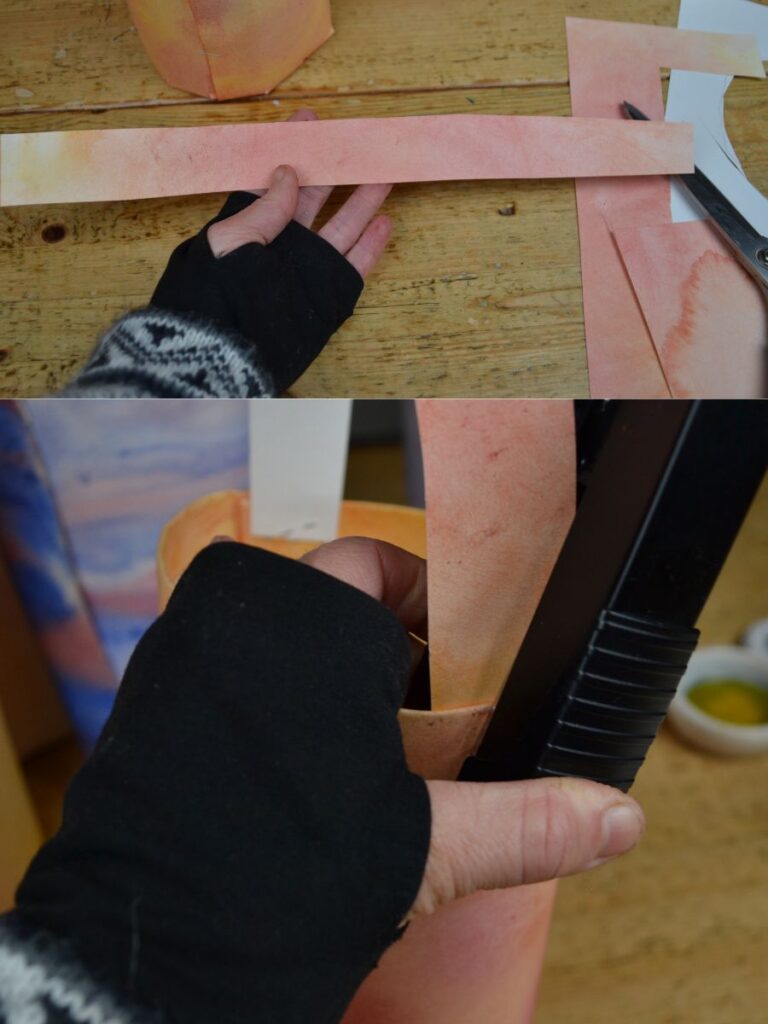
To make the handle, you can cut a piece of wet painting paper and staple it to the sides, or use wire or a Finger-Knitted Cord for the Handle.
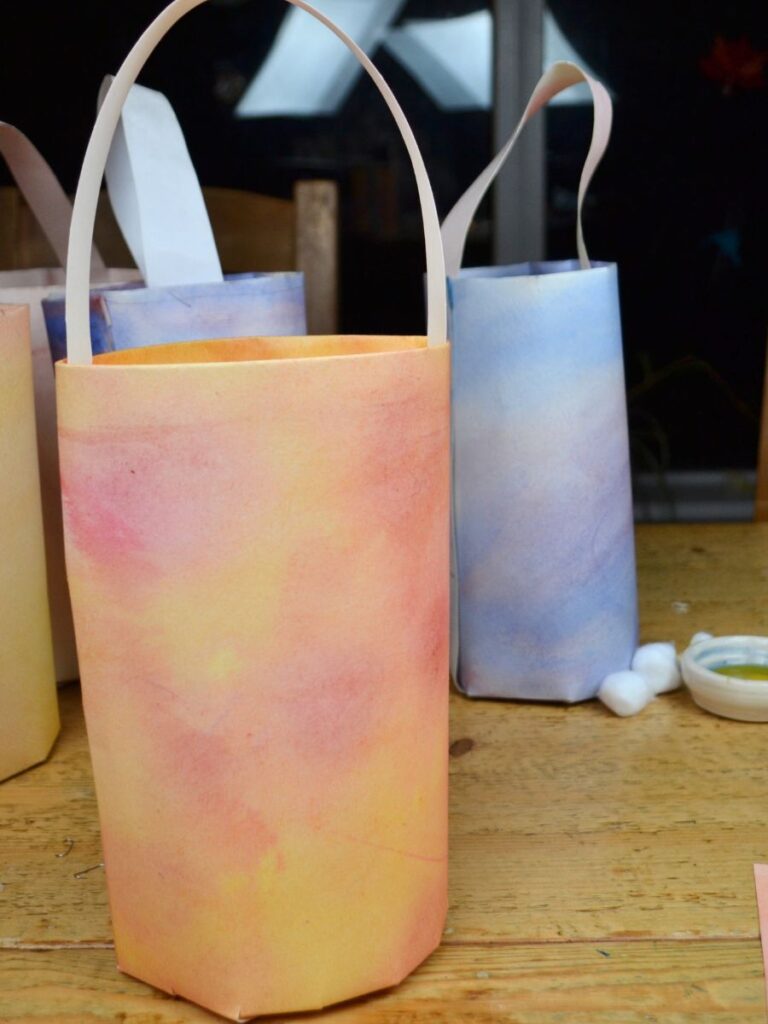
Put a tea candle. I stick a bit of Blu-Tack to keep it from moving.
Enjoy Your Handmade Lantern ✨
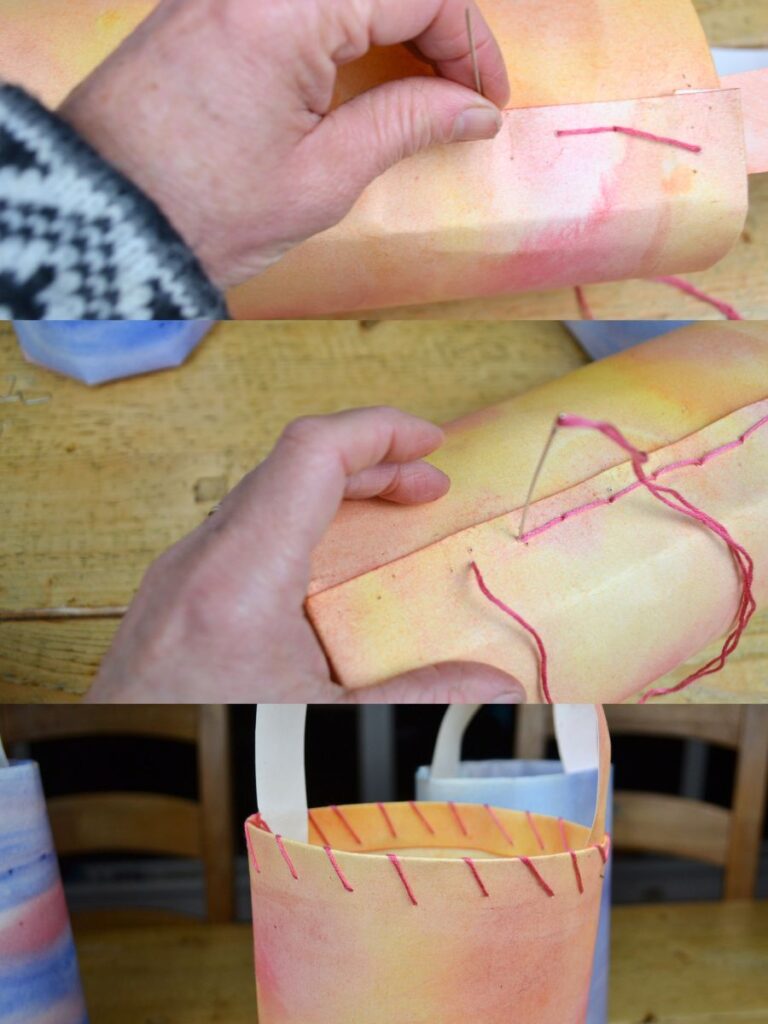
Adding a Decorative Running Stitch for a Beautiful Finish
To give your lantern a more beautiful and finished look, you can sew the sides together using a simple running stitch. This little detail adds a lovely handmade touch and makes the lantern look even prettier.