Wool Felt DIY for Beginners: How to Make Wet Felting.

Discover the art of wet felting. This is a basic wet felting tutorial that is perfect for beginners. It will teach you how to make wet felting so you can create many different projects. All you need is a few things and some time!
Wet felting is another lovely way to show and teach children how to work with wool.
What is wool felting?
The process of wet felting involves creating friction between the wool roving with warm, soapy water and your hands, to get the wool fibres to bind together to create a piece of cloth or fabric. You can make different shapes by applying more friction in different parts of your felt to shrink it and shape it.
It is a beautiful experience to work with wool and see the steps of how the wool turns into felt.
Materials:

- Wool (I am using merino wool)
- Warm water
- Soap (I use a handful of grated soap)
- Whisk OPTIONAL
- Bubble wrap
- Pool noodle (cut in half) OPTIONAL
- An old hand towel OPTIONAL
- String (to tie the bubble wrap around the pool noodle) OPTIONAL
Where to buy wool and wet felt things:
Wet felting Step 1:

The first thing you do is mix the soap and hot water (add some cold water if it’s too hot for your hands) with a whisk, whisking until you have lots of soap suds.
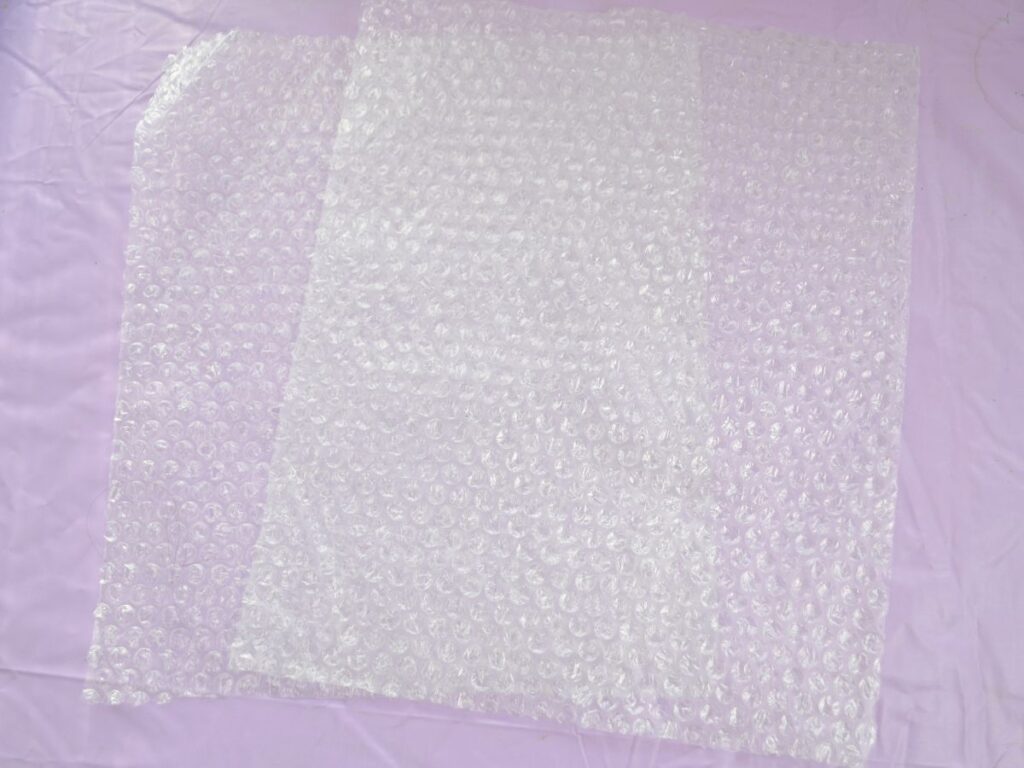
The next thing you do is to cut the bubble wrap into the shape you want. The final size will be smaller, so cut your shape bigger than you want the final felt piece to be. In this example, I am doing a rectangle.
Wet felting Step 2:

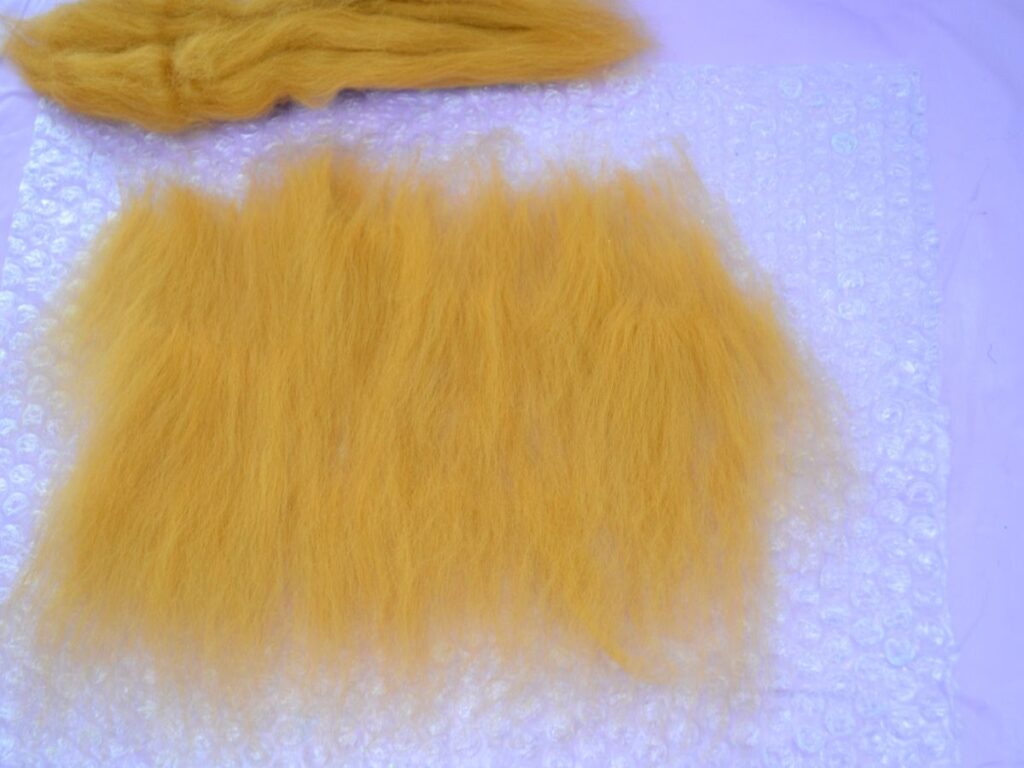
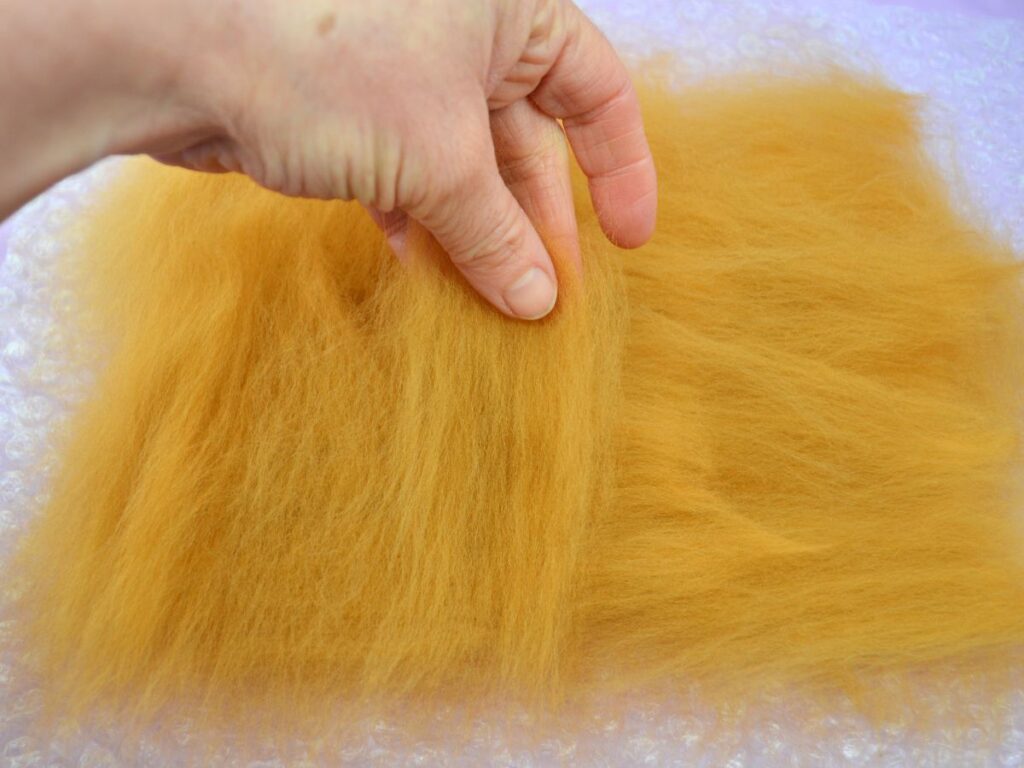
Lay the bubble wrap (with the bubbles facing up), and pull a piece of wool. It is better not to lay too much wool at one time; instead, pull small sections of wool and lay them on the bubble wrap close together.
Remember to pull the wool gently because if you pull too hard, the wool fibres will tighten, and it’s harder to separate the wool, so just a gentle pull to get the piece you need. If you still find it hard to separate the wool, try increasing the distance between your hands. If it’s too long or too thick, keep pulling that piece between your hands until it’s the desired length.
Lay the wool in the same direction until you cover the area you want, evenly.

Then, do the second layer of wool across to the previous layer, as shown in the picture.
Keep the layers even, and add more wool where you need.
Do a third layer in the same direction as the first layer.

Do the fourth layer the same as the second layer.
Now you have four layers of wool. You can make more if you want your finished felt to be thicker.
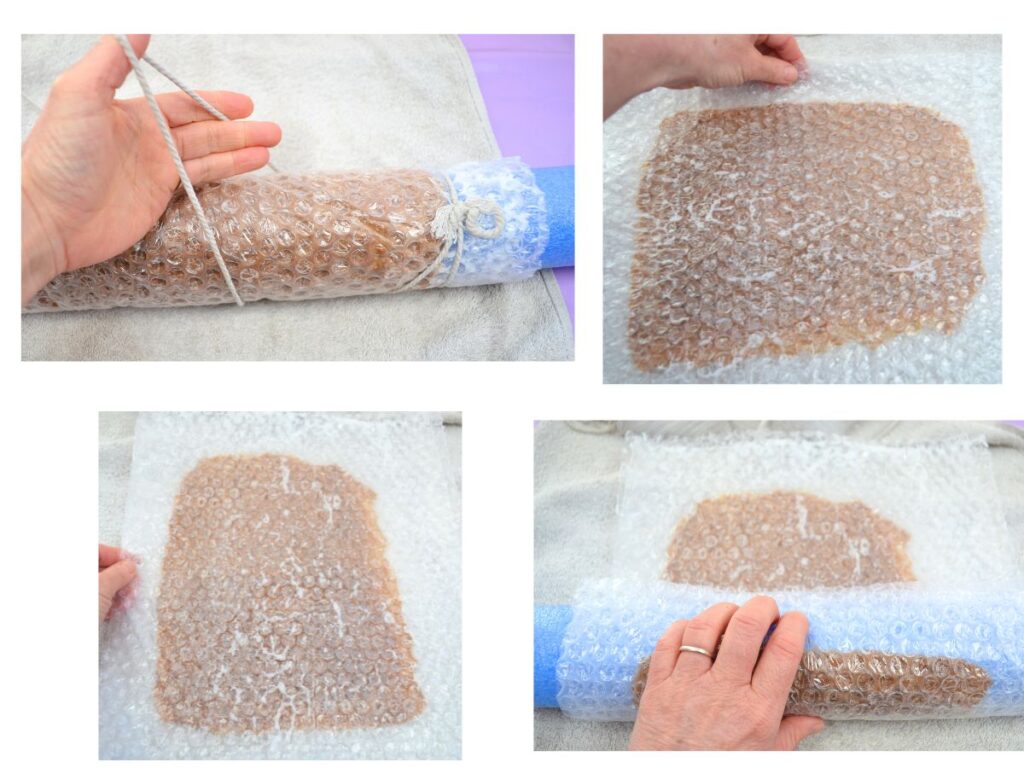
Wet felting Step 3:

The next step is to wet the wool with the soap suds, using the soap suds with your hands, apply to the wool until it is covered.


Then cover the sud soaked wool with the other piece of bubble wrap (with the bubble facing down onto the wool)
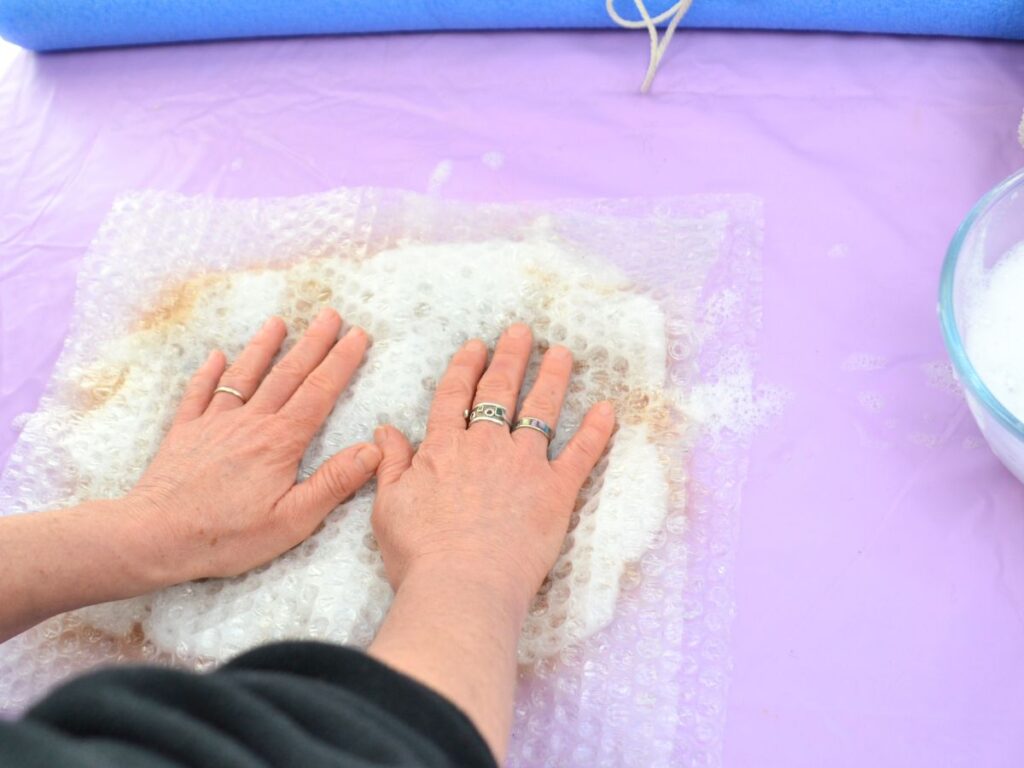
Apply gentle pressure with your hands to soak all the wool
Lift the bubble wrap to check for any dry spots. Add more suds to wet the whole thing.
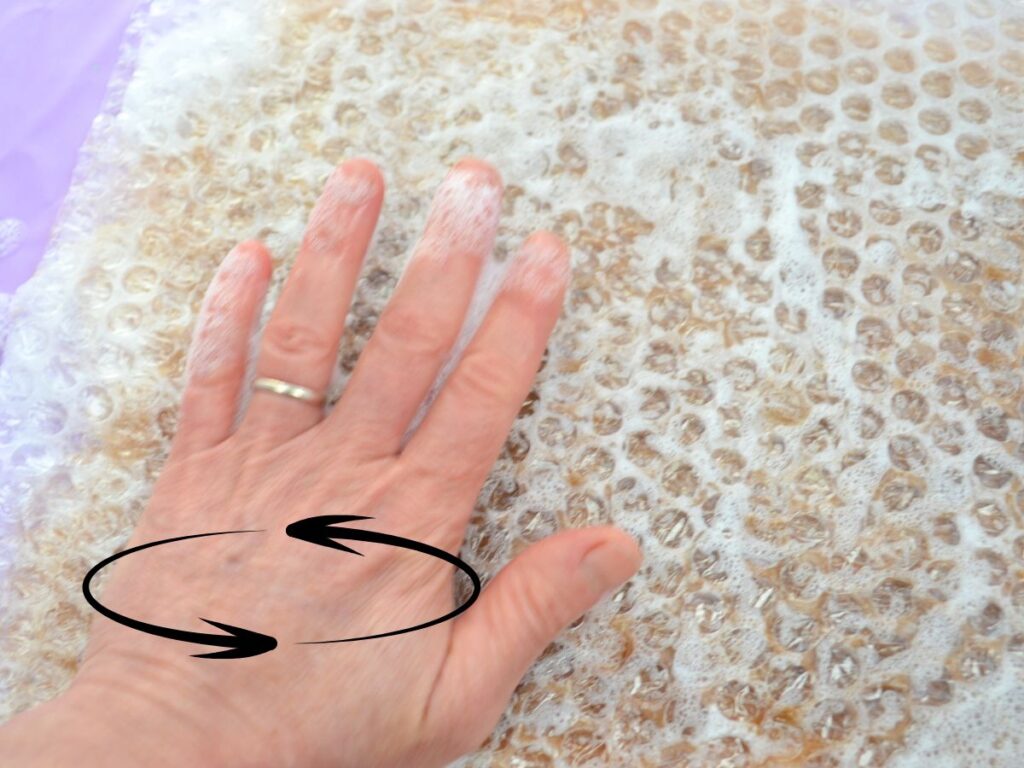
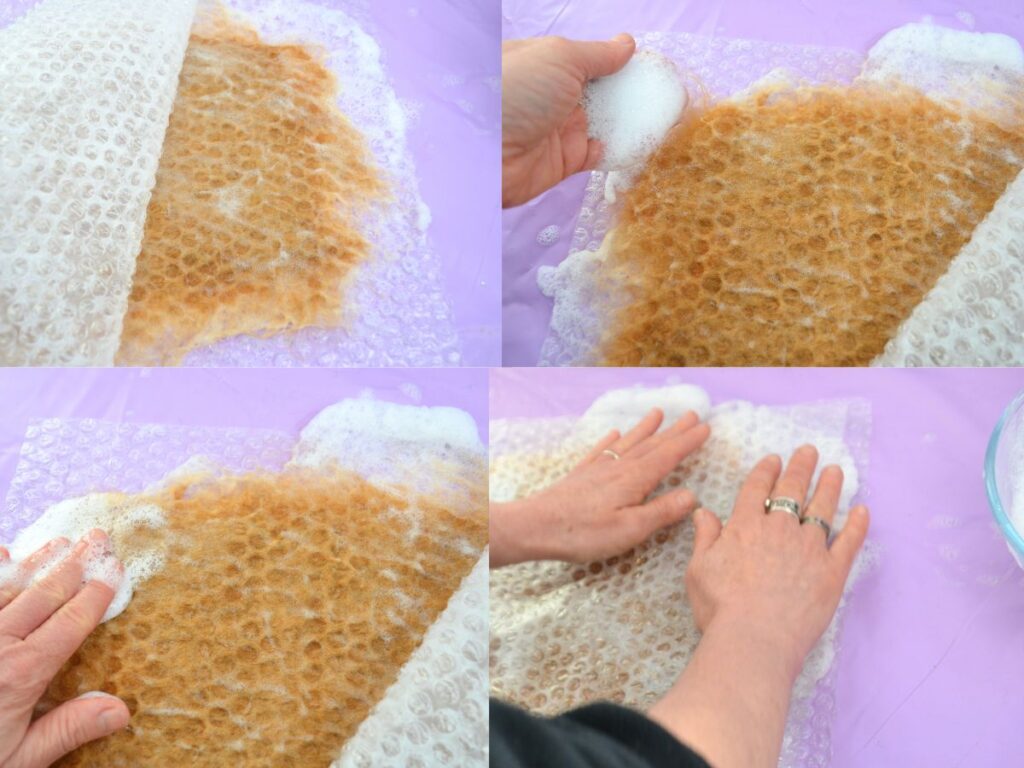
With soapy hands, gently start doing circular movements with the palm of your hand or the tip of your fingers, evenly around your piece.
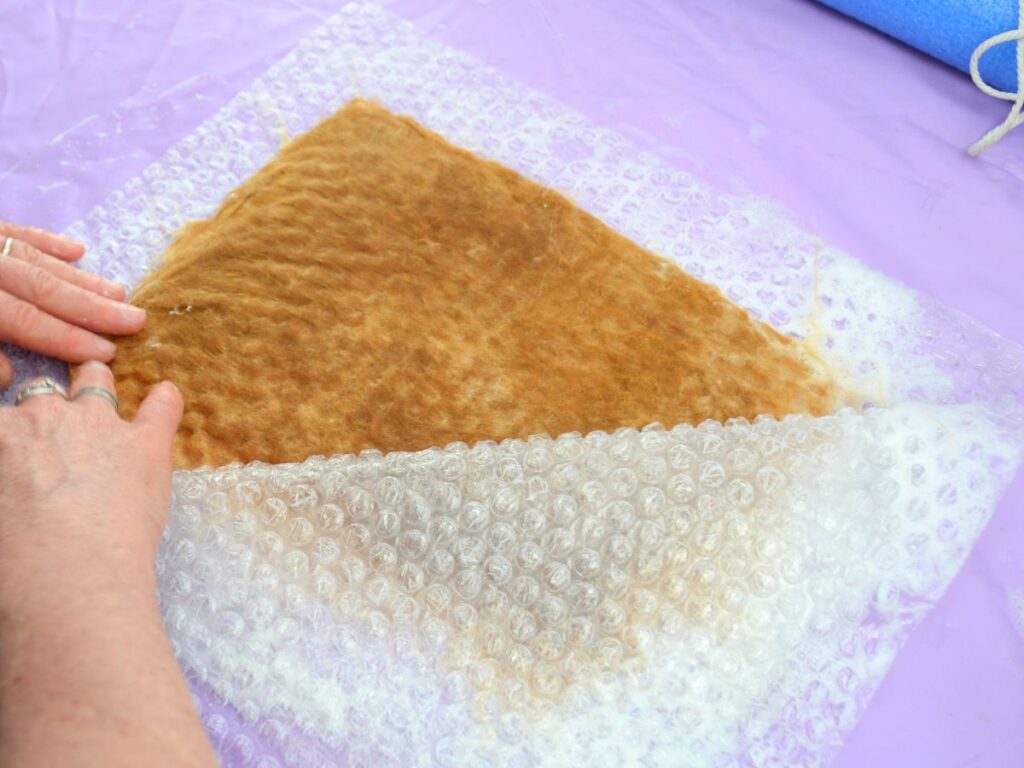
Open the bubble wrap and smooth the edges of the felt. Add more suds if needed. Re-cover the wrap and keep rubbing the wool in circular movements.

You can check if the felt is ready by doing “the pinching test” If you pinch the wool and you are pulling fibres, you need to keep rubbing the wool.
Wet felting Step 4:

To make this process quicker, wrap the bubble wrap with the wool inside, around a pool noodle.
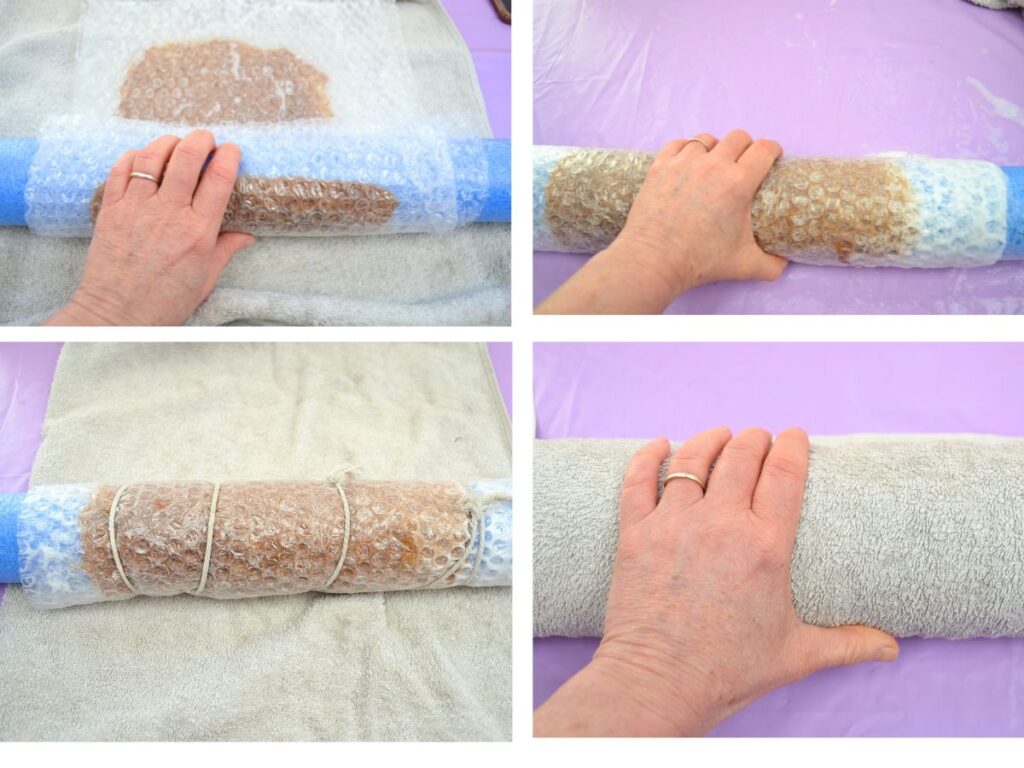
Tie it strongly with a piece of strong string and wrap an old tea towel around the pool noodle.

With the palms of your hands or your forearms, apply gentle pressure and roll your pool noodle the length of your hands or forearms.
Do this for about 2 minutes, rotating your noodle a quarter every 30 seconds more or less, to apply the friction evenly to the wool piece.
After 2 minutes, unwrap the towel and bubble wrap check and turn your wool piece 45 degrees, wrap the bubble wrap, and towel and repeat as before.
After the 2 minutes, unwrap the towel and bubble wrap, and half-turn the felt piece and repeat the process on the other side as before.
This process will take about 8 minutes or more of rolling, which is a tiring job, so rest whenever you need; there is no need to finish it in one go. Just check that it is still moist if you leave it for a long period of time.

When you’ve done all the sides, unwrap it and check your felt, using the “pinching test” to check if it’s ready. If no fibres are coming out, and it feels like one piece of felt, it is ready.

Wet felting Step 5:

Rinse it in cold water and hang it to dry.
It might take a day or so to dry out properly.
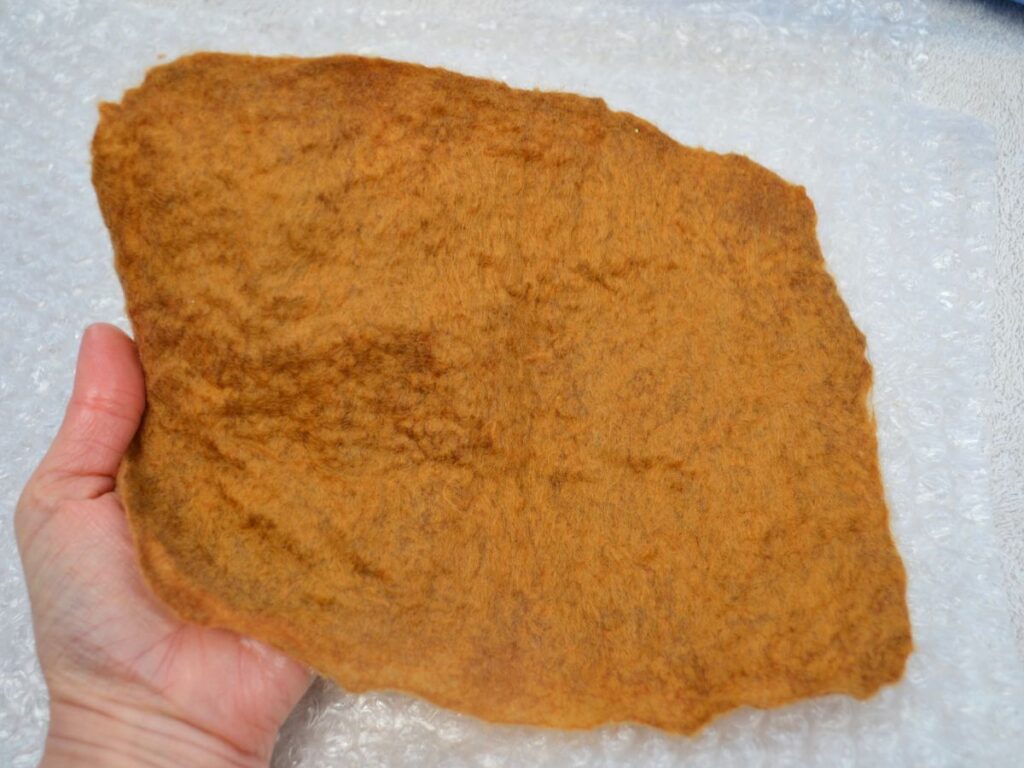
Finished felt:

There you have it, the finished and ready-to-use, handmade felt!
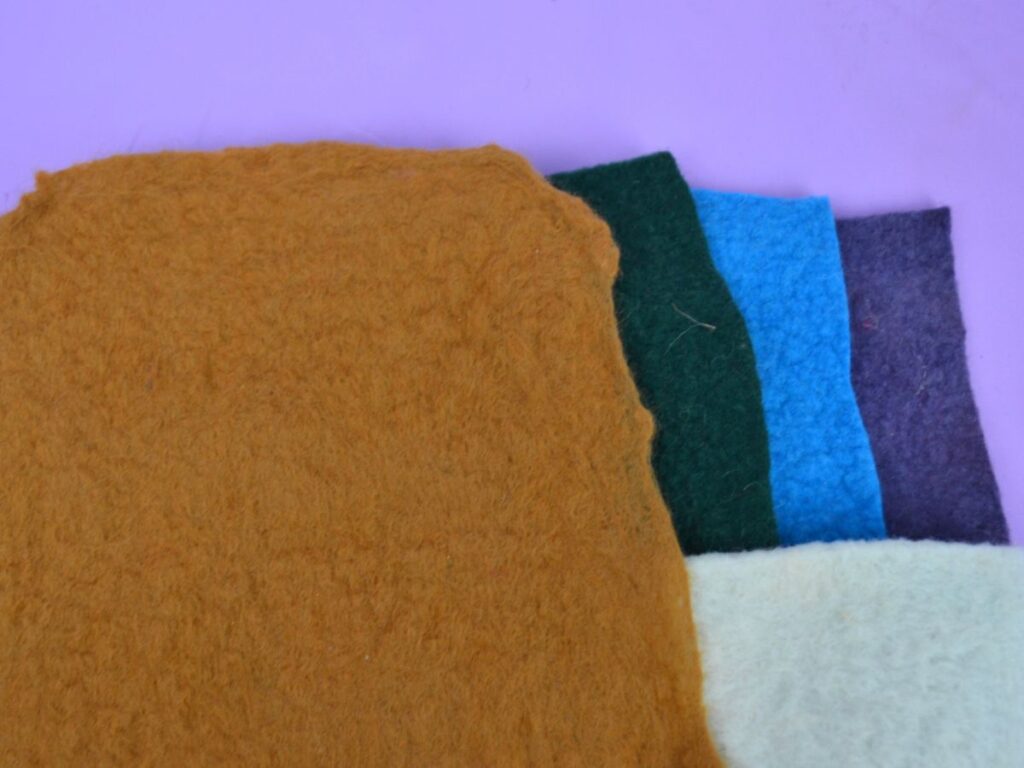
There are so many beautiful creations you can make with this felt.


